
 110V POWER INLET

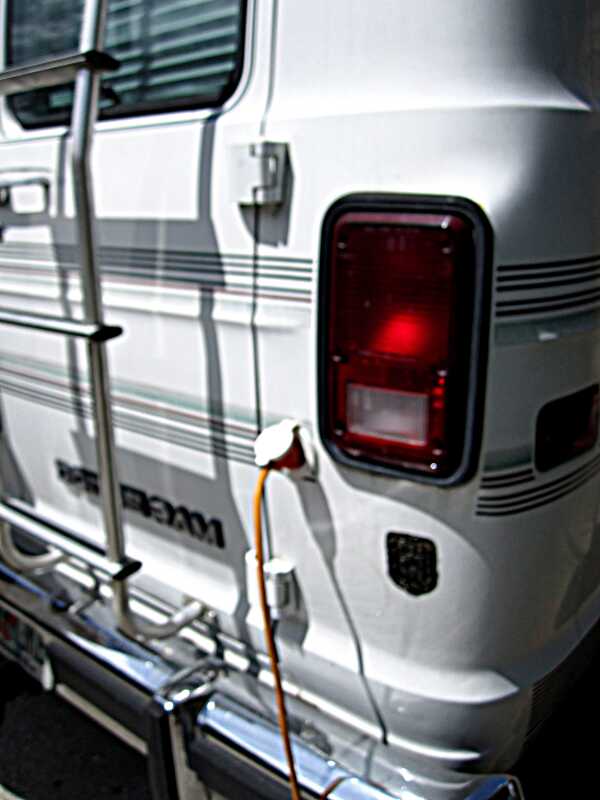
The van is internally a 12V system fed by solar panels, with some 110V outlets powered by an inverter. Only the battery charger needs access to an exterior power source. For this, a 15A power inlet is installed next to the rear door, on the passenger side of the van.
ParkPower 150BBIWRV 15 Amp White Power Inlet
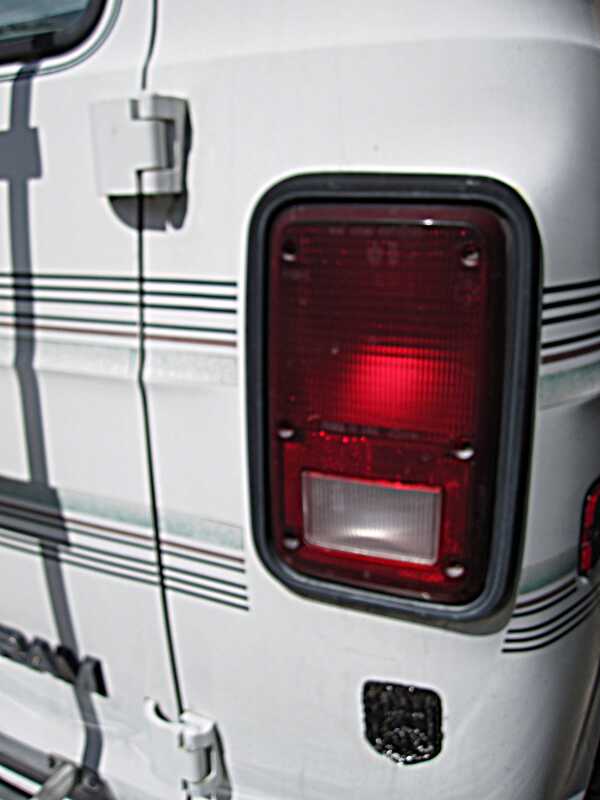
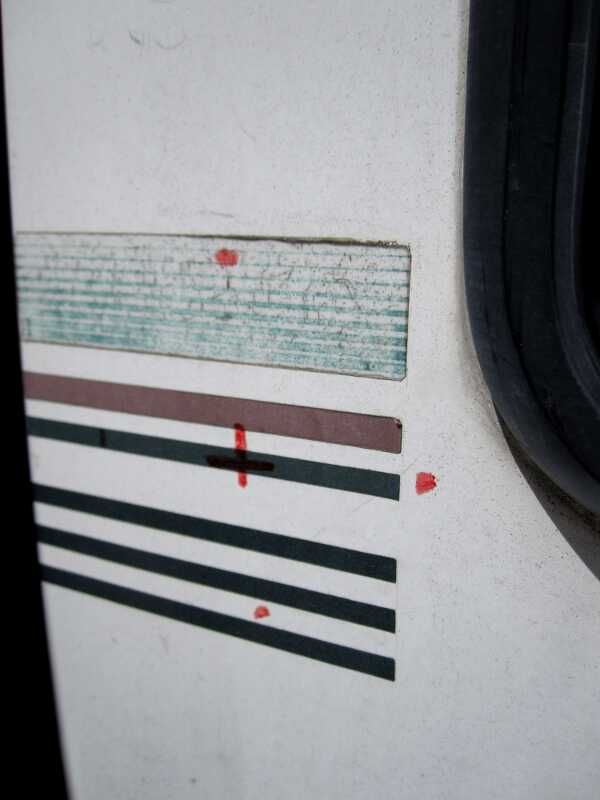
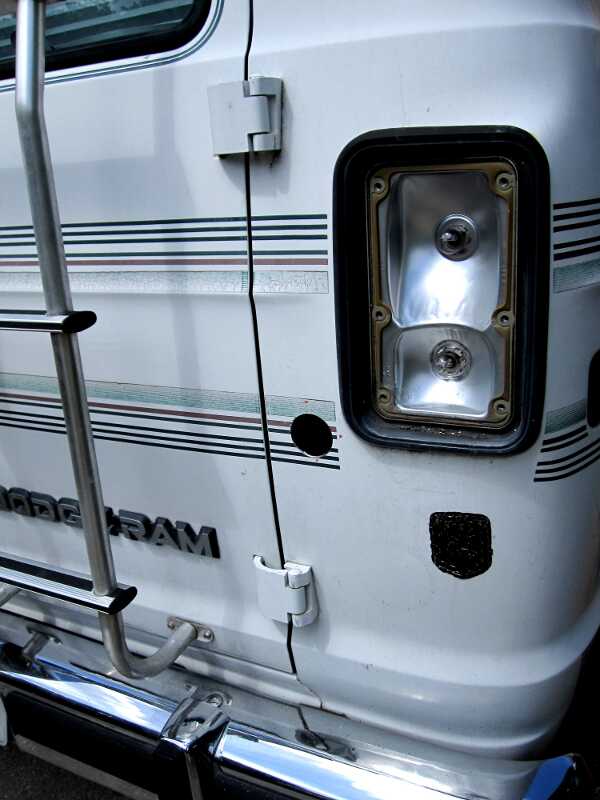
 The area directly below the brake light is ideal, weren’t it for the fact that inside, that space is occupied by one of the rear speakers. The best location will be left of the bottom of the brake light.
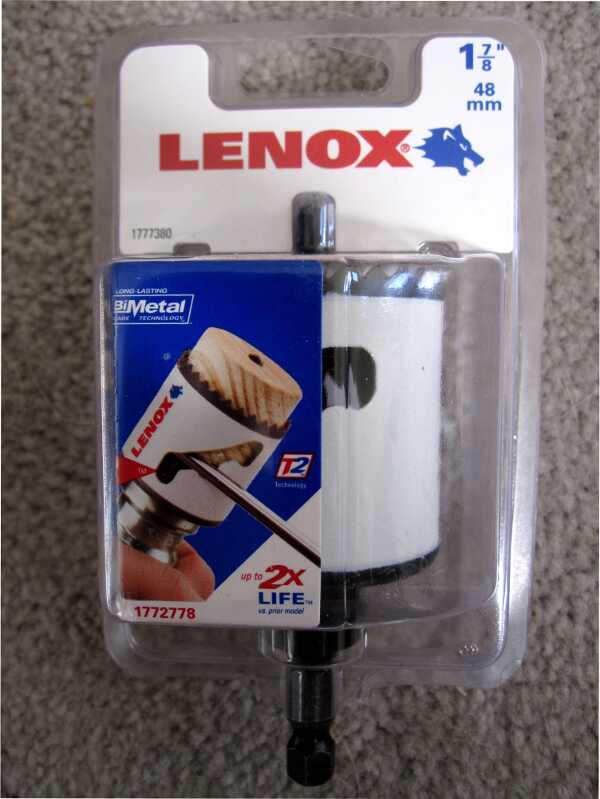
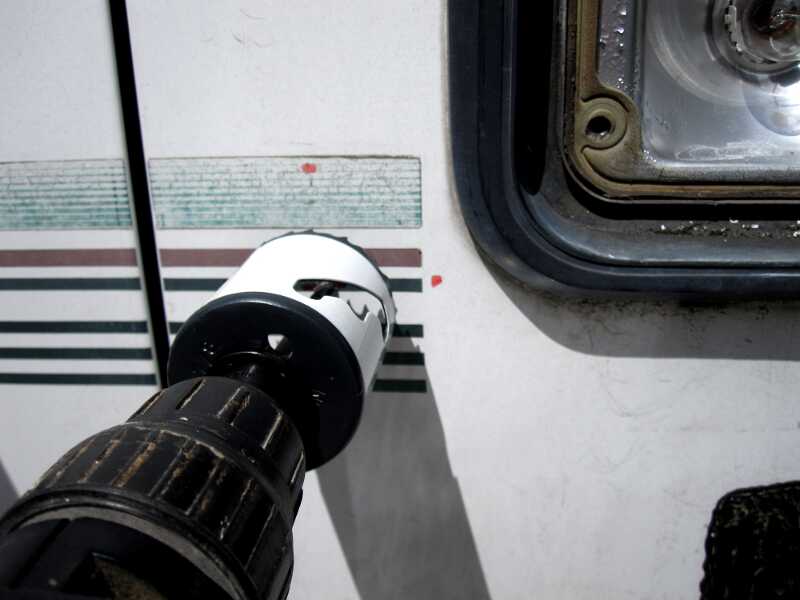
 The instructions for the inlet indicated a 1-7/8” opening which required me to buy a new bi-metal holesaw. With all the tools at hand, I could start by marking the exact location of the hole.

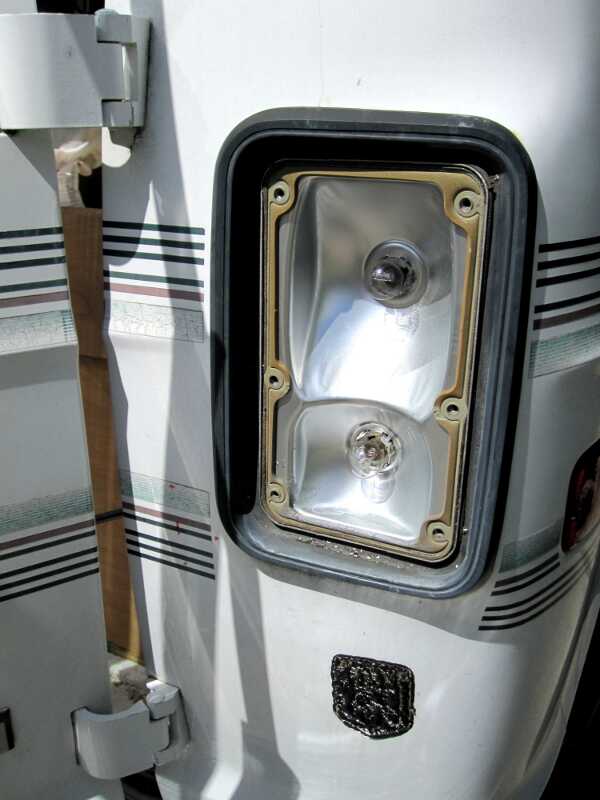 Because limited workspace inside, I was going to try to remove the brake light to have better access. Faced with some old seals, that I didn’t want to damage, I quickly decided otherwise.
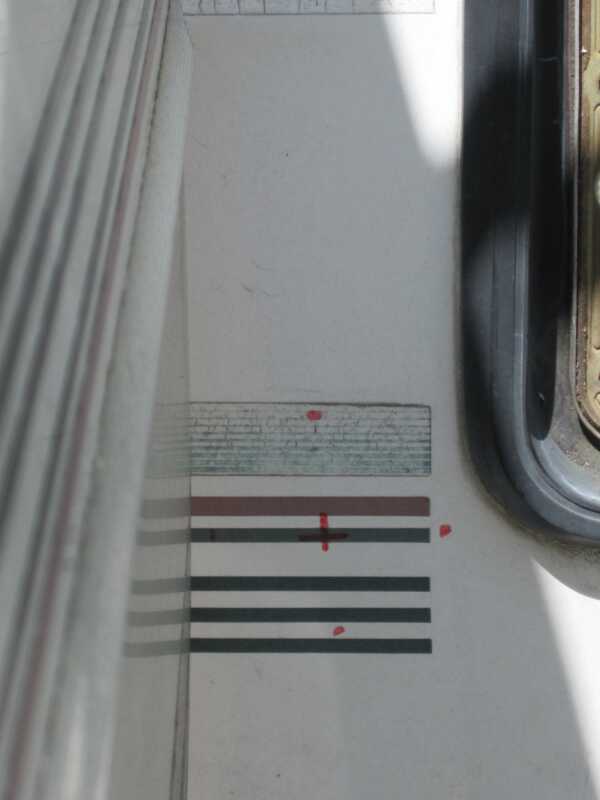 After some aligning and double checking, I marked the spot. As the location is very
close to the rear door, I made sure that the inlet could be accessed, while the door was opened.
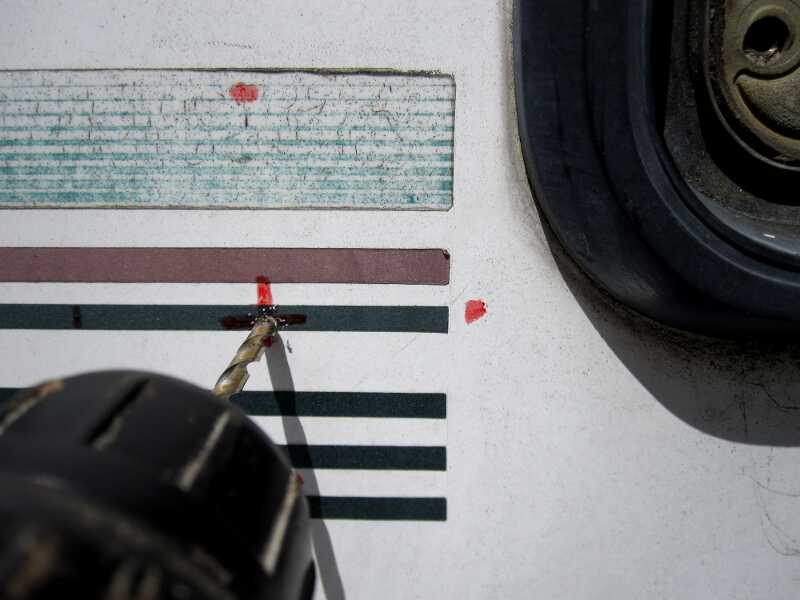
 Before turning to the holesaw, I drilled a small pilot hole.
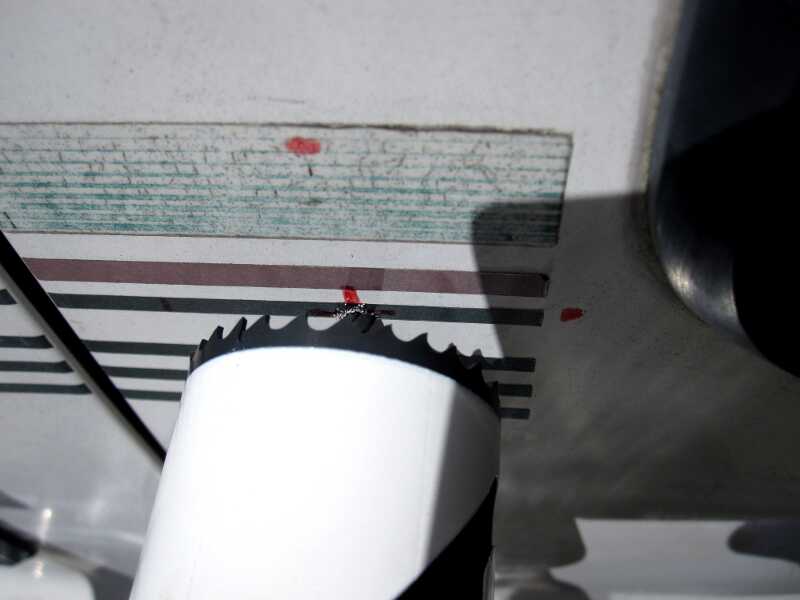

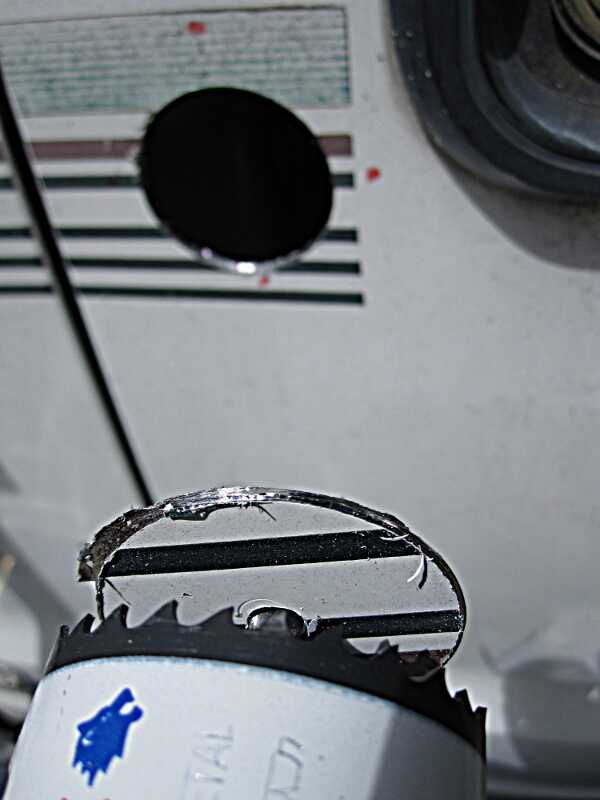
With a starting point established, the holesaw went through the metal like butter.
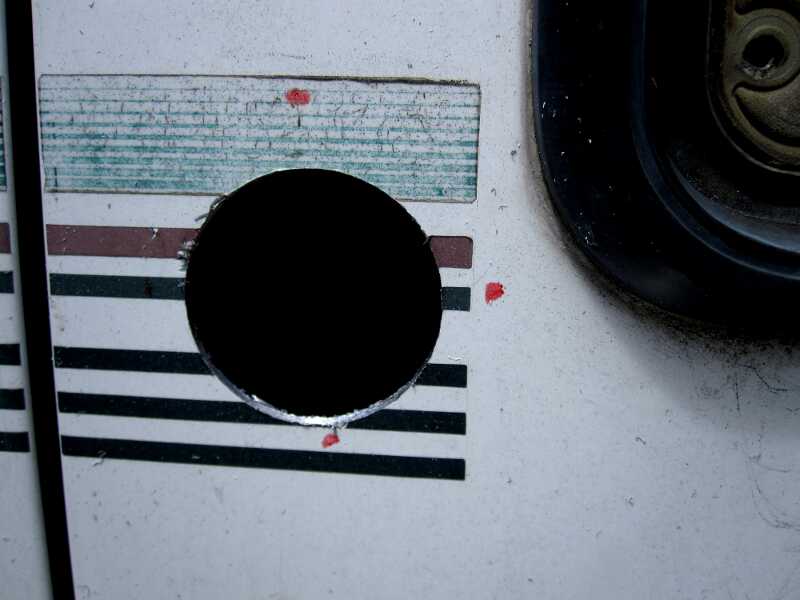
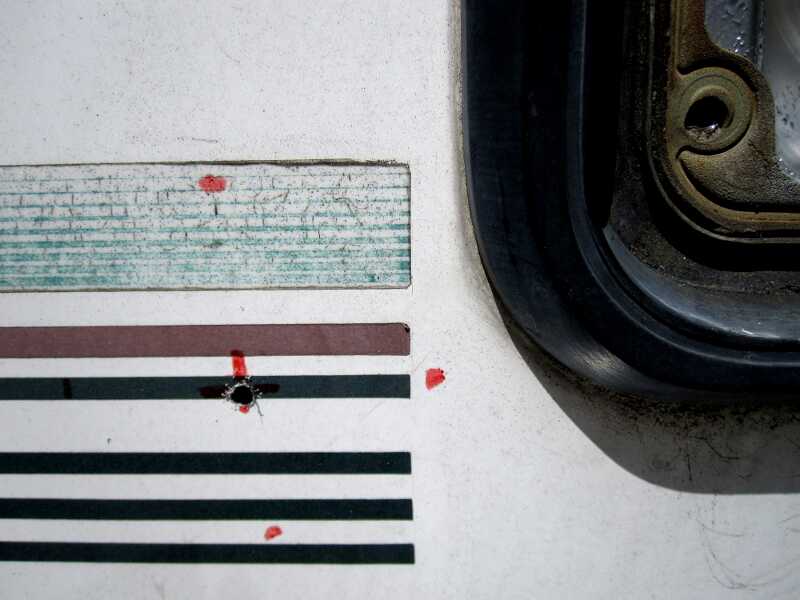
 It all worked out great. In less than half a minute, a perfectly round hole was established. Only a few rough edges remained.
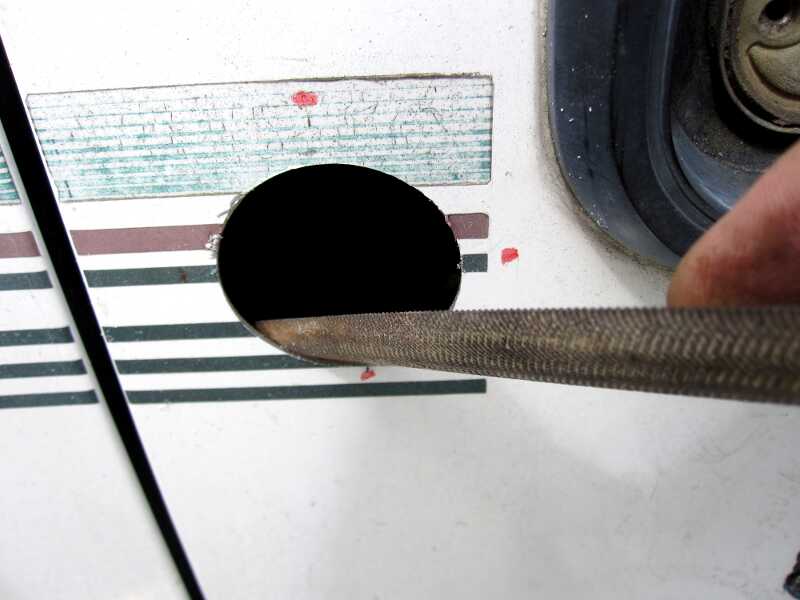


A few minutes with a file, followed by my trusted sandpaper create a perfect finish.

Now the exterior fitting.
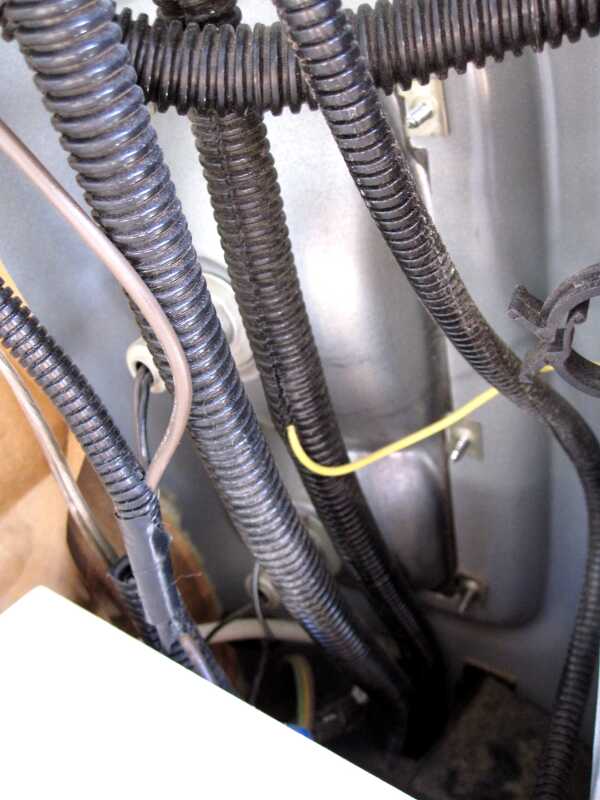
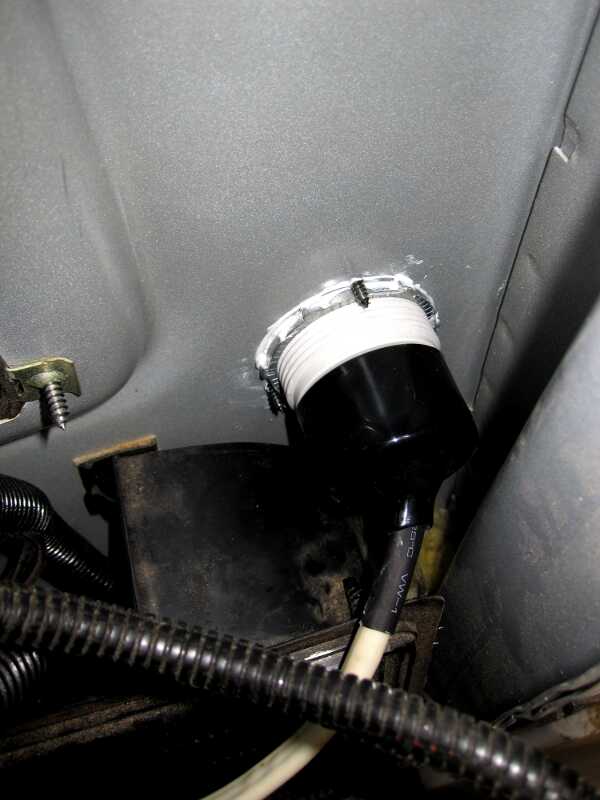
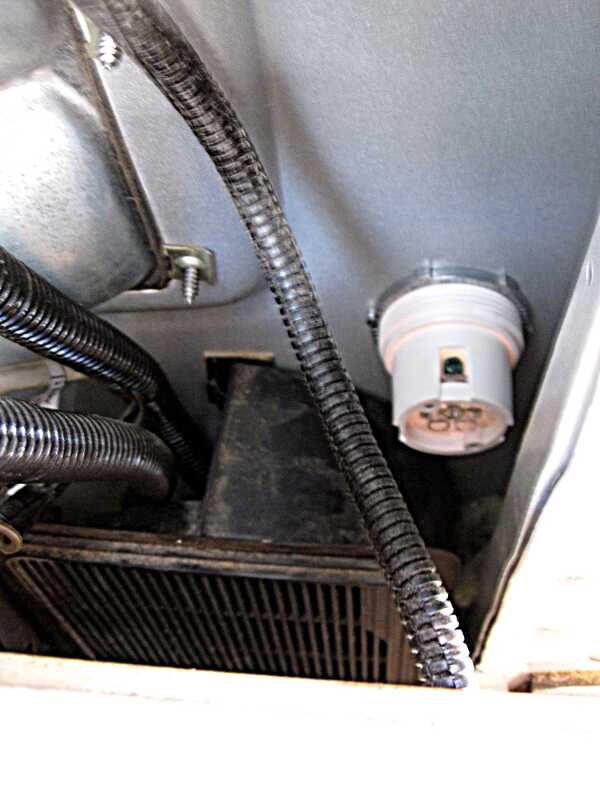 And interior checkup.
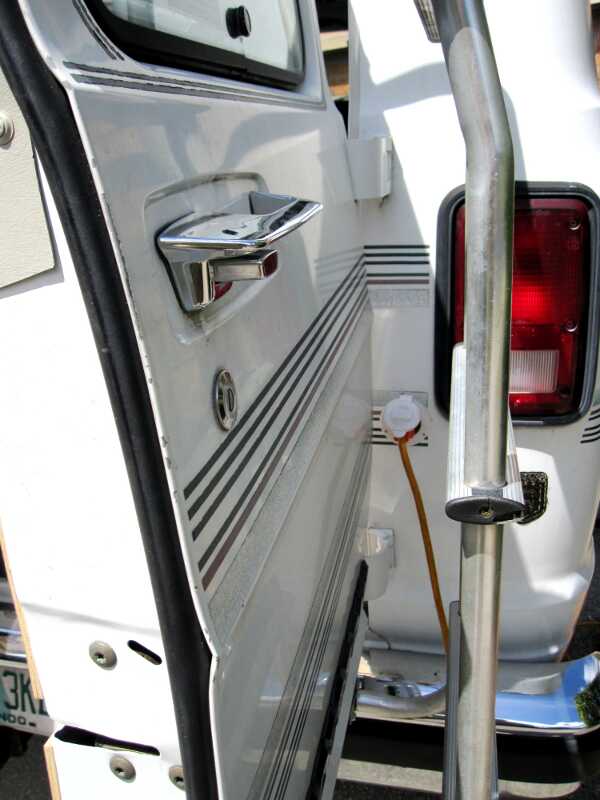
 Final inspection shows that the extension cord is not obstructed by the rear door.
Since everything is a perfect fit, it’s time to put everything together.
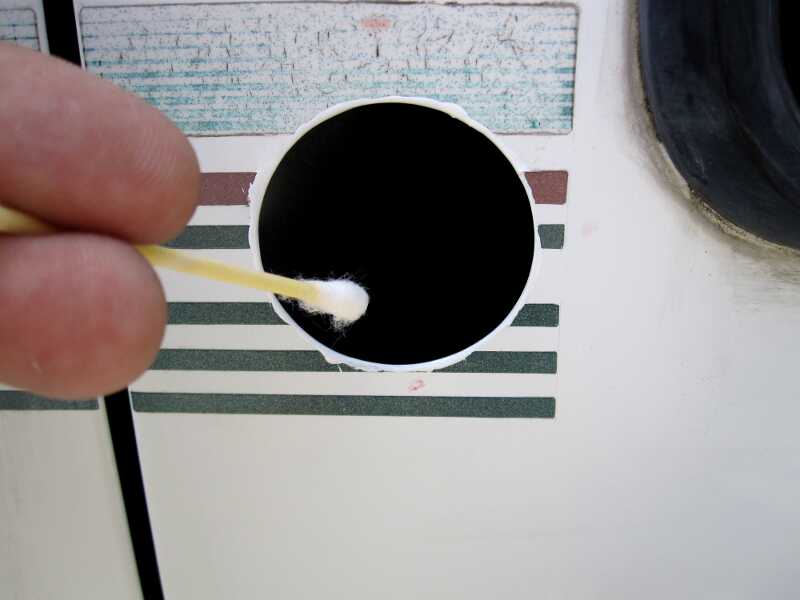 First cover the bare metal with some paint. I spray some paint in the cap of the spray can and dab it onto exposed metal.
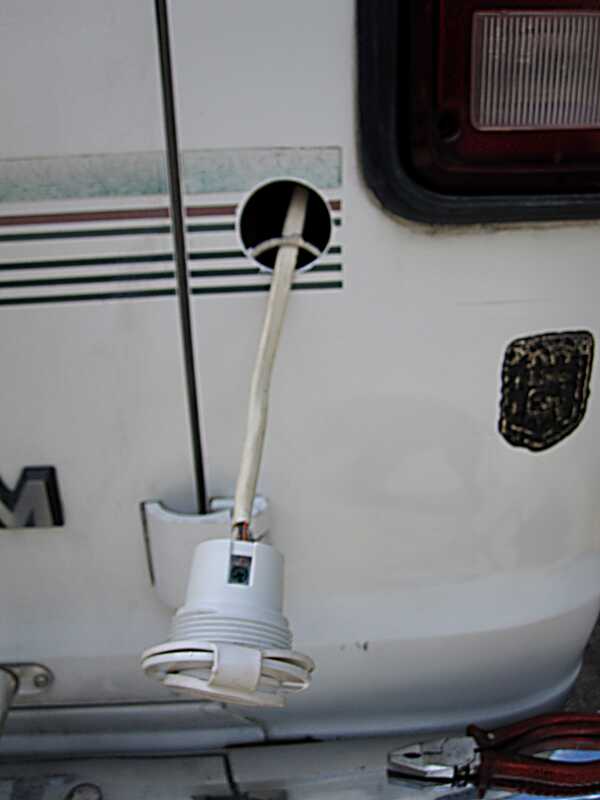
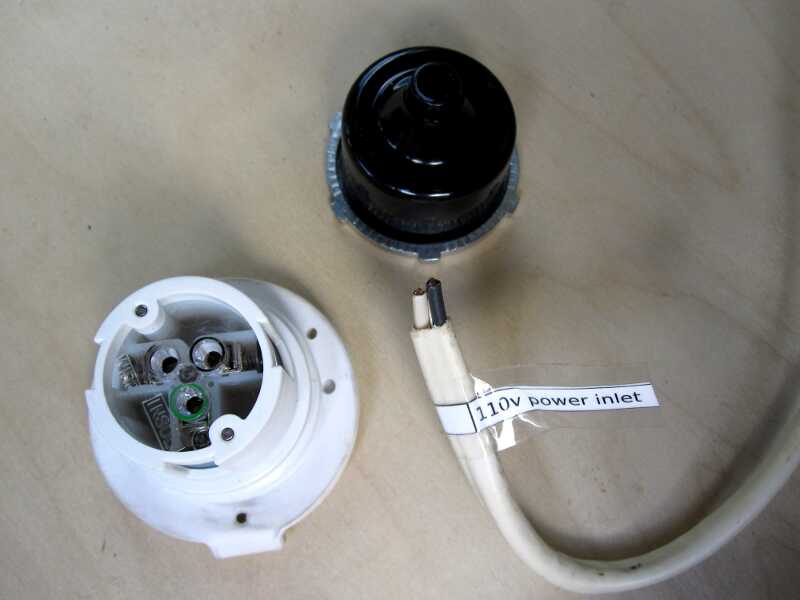 While the paint dries, I pull out the battery charger wire and prepare the components of the socket.
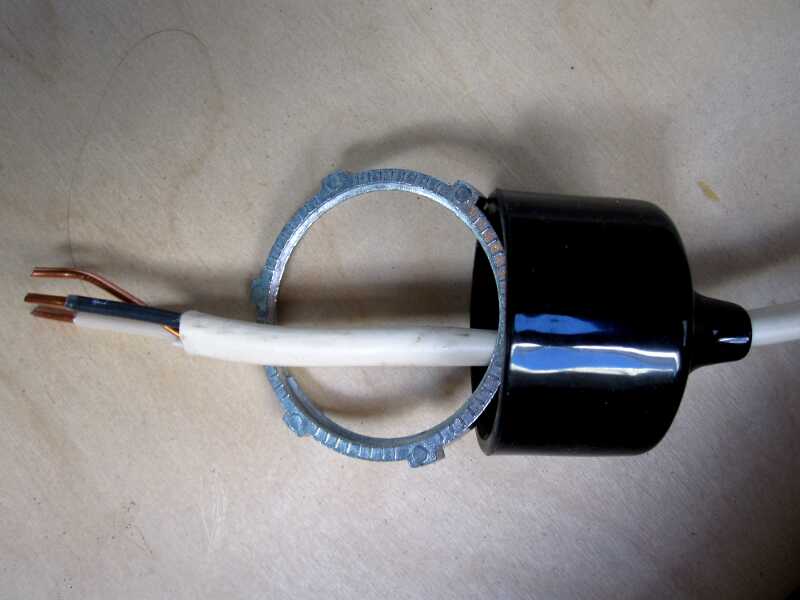 First the outlet rear cover and the metal attachment ring slide onto the wire.
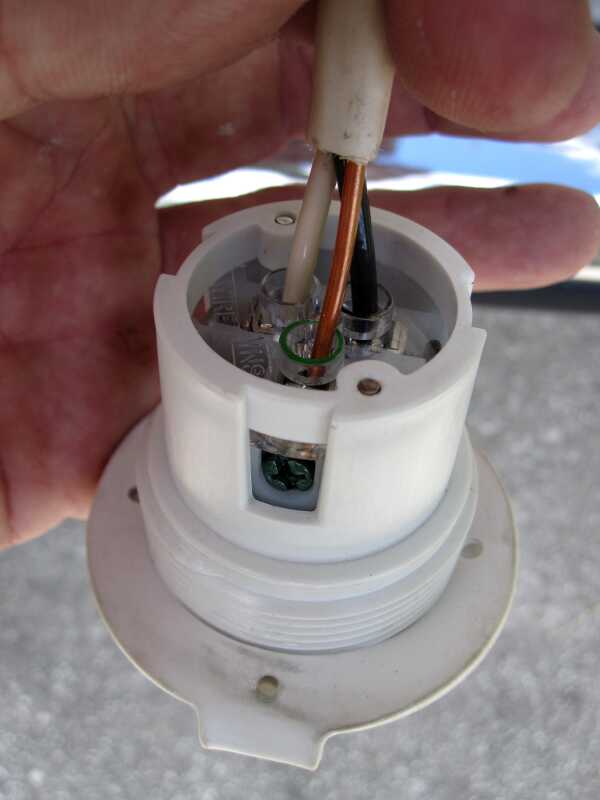 The wire is guided through the hole to the outside. I almost forgot a piece of heat shrink, but that is added before attaching the socket to the wire. The power inlet has a blank, black and green wire opening, as well as a silver, black and green connection screw, which makes it a foolproof installation.

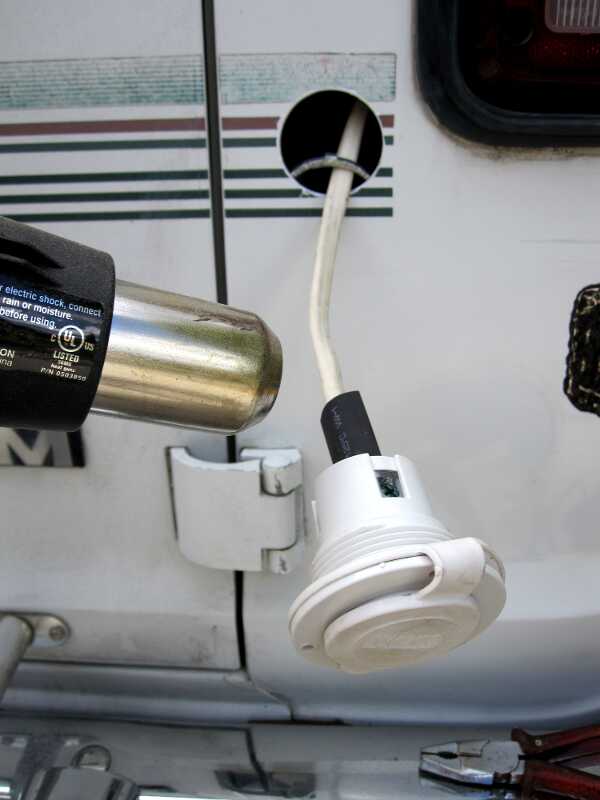
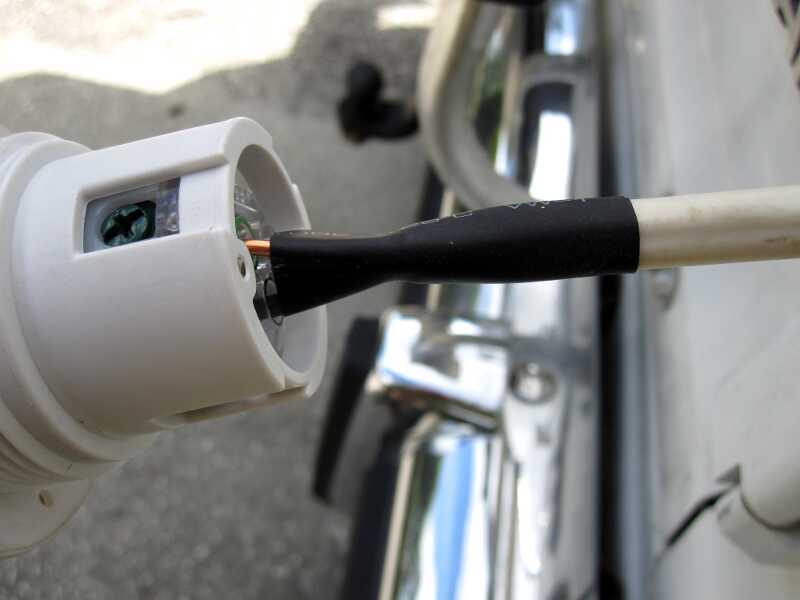
The heat shrink is slid in place and heated for a perfect fit.
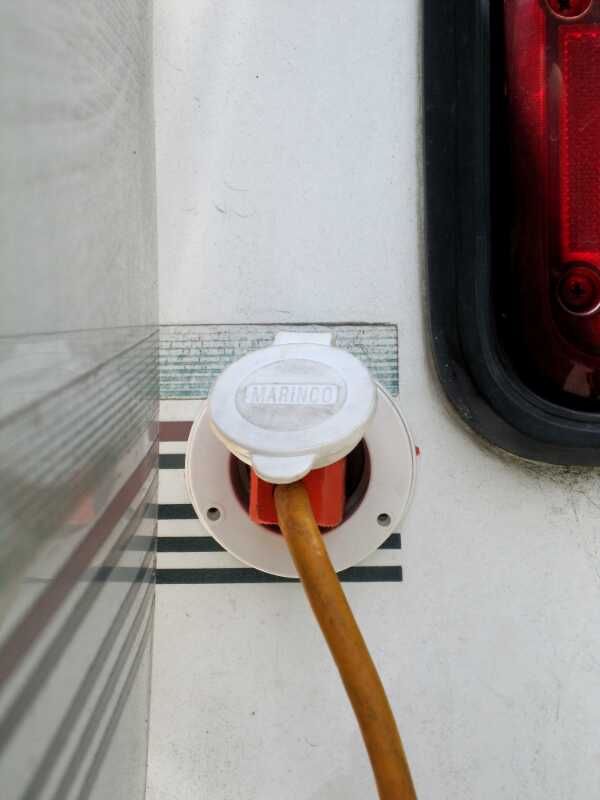
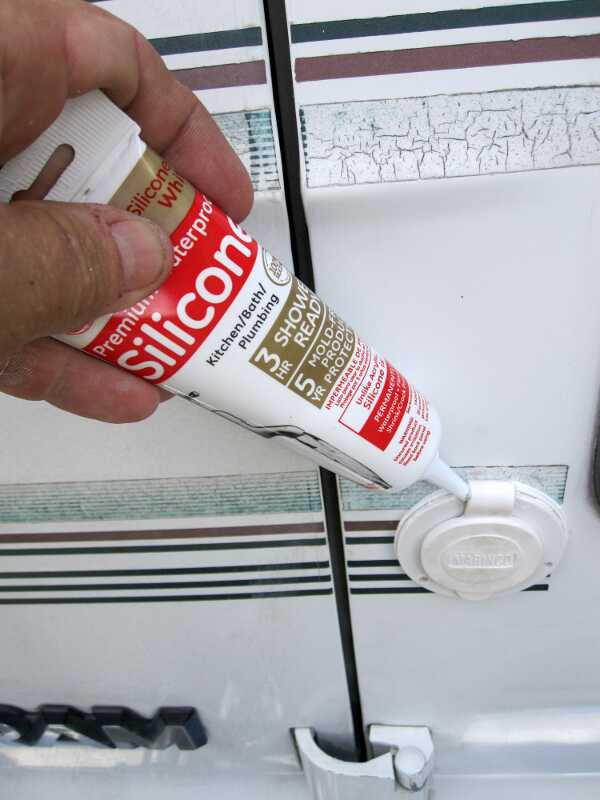 After I applied Silicone II as a weather barrier, the socket is attached to the van with the metal ring on the back. Finally the outlet is capped with the included black cover.

 Not necessary, but I also used the three included screws, mainly to cover the predrilled holes in the white ring.

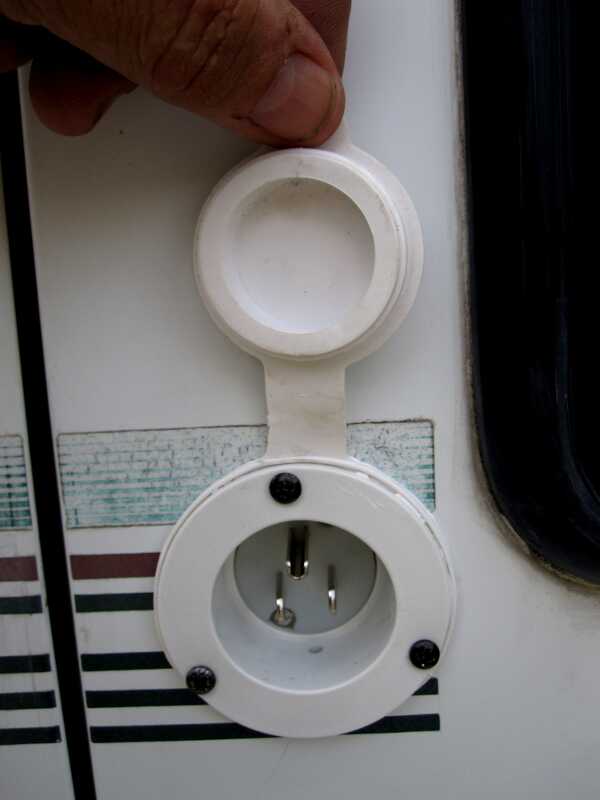

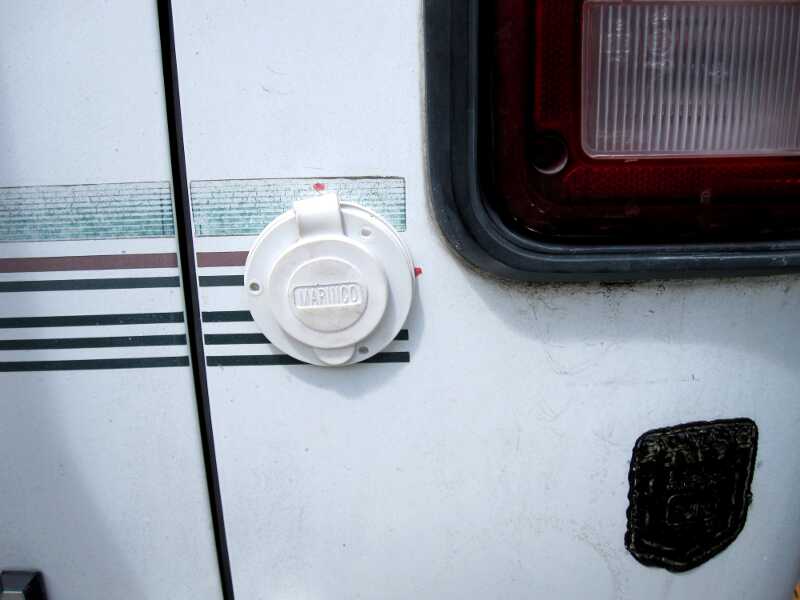
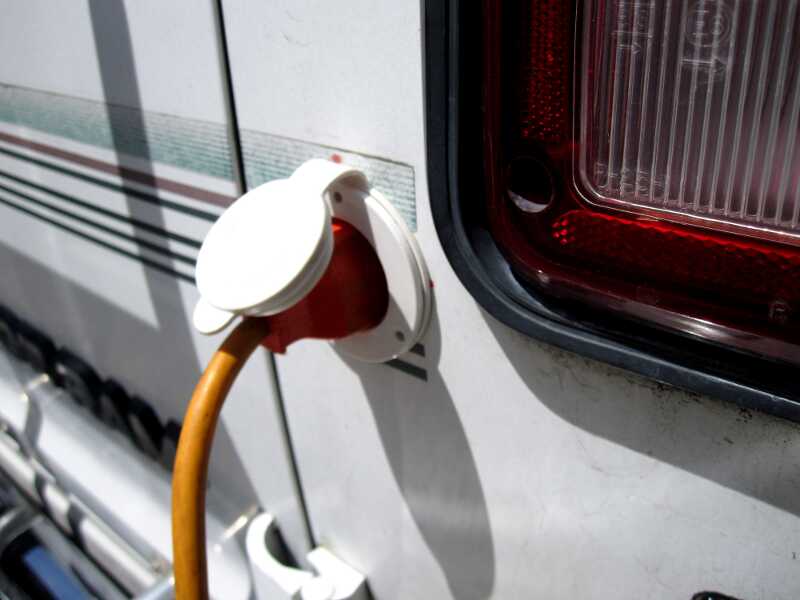
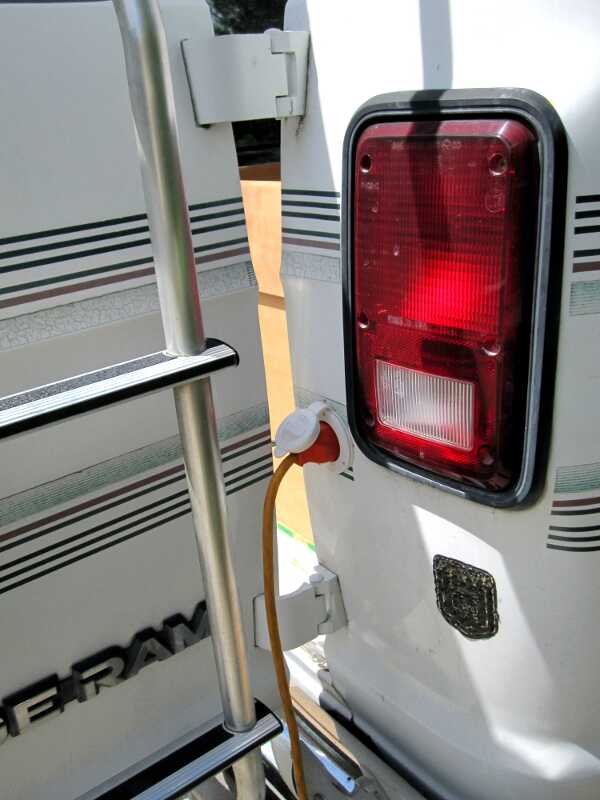
The finished 110V power inlet.