In this final stretch, I finish and install the countertop, add some Formica around the fridge and a panel surrounding the side kitchen window.
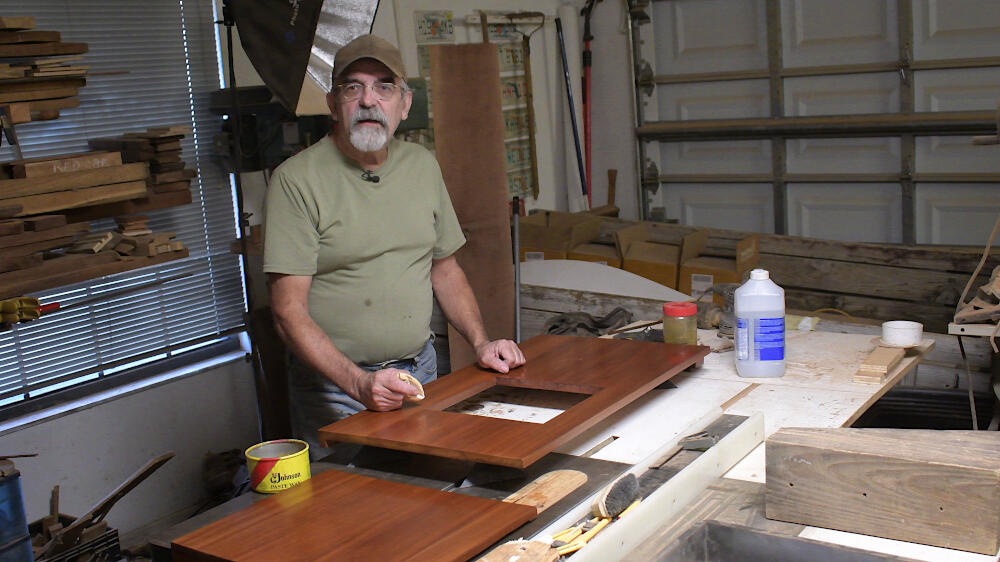
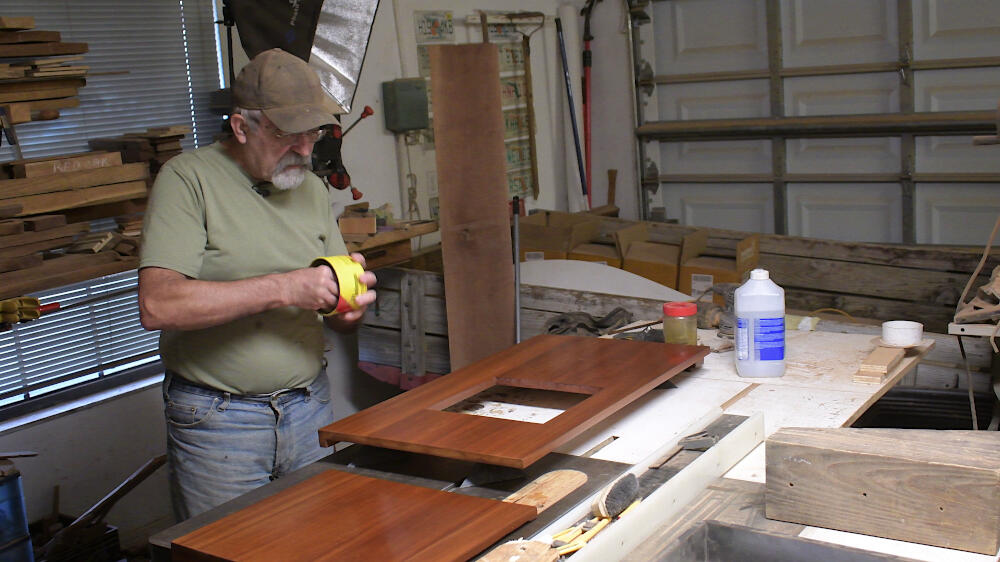
Countertop
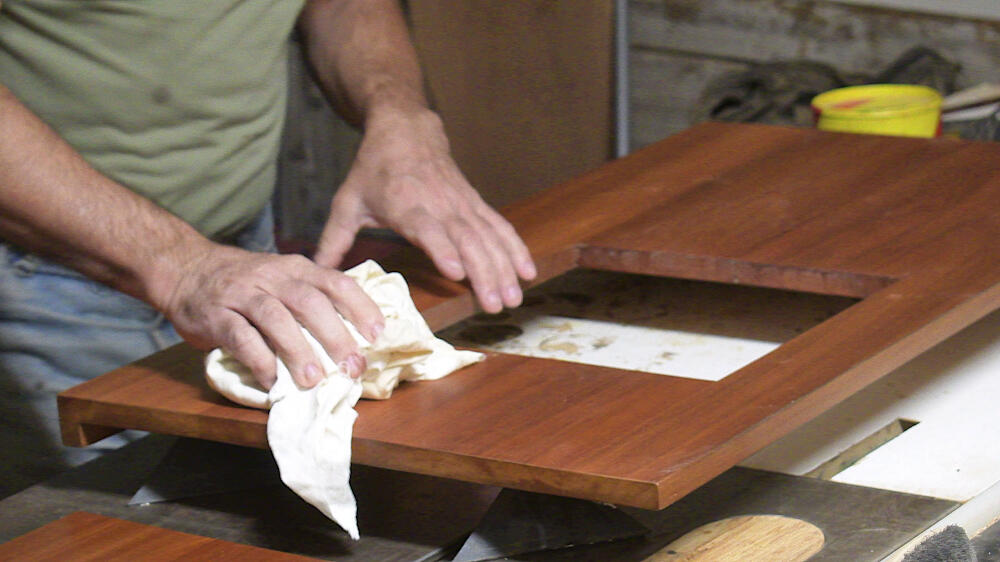
The countertop is finished with four coats of Shellac and three thin coats of Poly-Urethane on top. Before I install it, one or two coats of regular furniture wax, will make it shine.
[videojs_hls url=”https://d3as8i8c4awtvd.cloudfront.net/b4774d27-38f6-46a9-ac68-32009edd44d3/AppleHLS1/AWS-RV-Kitchen-Cleanup_Ott_Hls_Ts_Avc_Aac_16x9_1280x720p_30Hz_6.0Mbps_qvbr.m3u8″ mp4=”https://d3as8i8c4awtvd.cloudfront.net/b4774d27-38f6-46a9-ac68-32009edd44d3/FileGroup1/AWS-RV-Kitchen-Cleanup_Mp4_Avc_Aac_16x9_1920x1080p_24Hz_8.5Mbps_qvbr.mp4″ poster=”https://cargovanconversion.com/wp-content/uploads/2021/11/featured-image.jpg” width=”1280″ preload=”none”]
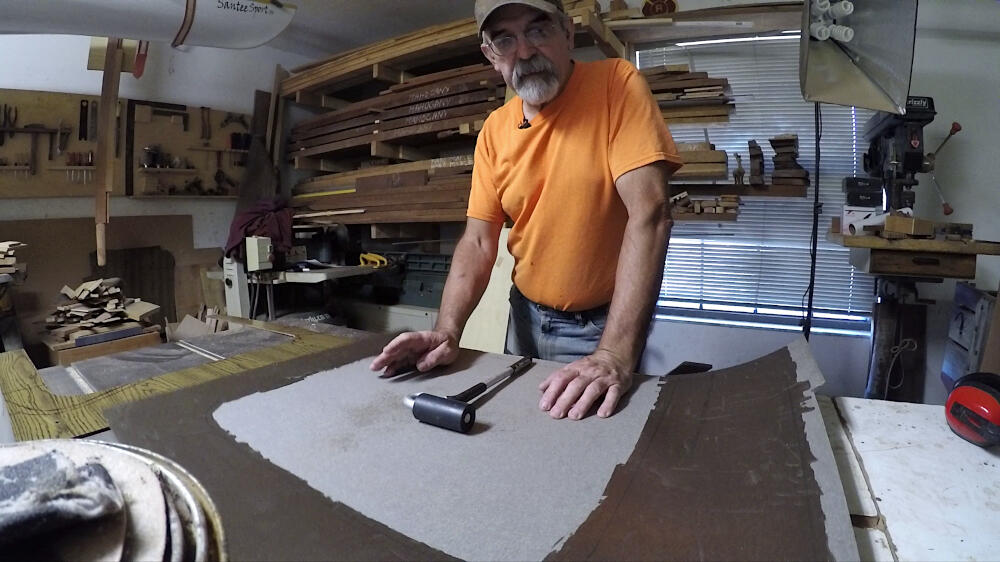
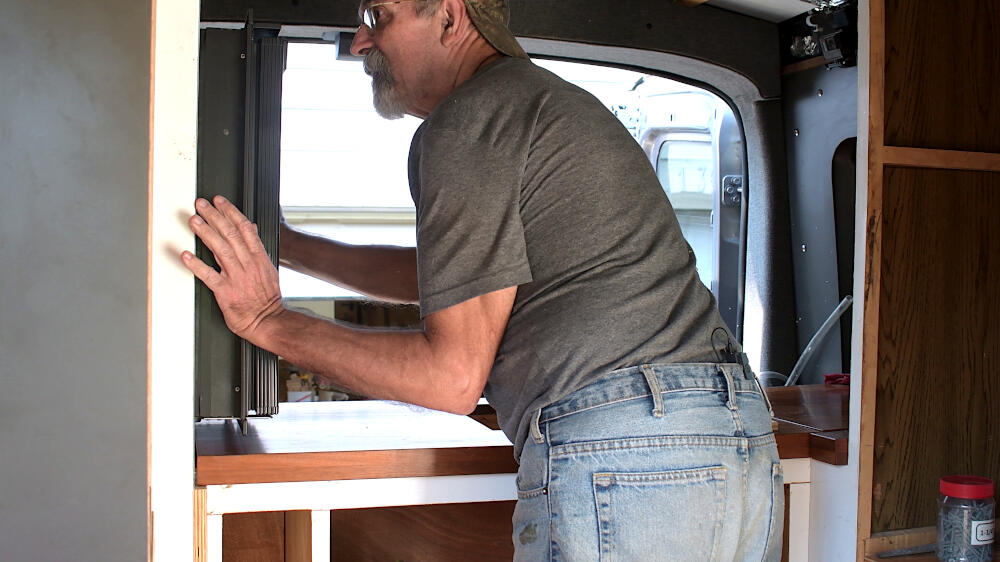
Window Panel
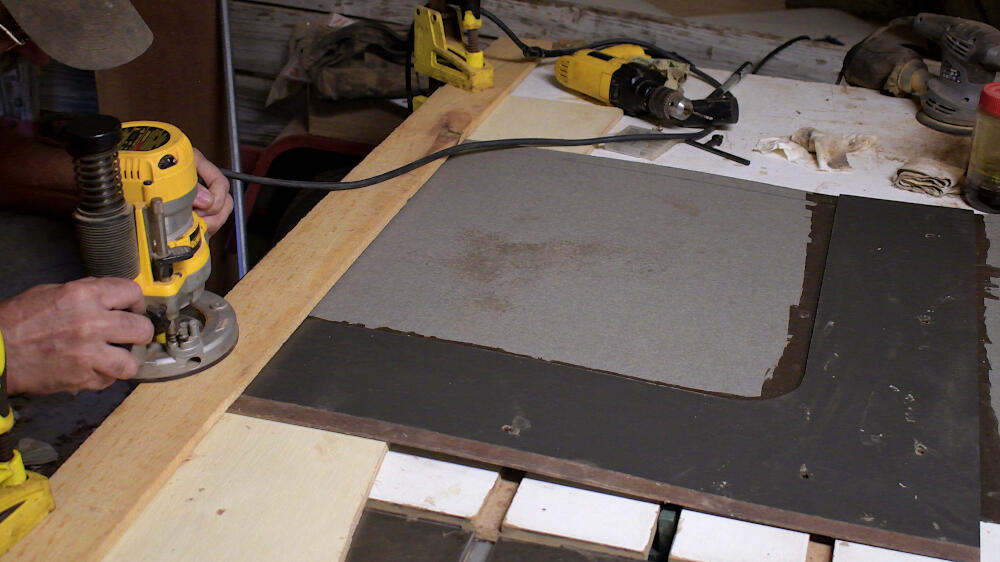
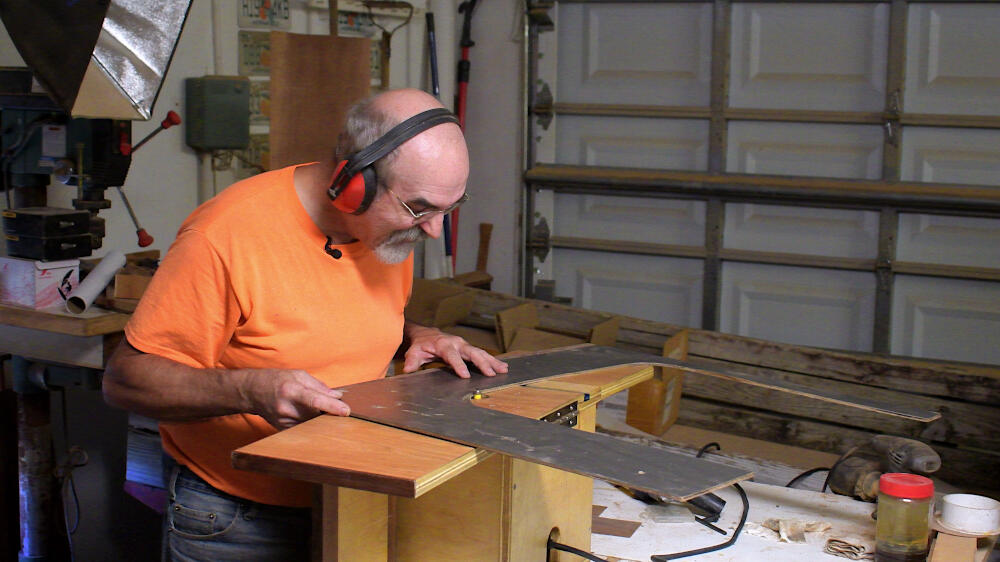
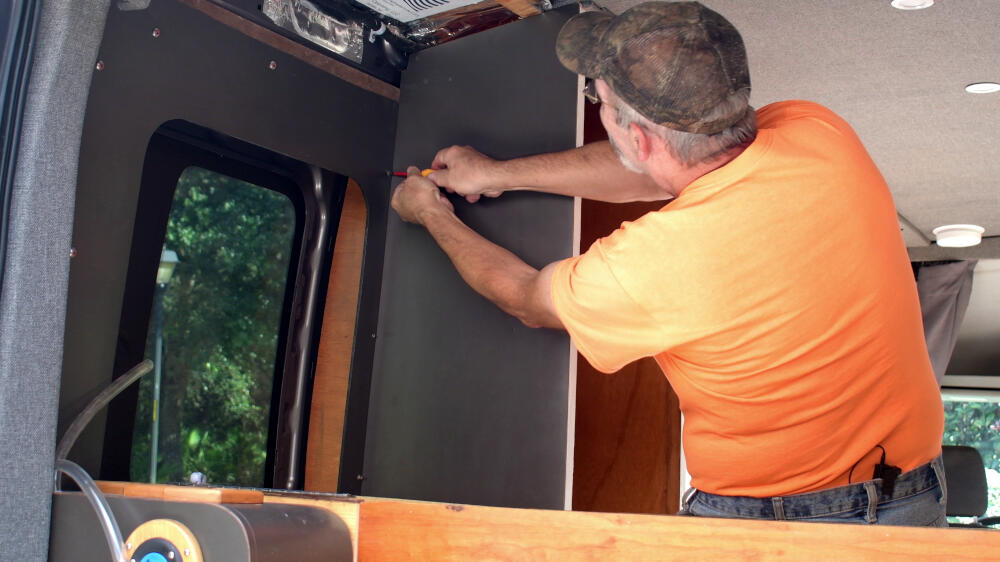
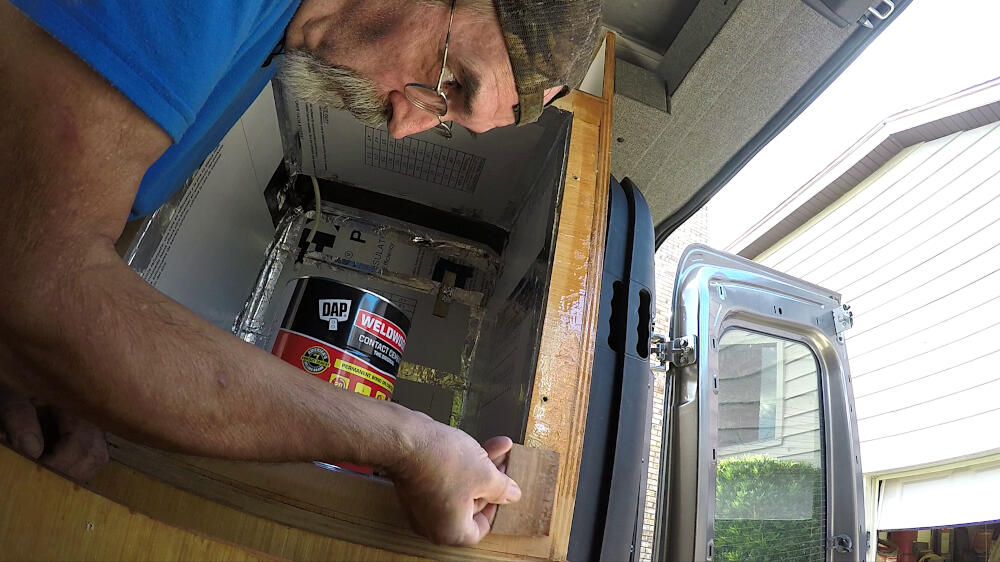
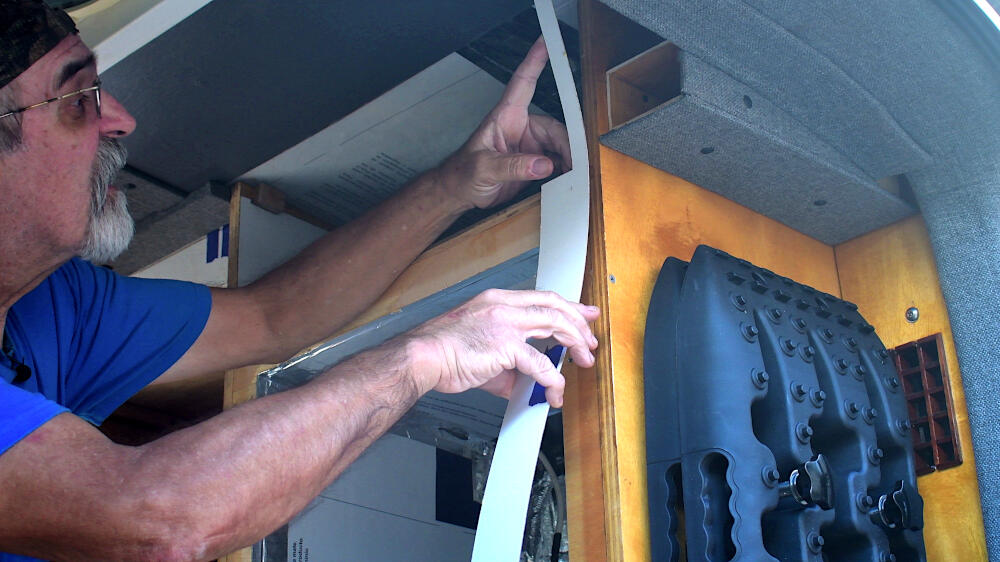
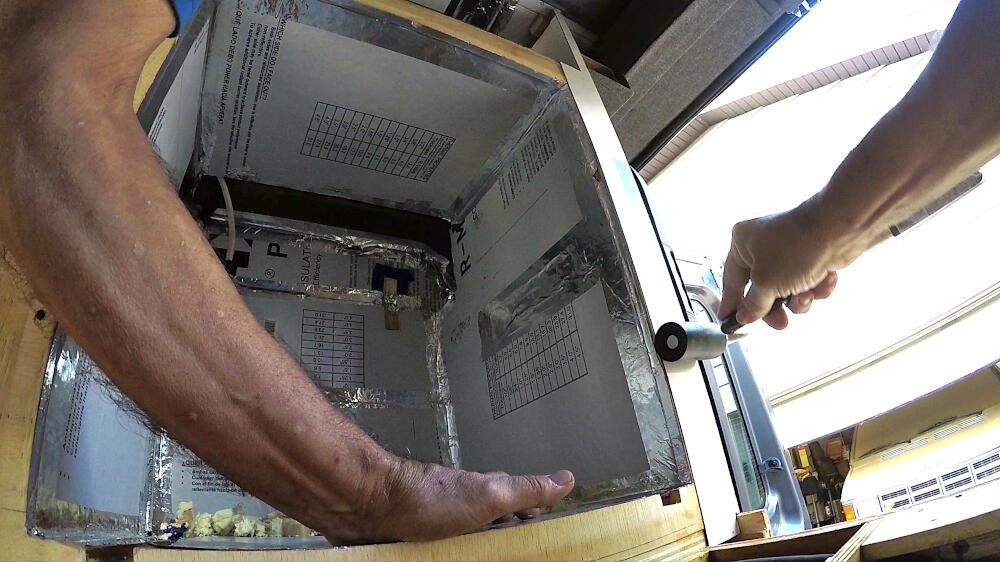
I cut a thin piece of board, to fit around the kitchen side window. Use contact cement to glue Formica to both sides; this will give it extra protection, while cooking. A combination of table saw and router makes a snug fit and some black spray paint is applied to the thin, inner edge.
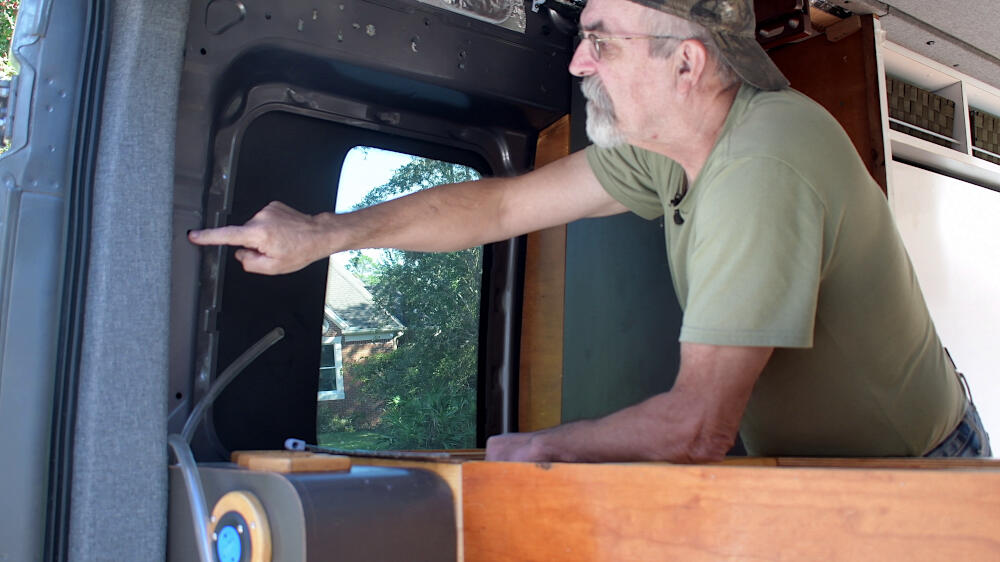
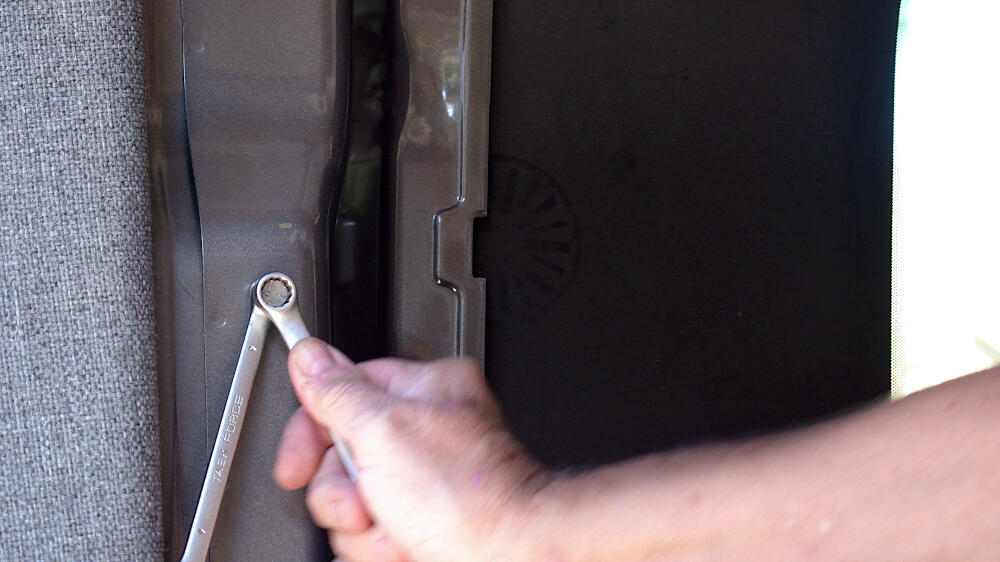
The panel is attached to the metal wall with Plusnuts (link to Plusnut video) and several screws.
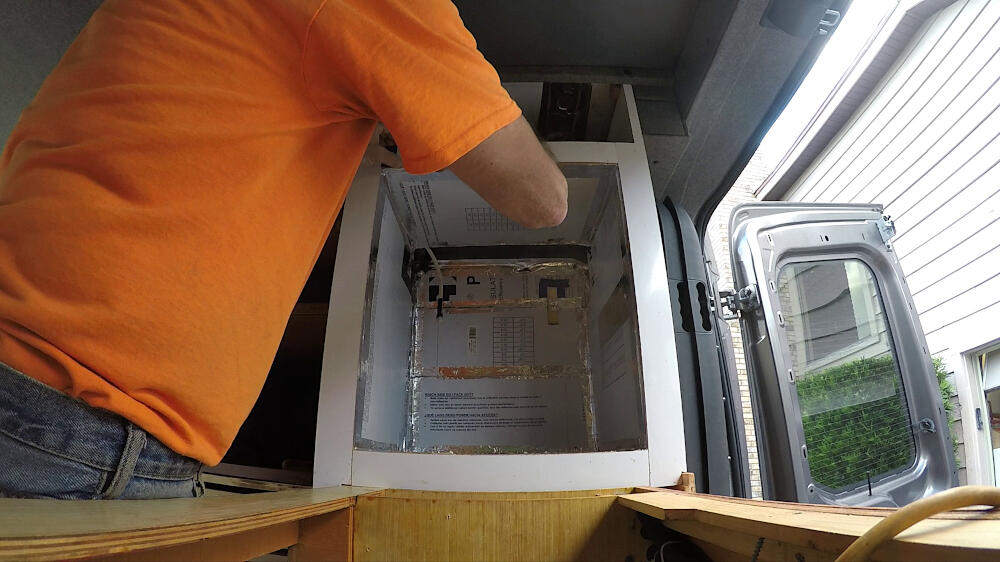
Formica
The fridge cabinet gets some missing Formica, which brings me closer to a finished van.
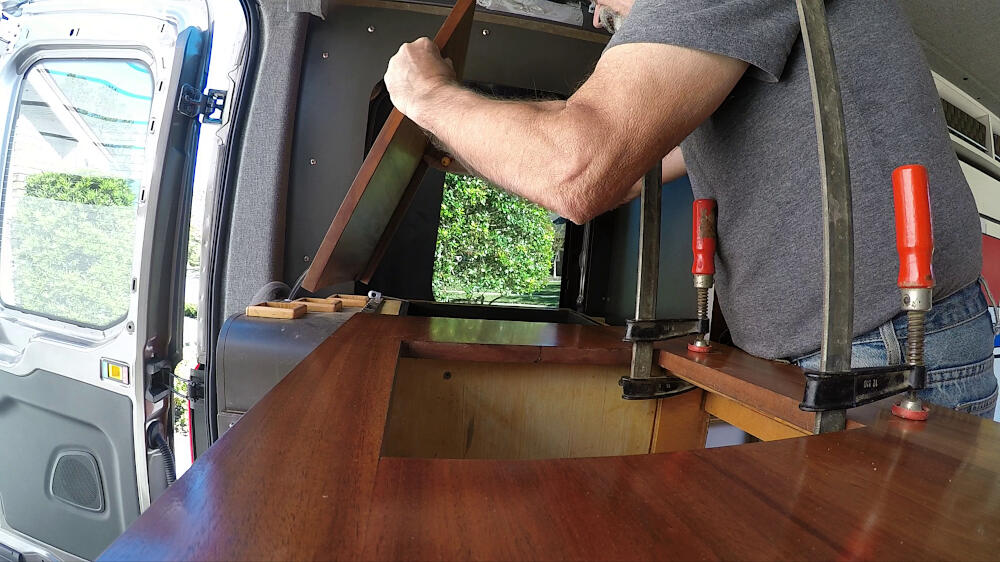
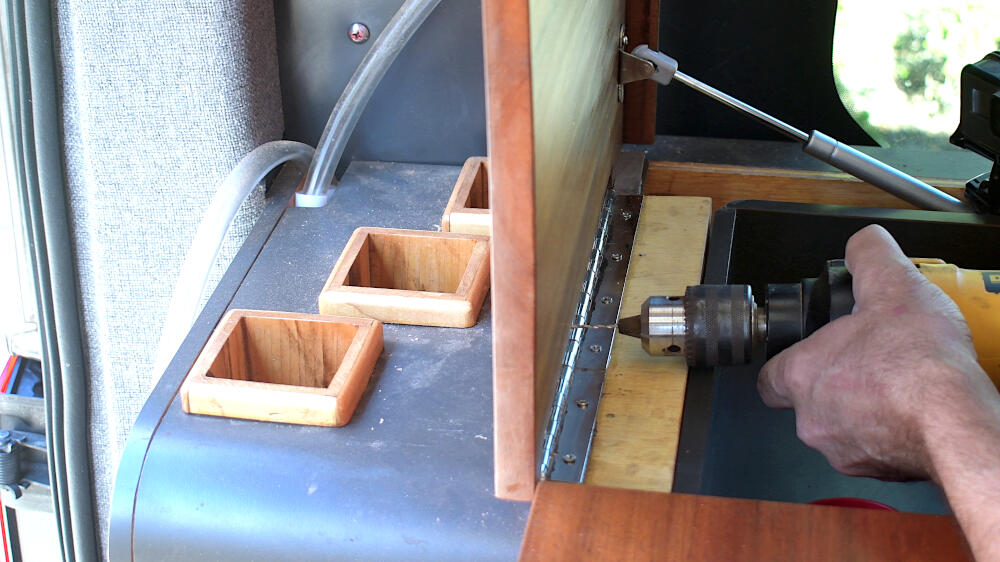
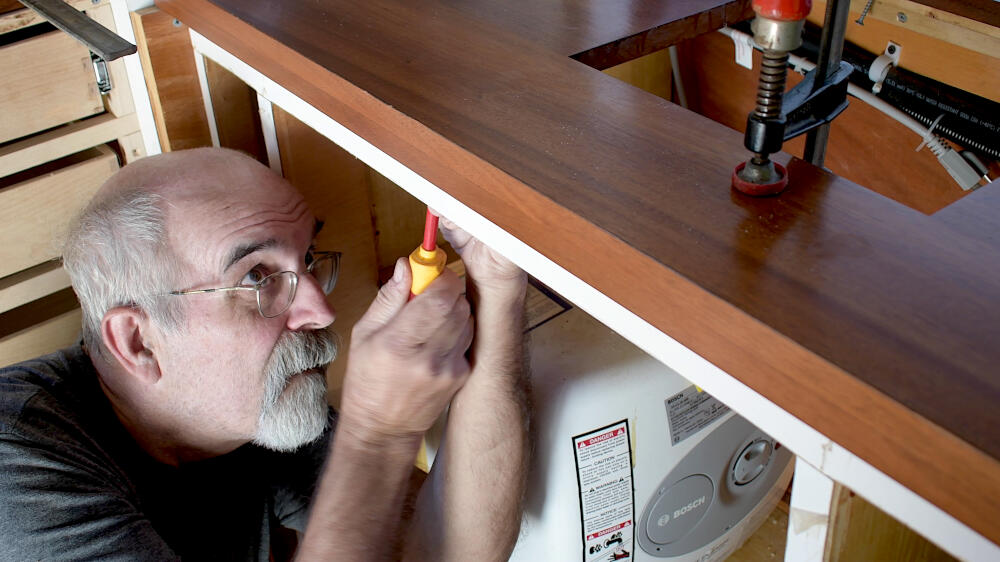
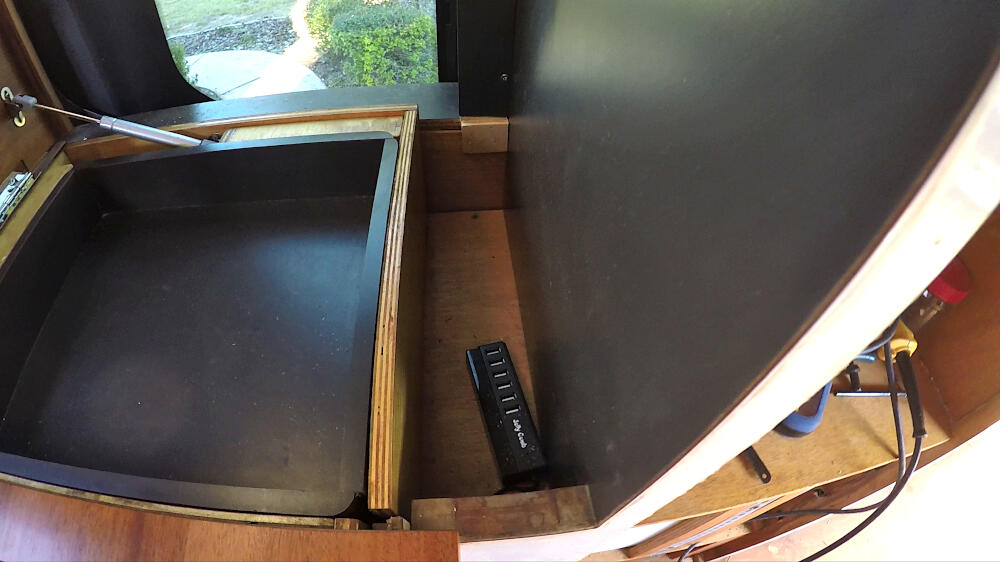
Countertop Installation
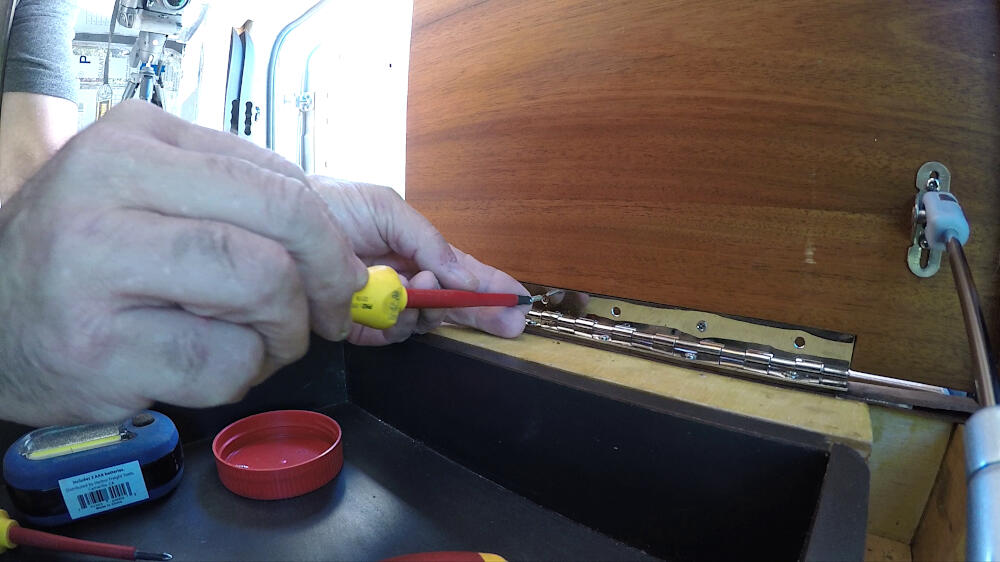
Time now for the Mahogany countertop. I start with the induction cooktop cover; installed the hinge after lots of fine-tuning. With that done, the main countertop is fitted against it and attached with wood screws. At the front side, I use slots in which the screws can slide, when the wood expands or contracts during the seasons.
Re-installation of the fridge completes the job.