Van Mods
This time I make some repairs to the sliding door of my Ford Transit, I finish the ceiling installation and find a storage solution for my water filter.
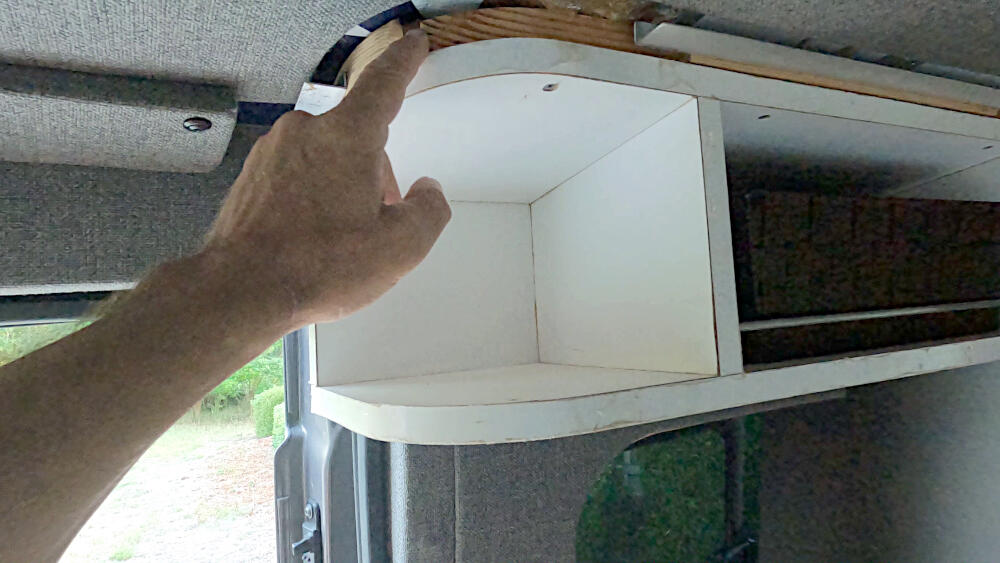
CEILING
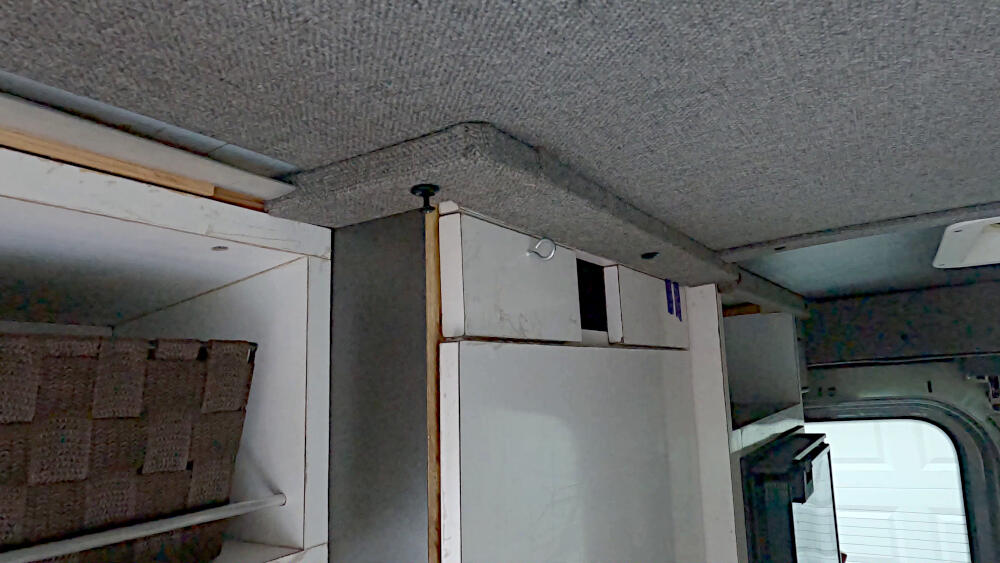
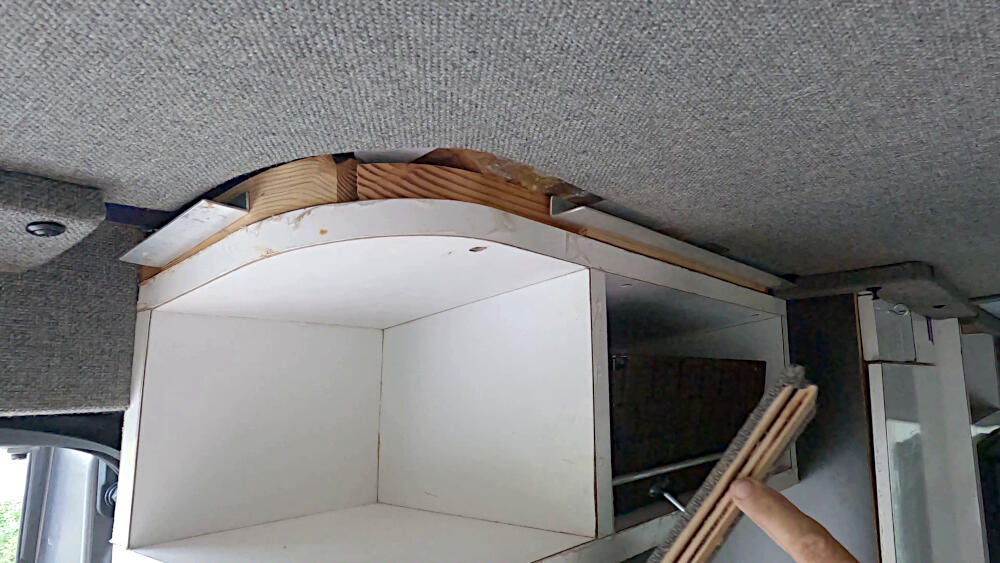
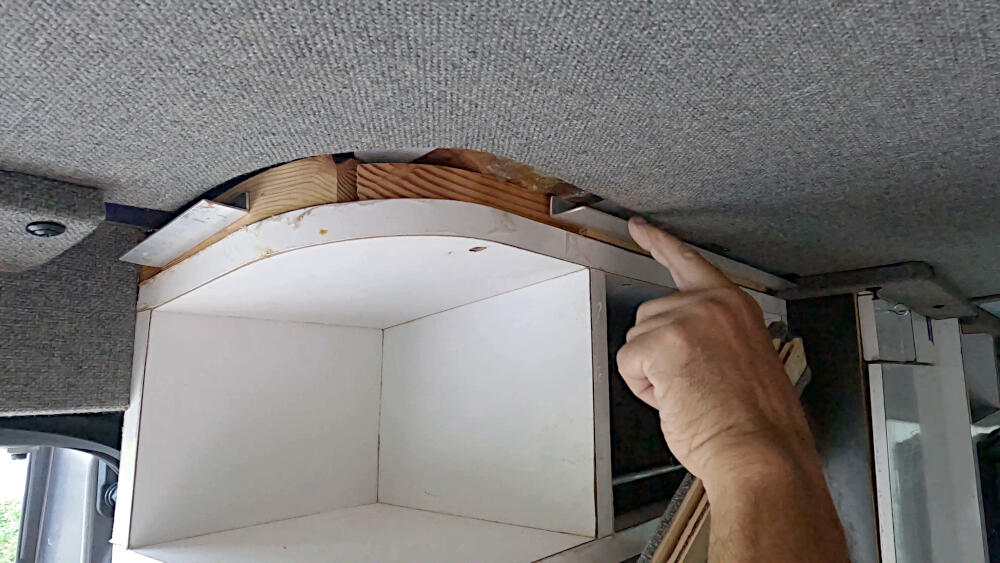
Still had to finish part of the ceiling edge of the van, which holds up the ceiling at the edges.
The rounded corners were a little tricky to make, but in general fairly easy to install.
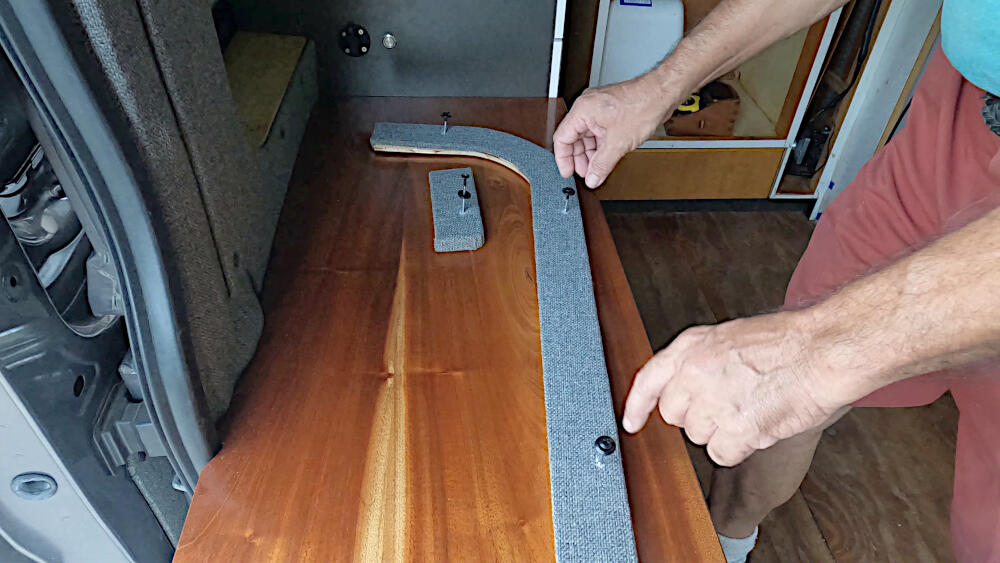
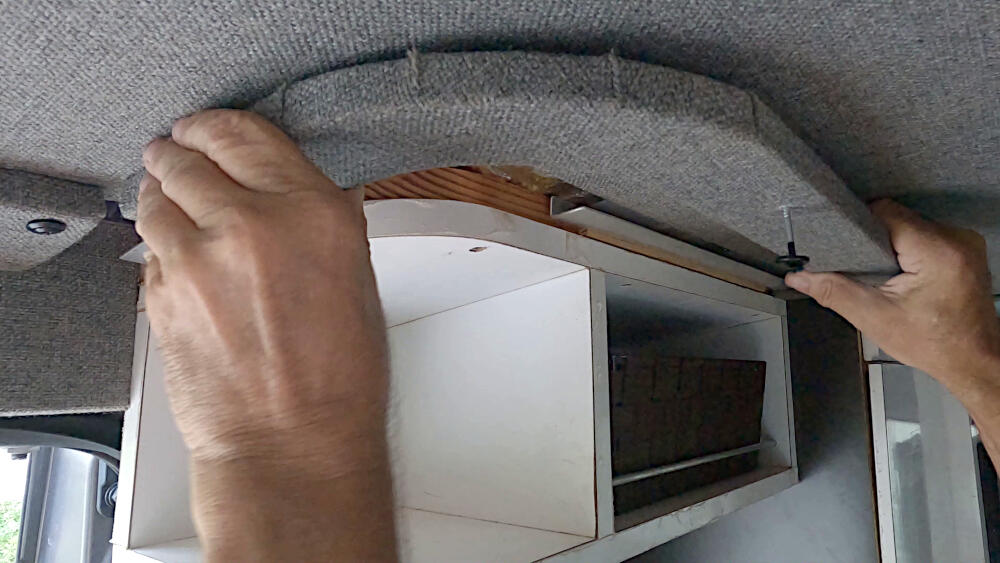
The edge has a groove on the inside, that fits over aluminum brackets, fixed to the walls. Just sliding the edge onto the bracket is sufficient to hold the ceiling in place.
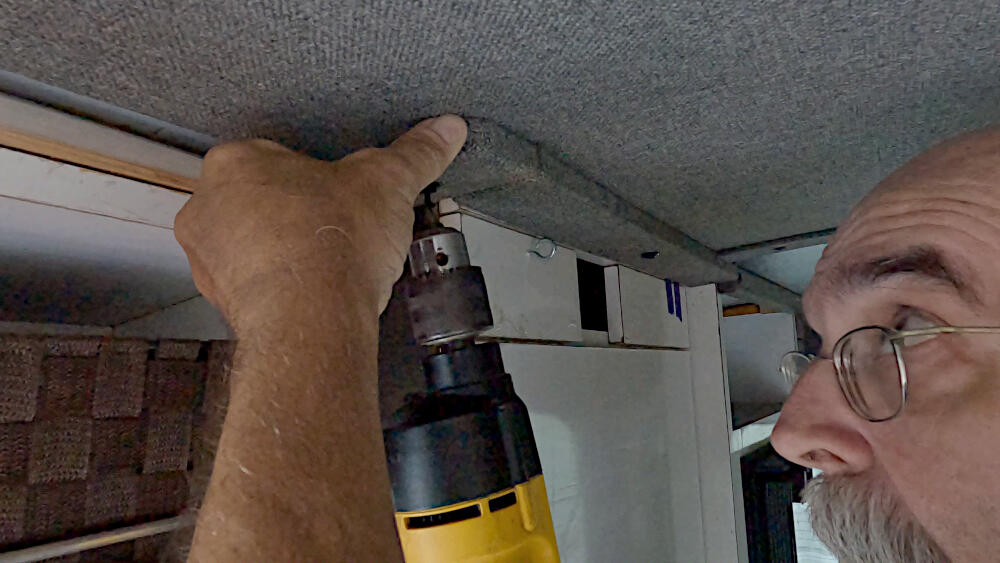
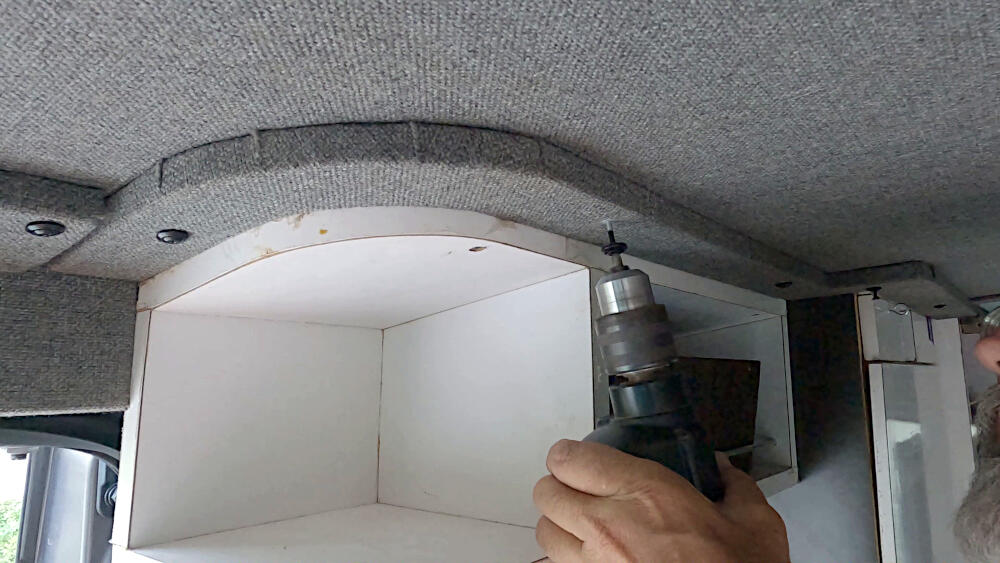
Adding a few screws, finishes it off. The black-headed screws that I could find were a bit too long; while not perfect, just cutting them to the right length, prevents them from going through the roof.
The ceiling edge consists of a piece of 3/4 inch plywood, covered by an UV resisting automotive fabric and held together by a sturdy spray glue.
BERKEY WATER FILTER STORAGE
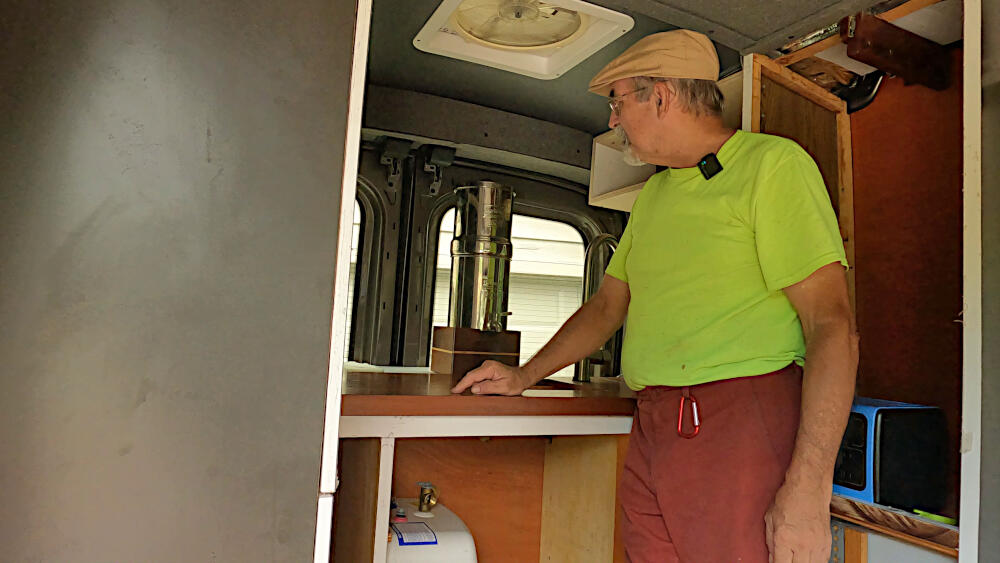
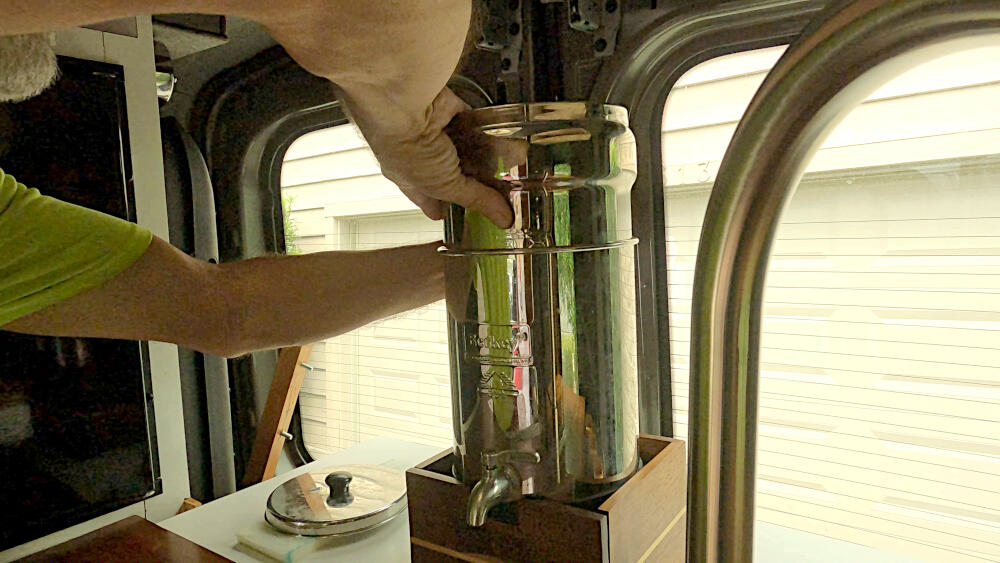
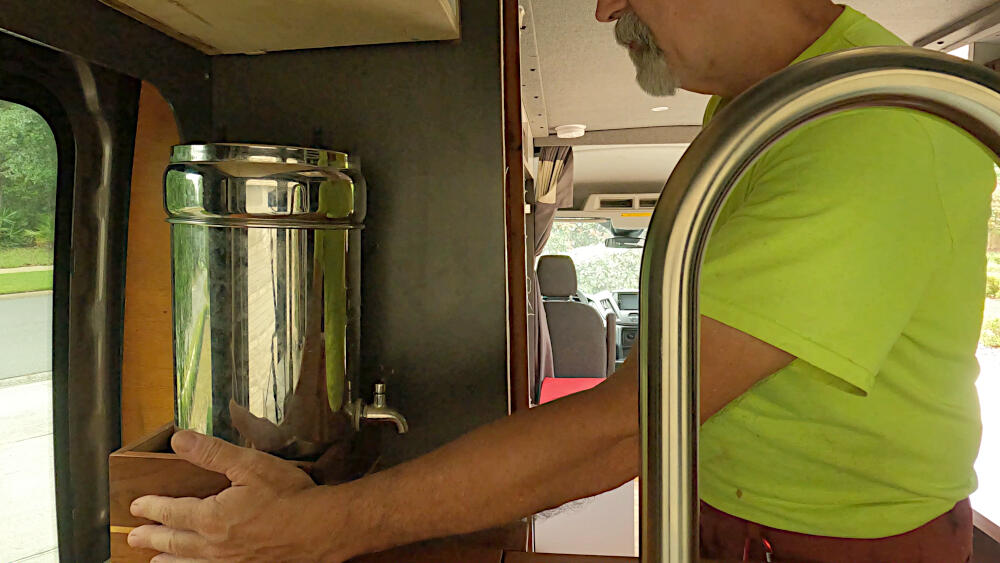
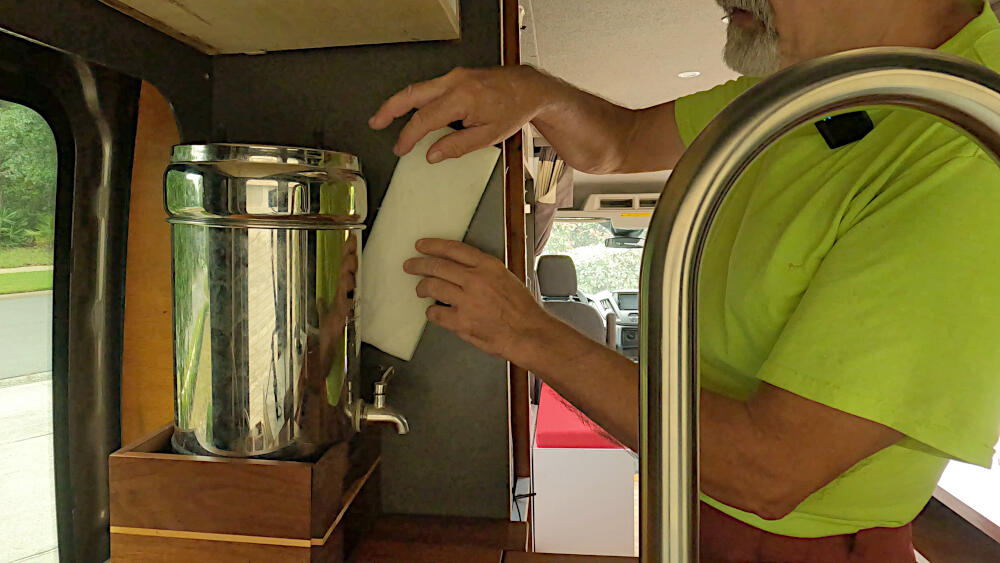
The Berkey filter is usually free-standing when the van is parked. To avoid spilling the water in its container, I have to put it into storage, while driving.

I found a great spot to store it nearby; for it to fit, I need to turn the top half of the Berkey into the bottom half and as such, slide it over to the proper place against the wall.
There I use a simple piece of stretch cord, to hold the water filter in place. I use a small piece of foam between the filter and the wall, to avoid scratches.
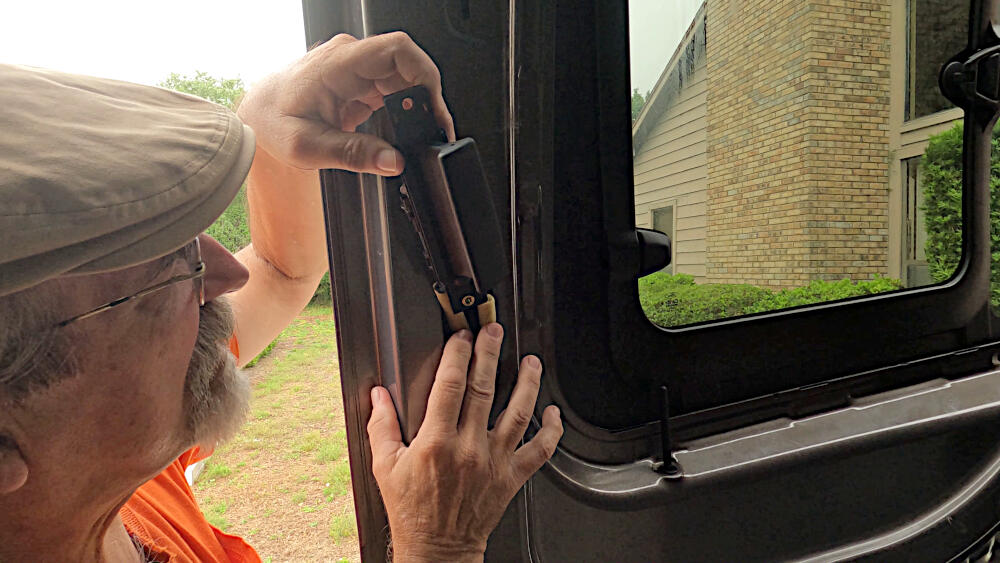
DOOR HANDLE REPAIR
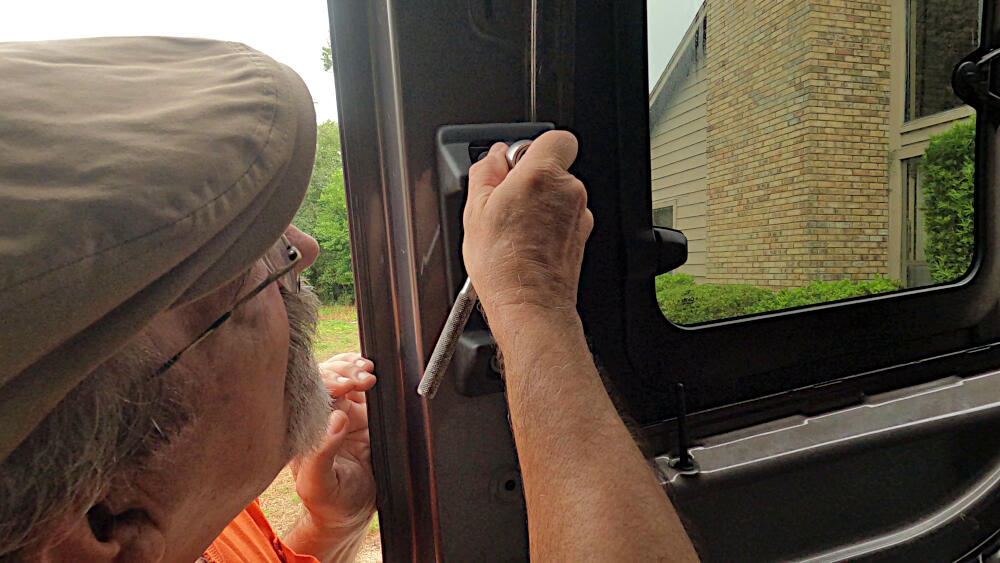
Several months ago the door (un)locking mechanism of the sliding door of my Ford Transit 250 stopped working partially.
Opening and closing the sliding door on the outside has never been an issue. But suddenly unlocking from the inside of an already opened sliding door ceased to function.
To me this was only a minor inconvenience, as it was easy at that point, to unlock that door with the outside handle.
But most recently, the same inside door handle also stopped working, when trying to open the sliding door from the inside, from a fully closed position. Now I had t leave the van through the driver’s side door and open it from the outside first.
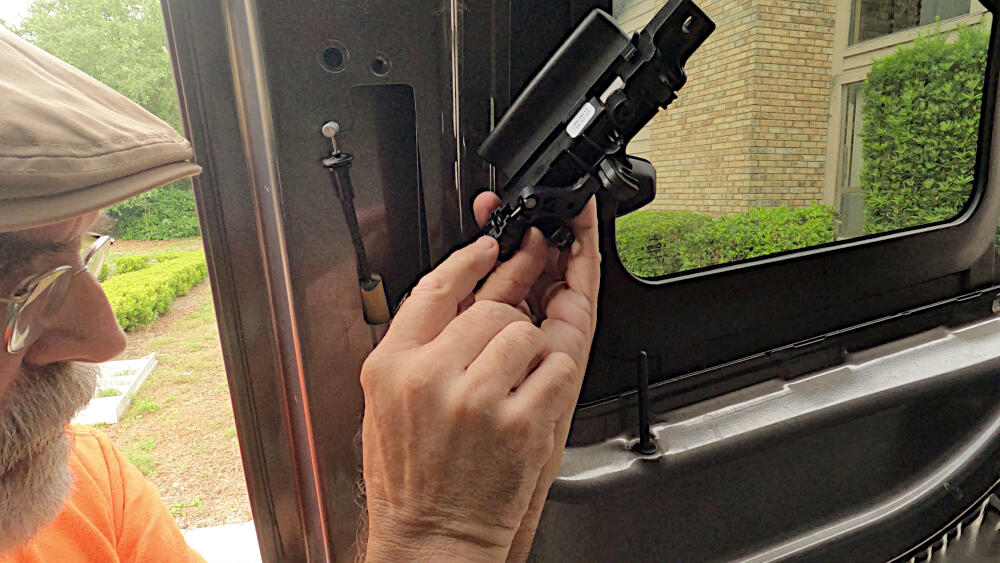
The solution was simple: I ordered the appropriate handle from my Ford dealer at ~$37.00 and replaced the old one with my shiny new handle.
The installation only took a few minutes and consisted of removing two small plastic covers at the top and bottom of the handle. Remove two bolts, followed by the main cover.
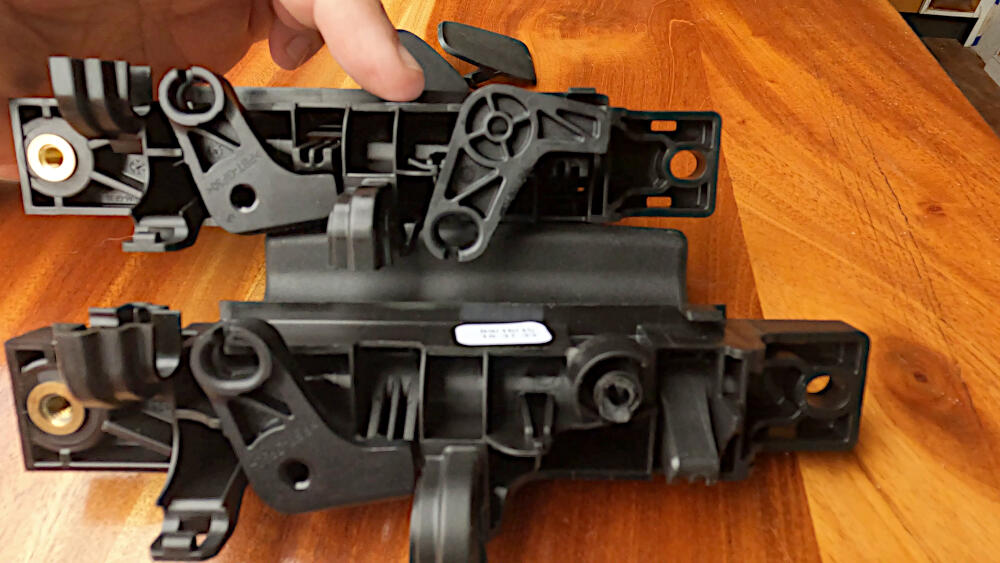
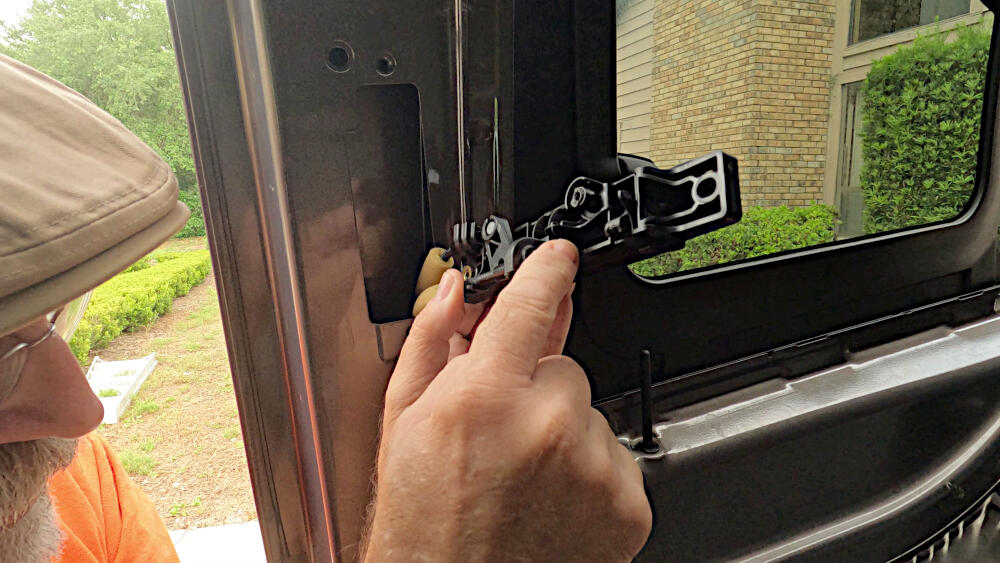
This exposes the actual inner handle, which can be taken out by sliding it upwards somewhat and then by pulling it out.
It is connected to two cables, one for the front lock and the other for the rear lock. Both should be temporarily removed.
The new door handle can now be connected to the cables and the installation be finished in reverse order.
Materials