
Hardware & Soft-Ware
The final part of the floor installation entails fastening to the vehicle’s floor and caulking the edges to reduce moisture penetration.

Considerations
Each vehicle is different and the materials I used are for my 2016 Ford Transit MR LWB.
The plywood floor has to be secured to the vehicle, as it also functions as a base for all the cabinets and appliances in the van. In case of an accident, you have to make sure that everything stays in its place.
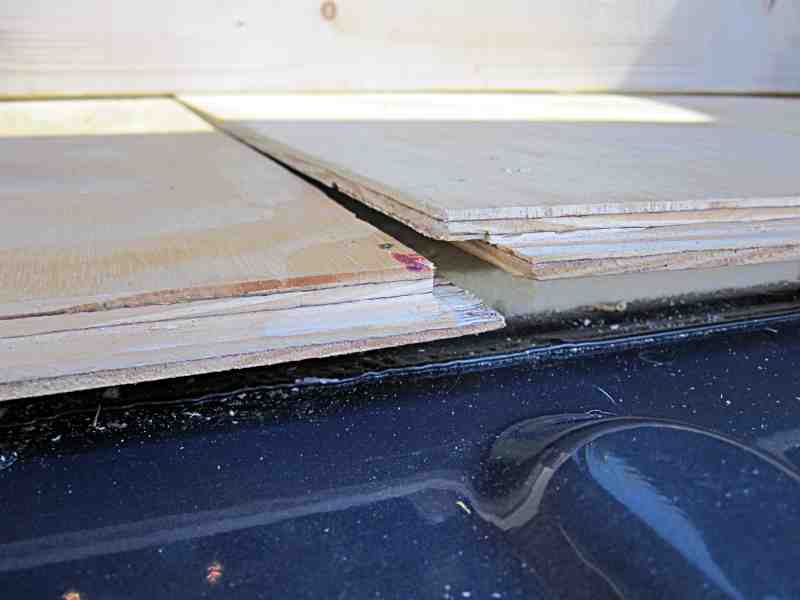
I used two techniques to increase the hold of the floor. The first is using rabbets/dadoes along some of the plywood edges, where each sheet adds holding power over the other sheet, to create one solid sheet. The other is T-nuts and bolts.
Originally, I wanted to use ‘fanged’ elevator bolts, but they stick out at the bottom and may make the installation of water tanks more complicated. Therefore, I choose to use 18 T-nuts and bolts; about six for each plywood sheet. Certain locations were blocked by the fuel tank and I ended up using two less, but I feel assured that they will do their job. The dadoes on each plywood sheet enhance that.
The hardware is all stainless steel to minimize rust and is bought with different length bolts. I try to install then within the floor ribs, where the distance to the plywood is minimal, but was forced at some locations to place them outside the floor ribs. That added approx. half an inch to the length of the bolt.
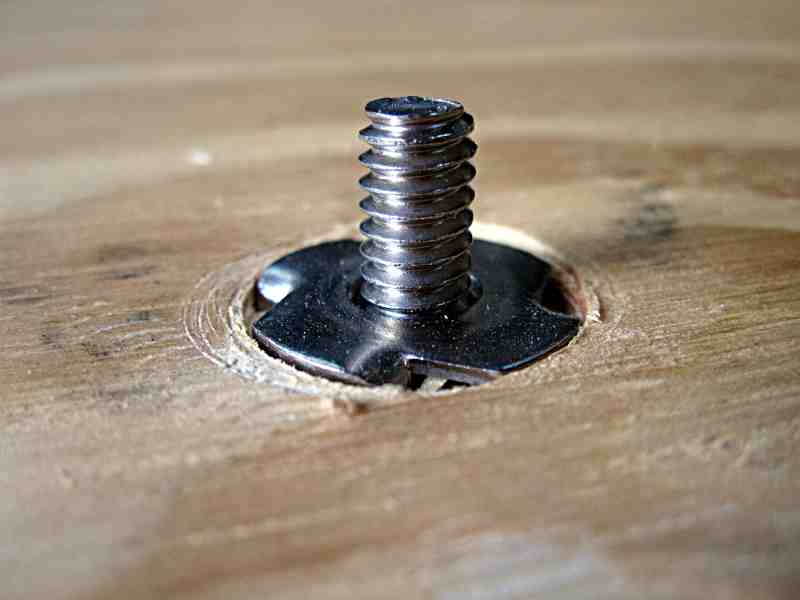
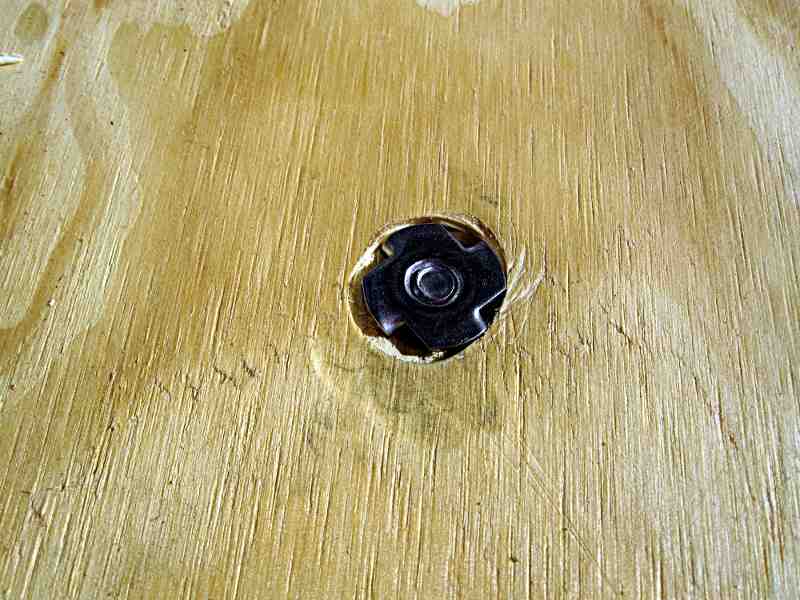
I did not anticipate that the T-nuts would lie on top of the plywood, so I used a Forstner bit to create a shallow hole in the top of the plywood as wide as the width of the T-nut. That was done after the hole was drilled from below and before the hole was widened at the top ¼ inch to facilitate the T-nut.
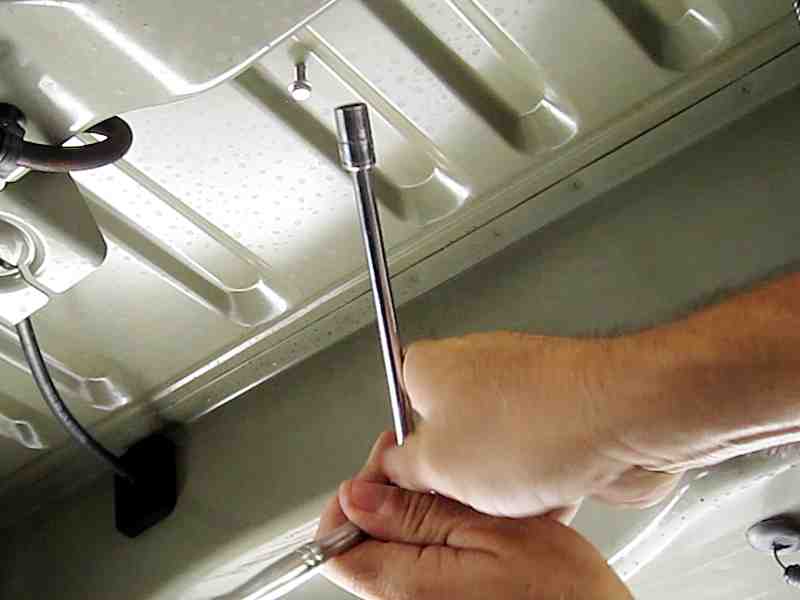
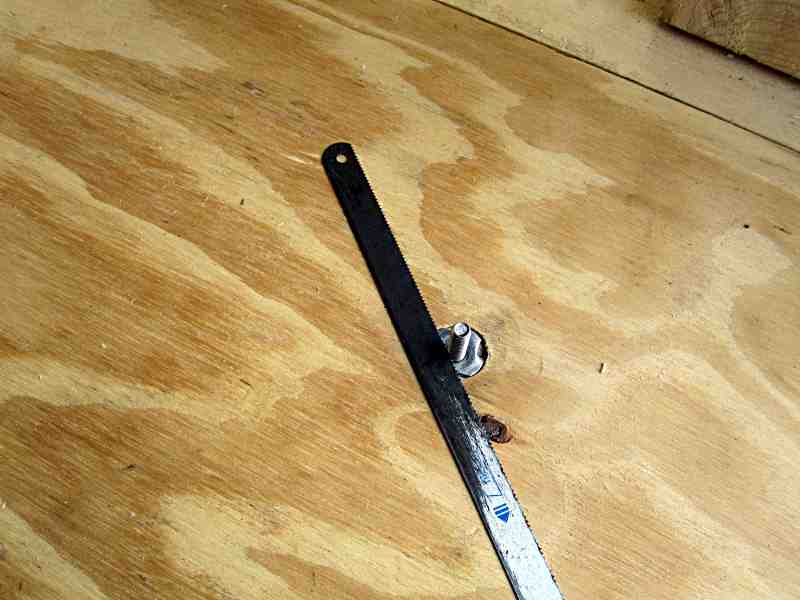
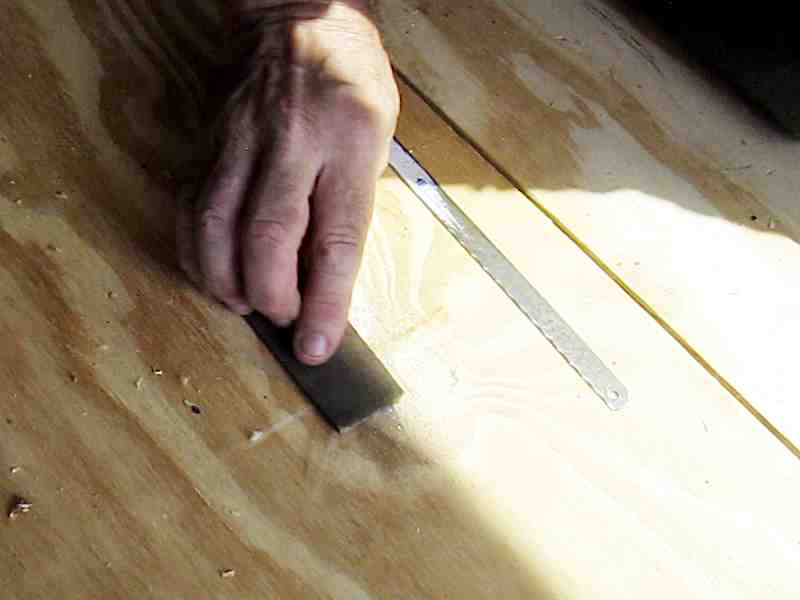
With the T-nut solidly attached in the hole and to the plywood, it is easy to insert the bolt from the bottom. Afterwards, cut all bolts off with a hacksaw or oscillating tool and sand flush.
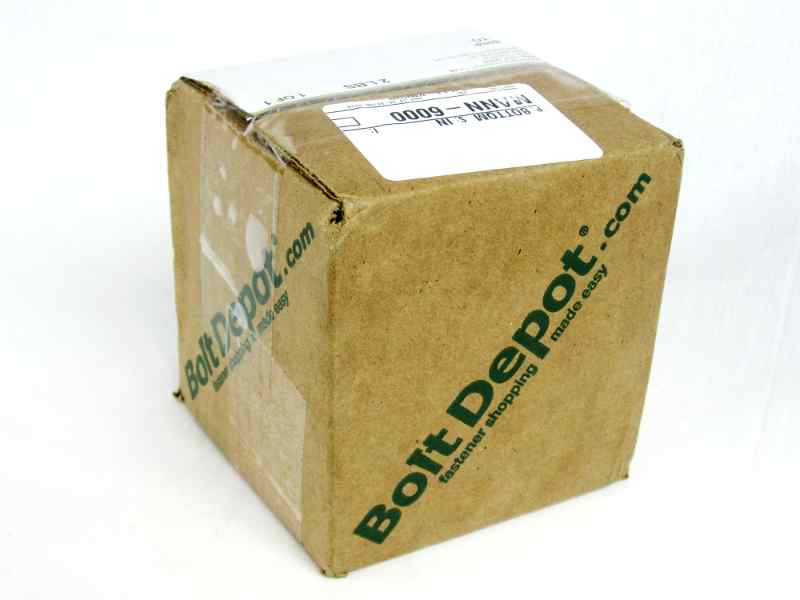
Stainless steel hardware can be quite expensive and you may save some by ordering on-line.
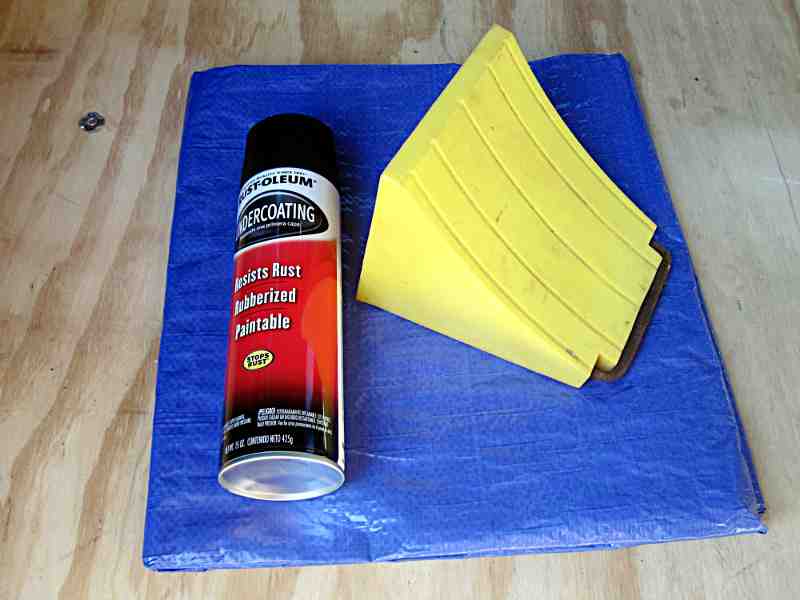
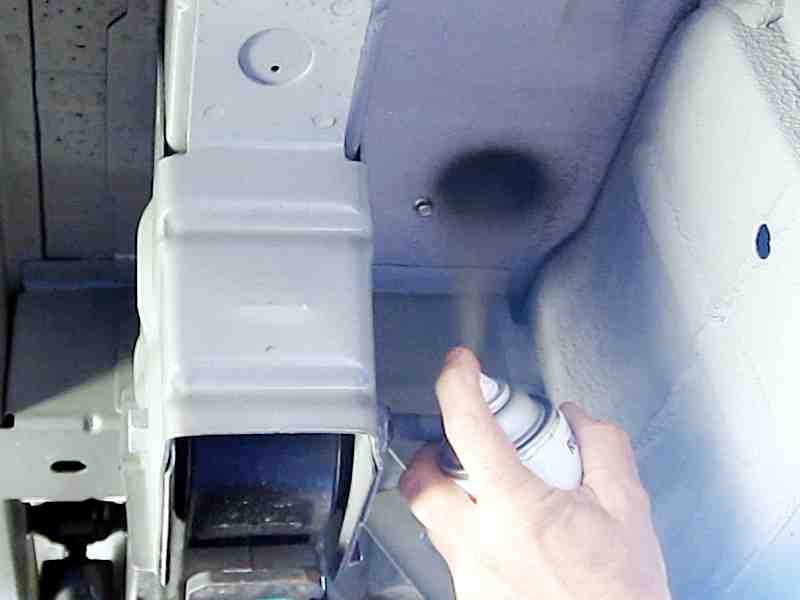
To add extra protection, use some undercoating to cover the bolt locations. Let it dry and give it a second coat. Shake the spray bottle well, before each use!
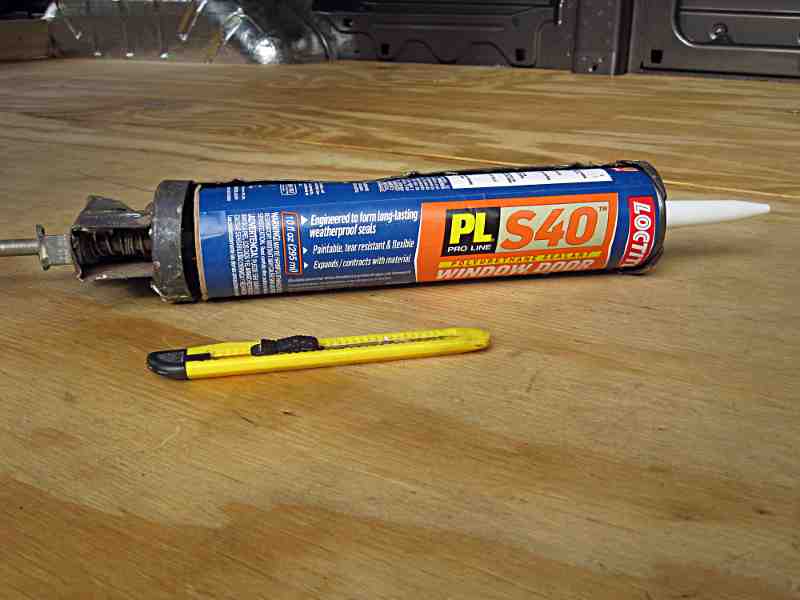
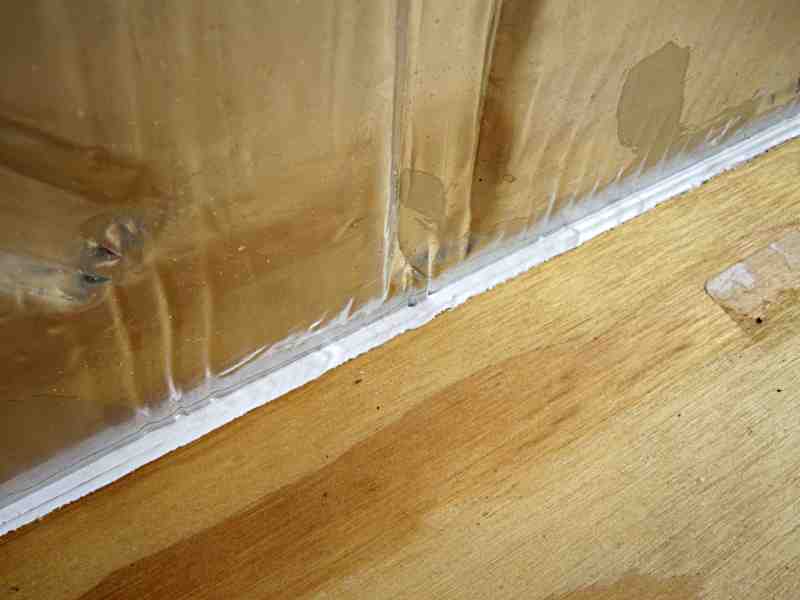
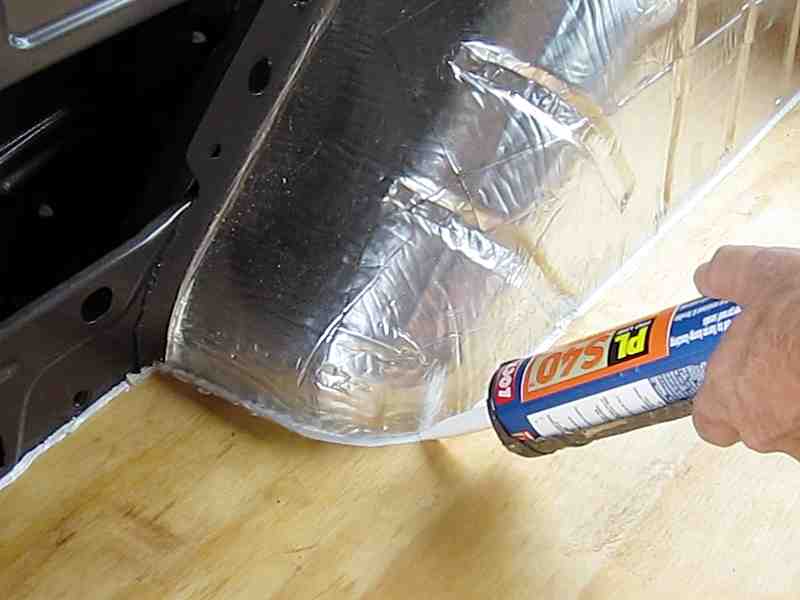
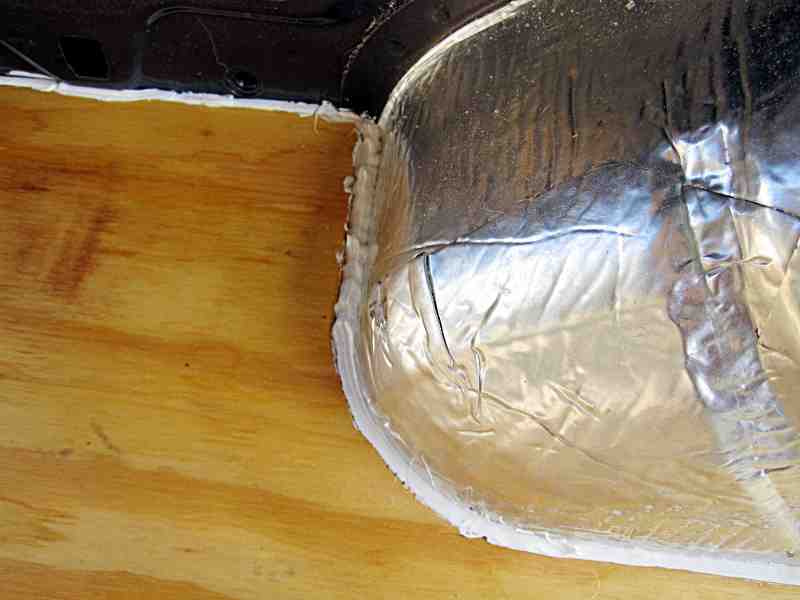
To minimize moisture penetration, I use a caulk to fill the ¼ inch gap between the plywood and the walls. I used Loctite PL-S40 polyurethane window, door & siding sealant, as the polyurethane may have a less corrosive impact on the steel than other caulks.
This is the final part in this series of articles about the installation of an insulated sub-floor. At a later stage the entrance area at the sliding door will be finished, when the finish flooring is installed. At that time, the finish flooring will also be extended a bit into the rear of the cabin. At the rear doors, a wooden threshold is planned at a later stage, that covers the plywood dado; it will extend a bit above the plywood, to account for flooring material.
Which Parts To Choose
This page may contain affiliate links that I am compensated for at no cost to you. Please check out my privacy policy for full details, and thank you for supporting the site!
BUILD GUIDE UPDATE
Be the first to receive an update, when a new Project is added to this Build Guide. I also include a monthly overview of newly posted videos.
Materials
Loctite PL Premium Max
Construction Adhesive
9 fl oz Cartridge
Rubberized Undercoating
15 oz
Black

Source for large variety of bolts, nuts & other fasteners.
Tools
Paint Brushes
5-Pack
Angle Brushes
Latex/Oil Paints & Stains
Interior & Exterior
Caulking Gun
13″ Piston
10 oz
Safety Goggles
Clear Lens
Anti Fog
Lightweight
Durable
Metal Hacksaw
3 Mil
Latex & Powder Free
Food-Safe
Non-Sterile
Socket Wrench Set
3/8″ & 1/4″ Drive Bit
3/8″ Ratchet
Metric 4-12mm
SAE 5/32″-9/16″
Carbide Forstner Bit Filler Set
Carbide
Hex
6.6″ x 13.5″ x 2.7″
Multi Purpose Tarp
Polyethylene
5 Mils
Waterproof
Drill Bit Set
13 Pcs
1/16″-1/4″
Hex Shank
High Speed Steel
DeWalt Drill
8.0-Amp
3/8-Inch
Corded
Variable Speed Trigger
Wheel Chock
Camco
Pack of 1
Yellow
Step-by-Step Installation
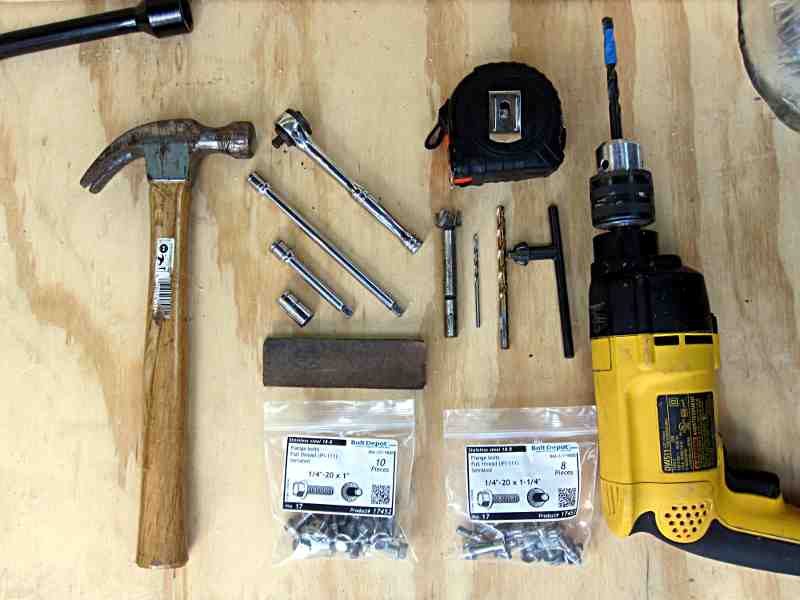
Gather all the tools and materials before proceeding. Regularly fit the materials, to avoid costly mistakes.
- You’ll be working under and around the vehicle; use wheel chocks as an extra safety measure.
- Remove the spare tire to allow full access under the vehicle.
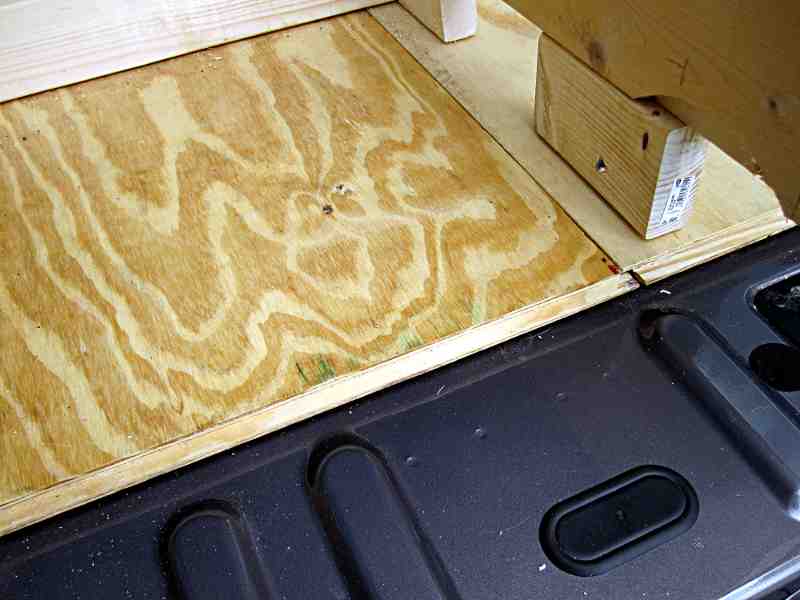
- Measure the distance between the edge of the plywood at the rear doors and the bumper as a point of reference.
- Under the vehicle, locate the specific floor rib for the hole.
- Measure back from the bumper to get the exact location.
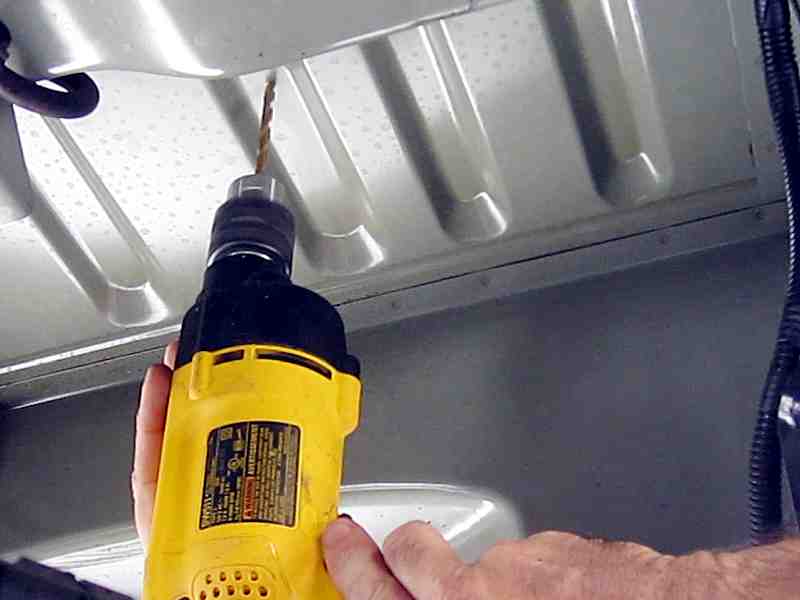
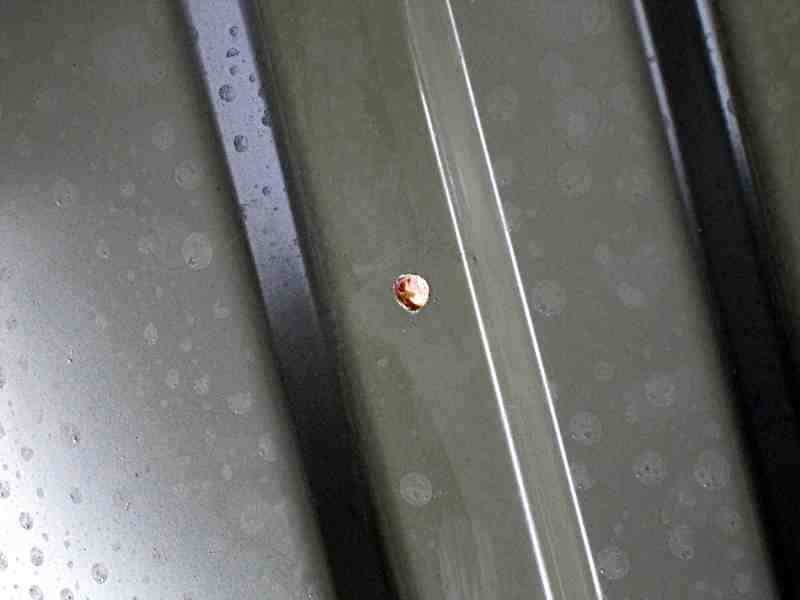
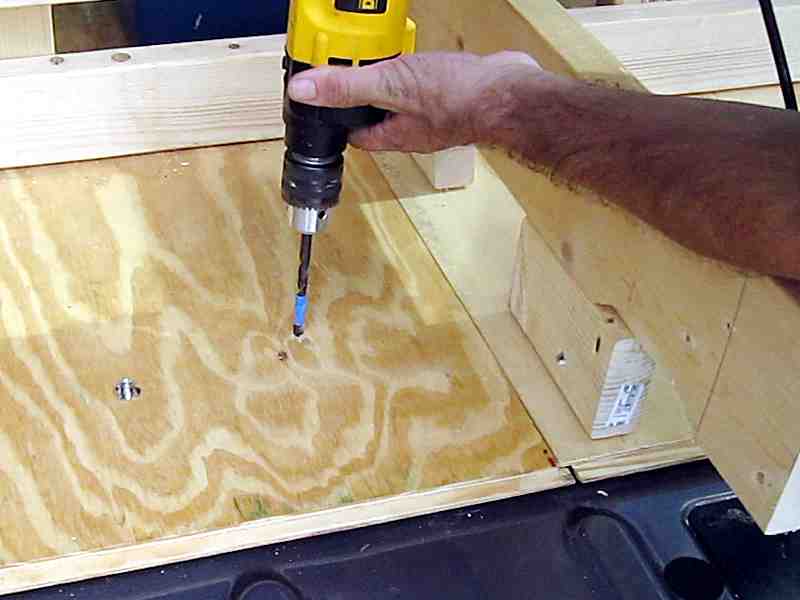
- Drill through the floor and plywood.
- Use goggles to prevent metal flakes from getting into your eyes.
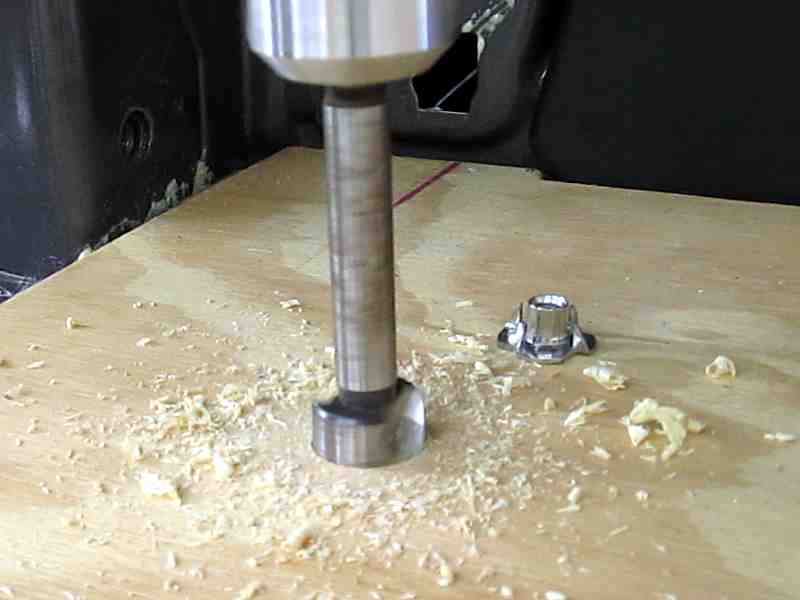
- Inside the vehicle, drill a shallow hole with a Forstner bit.
- Widen the original hole for the T-nut to fit.
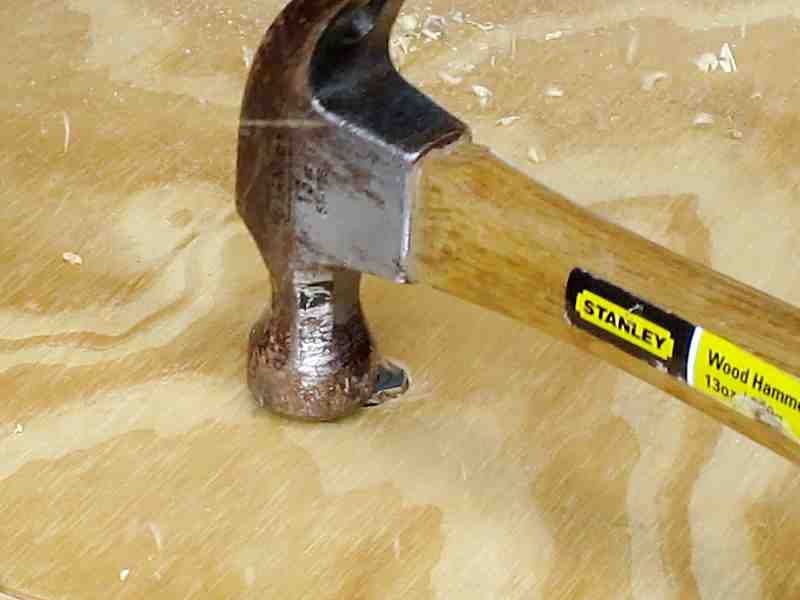
- Hammer the T-nut flush to the plywood.
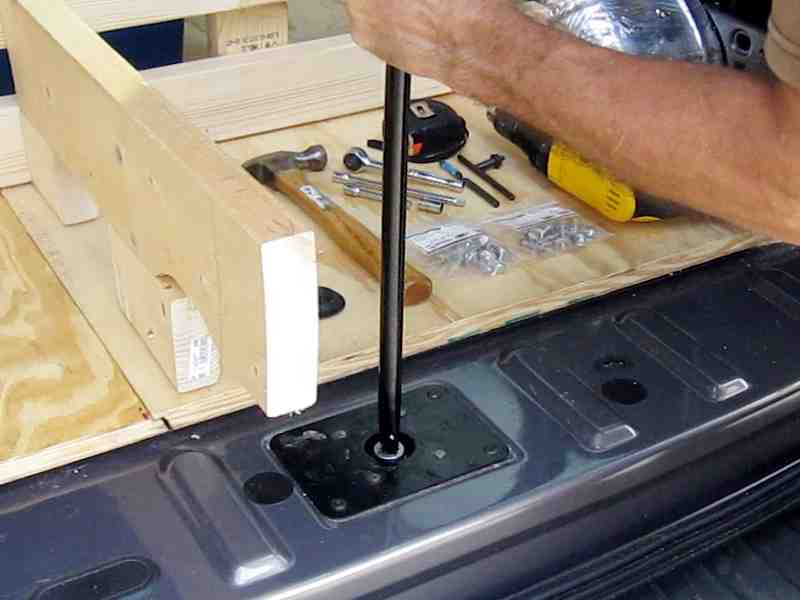
- Install the bolt from the bottom up.
- Repeat this 17 more times.
- The shorter one inch bolts may just fit, but many have to be cut flush with a hacksaw.
- Use coarse sandpaper to remove any sharp edges.
- The plywood may not be flat, but the bolts will pull them down and lock them in.
- Optionally, you can spray undercoating over the exposed bolts. I do it twice.
- Finally, fill the gaps around the plywood with caulk.
materials
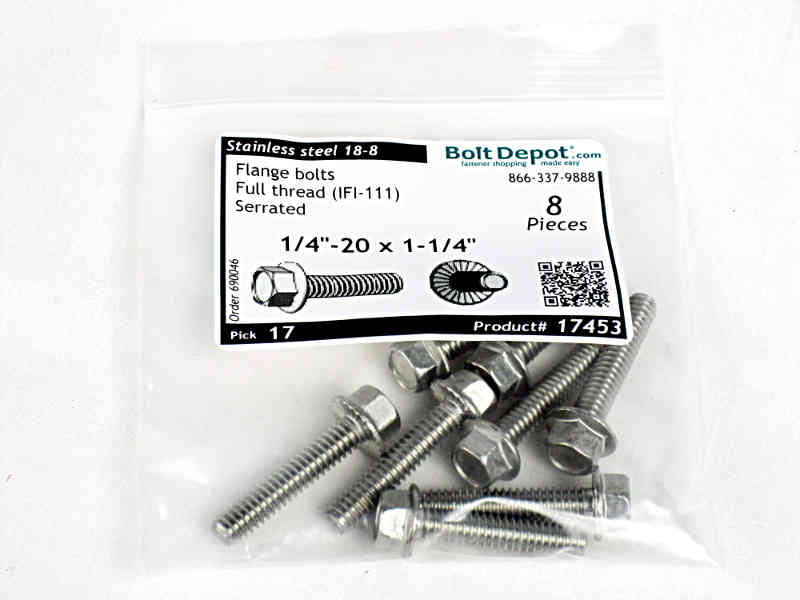
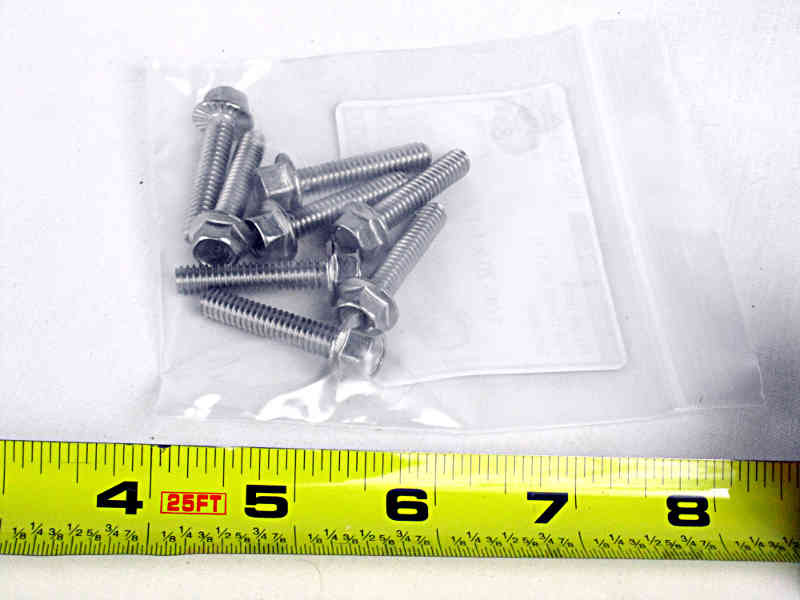
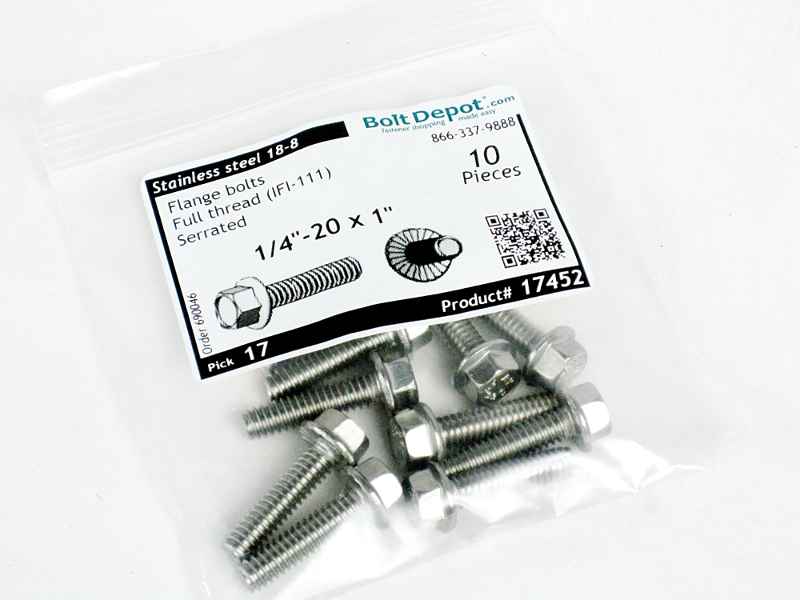
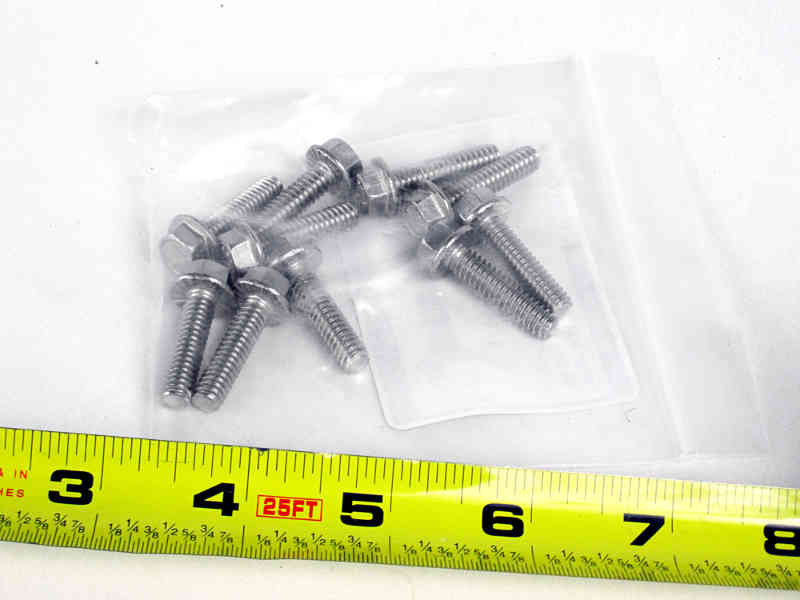
- 10 Stainless Steel 1/4”-20 x 1” Serrated Flange Bolts with a Full Thread
- 10 Stainless Steel 1/4”-20 x 1-1/4” Serrated Flange Bolts with a Full Thread
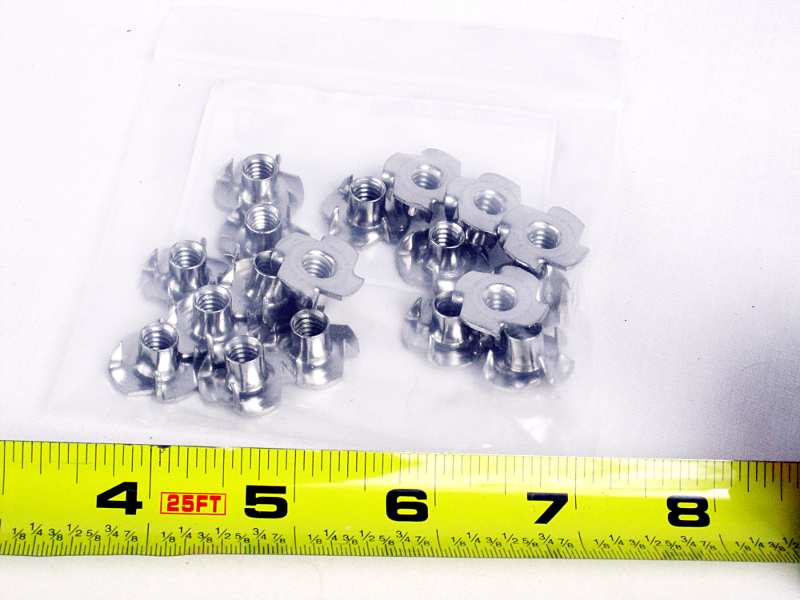
- 18 Stainless Steel 1/4″-20 T-Nuts
- Undercoating
- Locktite PL-S40 Caulk
tools
- Drill
- Drill Bits
- Forstner Drill Bit
- Wrench, Extensions & Socket
- Hacksaw Blade or Oscillating Multi-Tool
- Caulkgun
- Hammer
- Tape Measure
- Small Brush
- Wheel Chocks
- Safety Goggles
- Sandpaper
- Optional:
- Tarp
Conclusion
Quite a bit of work and sometimes difficult to find the locations under the vehicle to drill the holes. Ultimately, a feasible job for anyone who can hold a hammer and use a drill.
The bolts and nuts used during this part of the project, were acquired on-line and the cost was about $25.00. The undercoating and caulk was acquired locally. Total cost $34.20.
Stainless Steel Hardware
I decided to go with all stainless steel hardware. The serrated flange bolts are inserted from the bottom up and grab the metal floor. The T-nuts are mounted flush to the plywood. I was unsure about the length of the bolts and ordered both 1 and 1-1/4 inch lengths. Some could be installed without modifying, most had to be cut down.
Ordering this stainless steel hardware on-line can save you some money, even in smaller quantities.
Resources:


QUESTIONS, SUBMISSIONS OR CORRECTIONS
The missing parts of the complete van conversion process are being added regularly to this Build Guide. If you want to suggest a specific build option for this guide, submit a content correction or have a general inquiry, send me an email.
Error: Contact form not found.
Disclaimer: Throughout this guide, all guidance, building techniques and other information are based on my own experiences of converting a cargo van into a Tiny House on wheels. This guide is only for informational purposes; always build according to local and national standards. Be aware that such a project is expensive, requires a substantial amount of broad knowledge of building techniques and involves more work hours than you can imagine. Besides of hitting a finger with a hammer, much more serious harm can be done when you work with 12V/120V electrical systems, propane installations, power tools, etc. Tapping into the vehicle’s own systems can also damage its functionality. Get professional help where needed; never take any risk!