Complete Medium Size 12V Component Kit
12V | Two 230Ah Lithium Batteries | 400W Solar Panels
Estimated Cost $3,100 – $4,600
This page may contain affiliate links that I am compensated for. Thank you for supporting the site!
This package will suit a most Vans or RVs; it will run a most appliances* for an extended period of time and is well-suited for off-grid camping.
*most, if not all air-conditioners need at least a 600Ah-800Ah Lithium battery bank to run only part of the day!
One or two additional DC-DC Converters connected to the alternator/starter battery, will enhance the charging capabilities greatly, but is not necessary.
This kit is self-explanatory, but you need at least some basic electrical skills. If unsure, always consult a professional! Virtually all needed components are listed below for easy ordering (some are affiliate links that will support this site at no cost to you). Most work left to you, is deciding where to place the items in your vehicle and calculate the wire gauges and lug sizes.
If unsure about your seasonal power requirements, you can simply add one or more batteries at a later time.
You can post your questions in the comment section.
PRE-SELECTION CONSIDERATIONS
Acid vs Lithium batteries
Lithium batteries have developed so quickly and their prices have come down so much, that lead-acid batteries should not be considered anymore in most cases.
Inverter Capacity
A logical choice for your RV would be a 2kW or 3kW inverter. The 2kW version may not be enough to power a cooktop or microwave as its output is much lower than 2kW.
System Voltage
Usually 12V, 24V and 48V electrical systems can be found in RV’s. The difference is mostly a lower installation cost for a 48V system (less expensive cables and appliances); 24V has fewer advantages.
While low amp, 12V systems are usually fairly safe to work on, installation of 48V electrical systems with/without high amperage in/outputs should be left to experienced professionals.
System Sizing
While system sizing (calculating the anticipated power needed to run your appliances) is of less importance nowadays, making a list of your power needs (both in winter and summer) will help you better estimate your battery capacity, the required number of solar panels and/or the need for an additional DC-DC Converter (to charge the batteries while driving).
Alternator Use
Using the existing alternator of the vehicle in combination with a DC-DC Converter, will charge the battery bank much faster than with solar panels and is a not-perfect, but relatively inexpensive solution.1

Especially with larger lithium battery banks, one should consider a separate alternator in addition to the existing one. These expensive devices can charge at a much higher amperage and won’t interfere with the internal workings of the vehicle.2
1current alternator capacity impacts effectiveness of the additional DC-DC converter.
2high amperage in/output battery BMS required (>100Ah).
Wiring and Appliance Location
Decide well in advance of the installation, the best location for the wiring and appliances. Build with upgrades in mind. Distance between different 12V or 48V components is usually critical.
Choosing the right wire size for your DC electrical project is very important, since a wire that is too small can overheat and possibly start a fire. Also use good crimping tools to create wiring connections that can withstand, the impact rough roads will have on your installation.
On-line Blue Sea Wire Calculator
- Determine the circuit in Volts (12V, 24V or 48V).
- Determine the current in Amps.
- Determine the circuit length in feet (roundtrip distance from power source to the product).
- Select allowable voltage drop.*
*Circuits, with up to 3% voltage drop, include:
– Panel main feeders
– Electronics
*Non-critical circuits, with up to 10% voltage drop, include:
– General lighting
– General appliances
Estimated Cost
| Low Cost | Premium | |
|---|---|---|
| Solar Panels ~400W | $200 | $400 |
| DC-DC Converter + Solar Controller* | $335 | $670 |
| Lithium Battery – ~200 Ah* | $1,240 | $1,240 |
| Inverter – 3kW* | $415 | $1,170 |
| Connectors/Entry Gland/Wire/Fuses/Etc. | $800 | $1,075 |
| Tools | $100 | $100 |
| Estimated Total Cost: | $3,090 | $4,655 |
400Ah Solar System Layout

Single DC-DC Converter

Dual DC-DC Converter

Dual DC-DC Converter
No Monitor
Required Components
SOLAR PANELS
The solar panels can be attached directly to the roof or placed on a roof rack. A space between roof and panel will increase panel efficiency.


| Glass Panel – 400W | Flexible Panel* |
|---|---|
| Easy to mount | Easy to mount |
| Cheap | Expensive |
| High efficiency | Lower efficiency |
| Life expectancy 25+ years | Life expectancy 5-10 years |
| Heavy | Light |
| Increased drag from moving air | Aerodynamic |
| Somewhat bendable | |
| Tendency to overheat |
MC-4 CONNECTOR

1 Pair MC-4 Solar Panel Branch Connector
Cable coupler combiner for parallel connections between solar panels. Choose appropriate connector for number of panels.
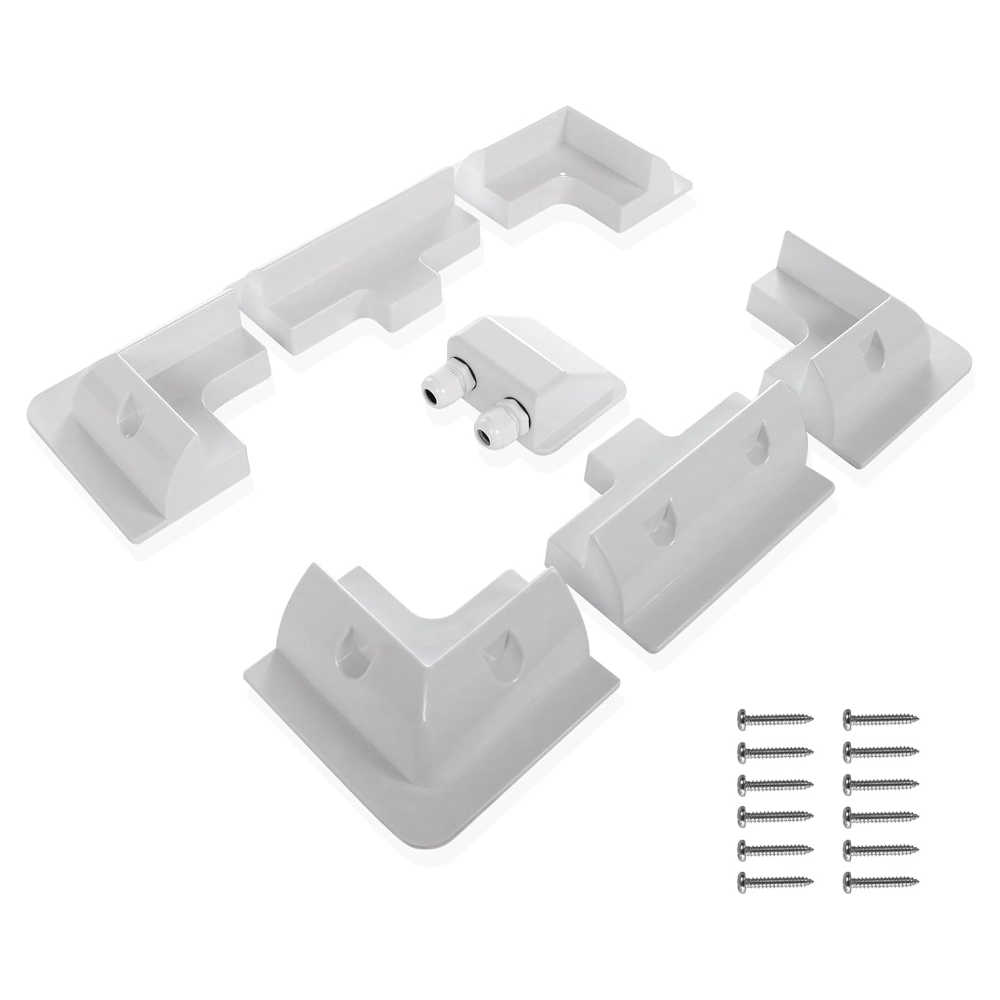
SOLAR MOUNTS
Keeps the solar panels cool in high temperatures; the optimum height creates a proper air circulation between the solar panels and the surface of the roof.
Package includes corner mounting brackets (4), side mounting brackets(2), solar cable entry gland (1) and 12 self-tapping screws.
SOLAR CABLE ENTRY GLAND

Where your solar panel array wires enter your vehicle, you will need to drill two holes. Use this cover to prevent roof leaks from developing.
WIRING

Always use welding wire or other multi-stranded, flexible wiring products.
Driving your vehicle puts a lot of stress on the wire connections; make sure that lugs and other connectors are installed correctly.
AC WIRING

Regular AC house wiring has no place inside a home-on-wheels. Connections are prone to fail, creating hazardous conditions.
BUSBARS
Bus bars come in different forms; be sure their capacity (A) exceeds the maximum wire amperage.


SOLAR CONTROLLER

Victron SmartSolar MPPT 100V 30A Solar Charge Controller
It gathers the energy from your solar panels, then maximizes its output and stores it in your batteries.
Choose a Smart model appropriate for your system specifications.
BATTERIES
A choice between lead-acid, AGM and Lithium batteries has become irrelevant. Only Lithium batteries are recommended for RV use, for their overall low cost, low weight and their high charge/discharge capacity.
With a medium battery bank, I would prefer two 200Ah over one 400Ah battery, just in case one breaks down, but battery size could determine your choice.


SMART BATTERY MONITOR
Victron Energy SmartShunt
Connect to your phone or tablet via Bluetooth and easily modify settings or monitor your batteries and save space (and money) by not using a dedicated display.

The new Victron Energy SmartShunt IP65 is waterproof and displays battery State of Charge % and acts like a fuel gauge for your batteries.
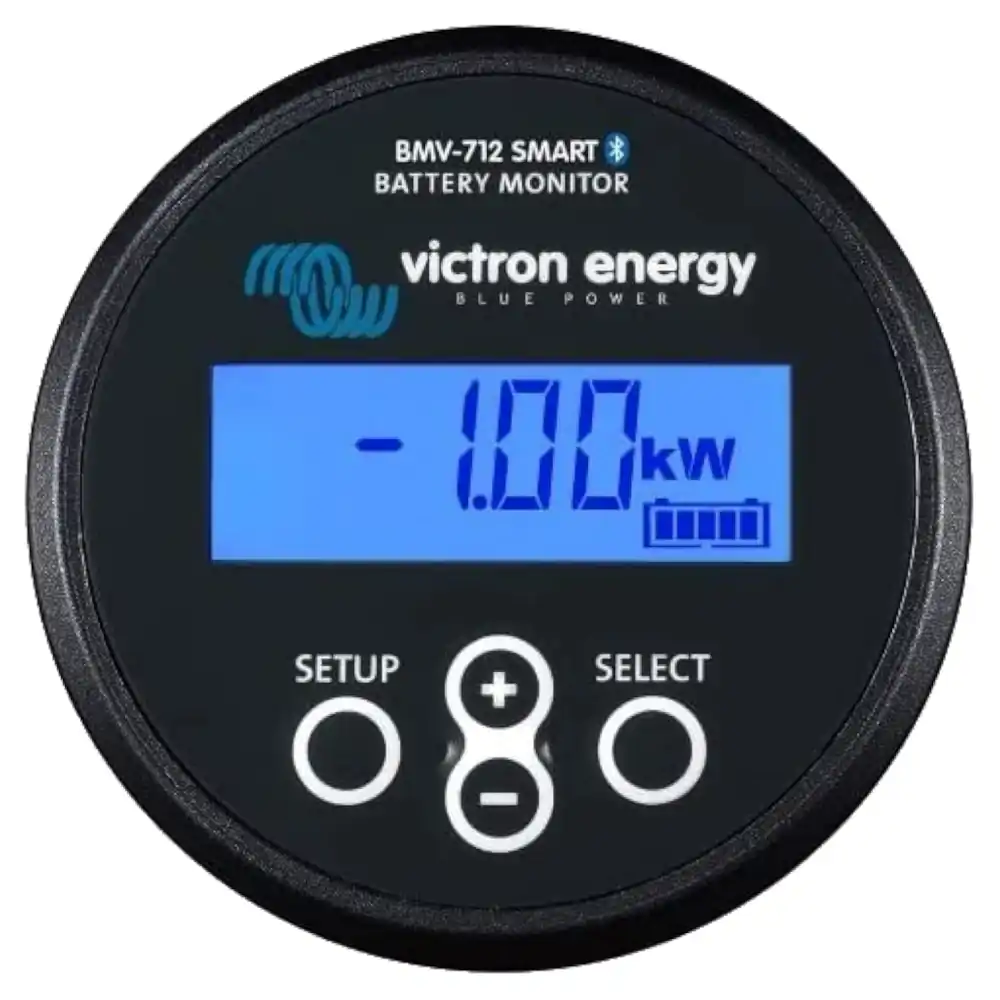
BATTERY MONITOR
Battery monitor for systems with battery voltage ranging from 6.5VDC-70 VDC.
All Victron Smart appliances allow for monitoring and settings access through an App, virtually eliminating the need for a physical device like this.
BATTERY FUSE BLOCK
Calculate the required fuse amperage as follows:
– Appliance Max. Wattage / 12V = Max. Current.
– Max. Current x 1.25.
– Round up to next fuse size.
Ex. 2400W Inverter / 12 = 200A (max. current)
200A x 1.25 = 250A -> 300A fuse.


DC CIRCUIT BREAKERS
Required 12V-48V Circuit breaker for Solar Charge controller to Battery.
For this system, you will need a circuit breaker for the DC DC charger at the input and output.


Used as a main shutoff between solar panels array and solar controller.
Appropriate sizing is required for each system.
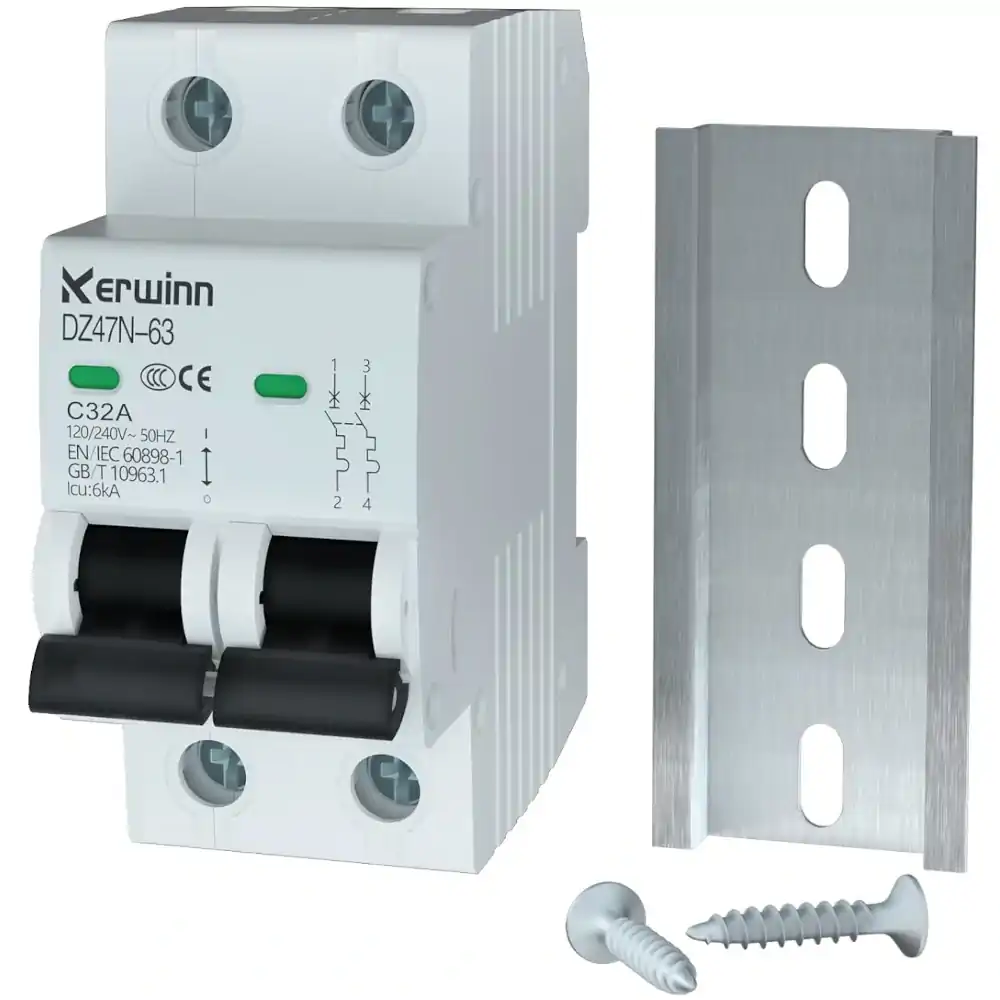
AC CIRCUIT BREAKER
120V/240V AC Miniature Circuit Breaker 2 Pole with DIN Rail Mount to protect 120V in/outlets.
INVERTER/CHARGER
Victron makes some of the best and feature-rich inverters, but that comes at a price. Many other budget options are available, but be sure to buy a “pure sine wave” inverter with more than 2000W output.


All Materials
-
 Blue Sea Battery Switch
 -
30A Inlet Shore Power
-
10 Gauge 3 Conductor Marine Wire
-
6-Way Mega Fuse Holder Busbar 500 Amp
-
2pcs DC 48V M8 (5/16″) Dual Stud (Red and Black)
-
400W-12V Bifacial Solar Panel
-
180W-12V Flexible Solar Panel
-
Victron Energy BMV-712 Smart Battery Monitor
-
120V AC Miniature Circuit Breaker
-
Victron Orion-Tr Smart 12/12V-30A DC-DC Charger Non-Isolated
-
Victron Orion-Tr Smart 12/12V-30A DC-DC Charger Isolated
-
Solar Panel MC-4 Branch Connector
-
Victron SmartSolar MPPT 100V 30A Solar Charge Controller
-
Victron MultiPlus 3000VA 12V Pure Sine Wave Inverter and 120A Battery Charger
-
EG4 12V 400Ah LifePower4 Lithium Battery
-
LiTime 12V 230Ah Plus Lithium Battery
-
Renogy Pure Sine Wave Inverter
-
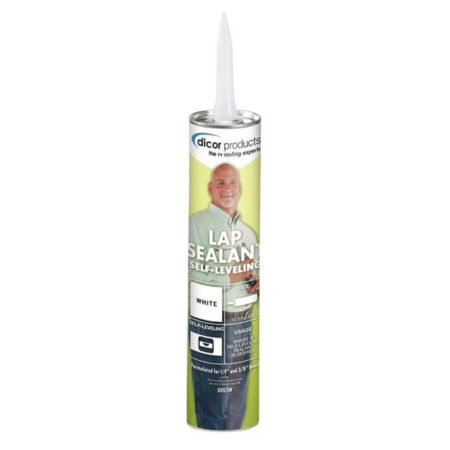
Dicor Lap Sealant
-
3M VHB Tape
-
Solar Panel Mounting Brackets
-
Victron Energy SmartShunt
-
Circuit Breaker
-
Marine Grade Wire Connector Set
-
Copper Eyelets Lug Set
-
Mega Fuses
-
Budget MEGA/AMG Fuse Block with Cover
-
Blue Sea MEGA/AMG Fuse Block with Cover
-
Flexible Wire, Lugs & Heat Shrink
-
Solar Double Cable Entry Gland
-
Blue Sea Fuse Block 12 Circuit