
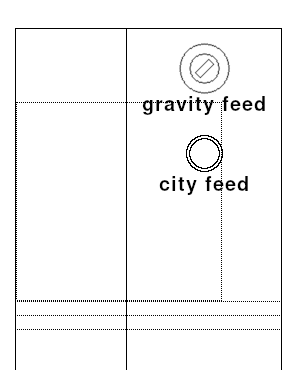
City Feed
Optional – Access to pressurized city water
Adding a city feed to an RV is a usual practice, yet based on your personal lifestyle, it might not be absolutely necessary.

Some choose primarily boondocking as a way of life with campground visits far in between. City water then becomes irrelevant and you can skip to Part VI – Dump Line.
Some of the accessories are also used in other parts of this water tank project and other projects of this build. It may be wise and cost effective to figure out in advance, how many of each you need for the entire build; you can also have a look at a Comprehensive Material List for most of the parts of this Fresh Water Tank Project.
Which Parts To Choose
This page may contain affiliate links that I am compensated for at no cost to you. Please check out my privacy policy for full details, and thank you for supporting the site!
BUILD GUIDE UPDATE
Be the first to receive an update, when a new Project is added to this Build Guide. I also include a monthly overview of newly posted videos.
City Feeds
Recommended1
City Water Inlet
White
incl. Check Valve
3″ outside diameter
Luxury Option2
SHURFLO Filler/Regulator
High pressure surge protection
Chrome
5.25″ x 4″ x 5.75″
incl. check valve
65 PSI
Luxury Option2
Aquor SS Water Inlet
Water Fill Replacement
Flush-Mount
½” NPT (f) x ¾” GHT (m)
4″ x 2.85″ x 2.85″
City Water Inlet
Black
incl. Check Valve
3″ outside diameter
Valterra White
Gravity/city water hatch
0.5″ MPT – 1.25″ barb connection
0.5″ air vent
7-5/8″ x 6-1/2″
Materials
Braided Hose
0.5″ ID x 0.75″ OD – 10 Ft High Pressure Braided Clear PVC Tubing, BPA Free and Non Toxic
Hose Clamps
20pcs – Stainless Steel Adjustable Clamps. Fit 1/2″ 5/8″ 3/4″ Hose.
One Way Check Valve
1/2″ Hose Barb Non Return Ozone Resistance Plastic Valve for Water (3 pieces)
Tools
Hole Saw Kit
17-Piece Hole Saw Set, 3/4″ to 5″ Hole Saw with Mandrel for Wood, Plastic and PVC.
City Feed Installation
Installation of the city feed.
1. Install the city feed on the outside wall of the base unit that has outside access, by drilling a hole with a hole saw, preferably at the same height as the gravity feed.
2. Connect a 0.5” ID reinforced drinking water hose to the city feed with a hose clamp.
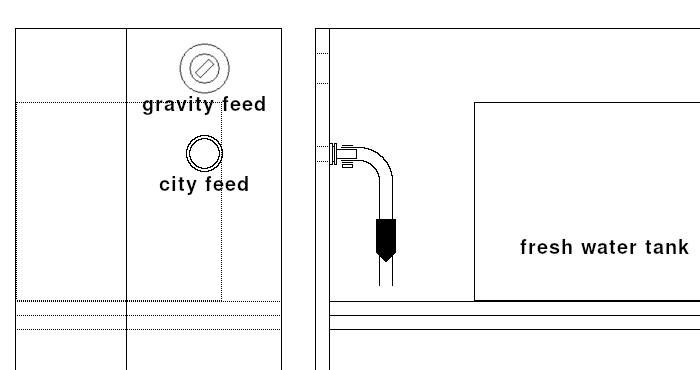
3. The city feed hose will join the hose that comes from the fresh water tank, to go on and supply water to the faucets. Before both lines join, add a check valve to the city feed hose if not already provided for by the water inlet device.
4. With the later installation of the water tank all the hoses will be connected.
materials
- city feed
- 0.5″ reinforced drinking water hose
- hose clamps
- 0.5” check valve
tools
- drill
- hole saw
- screwdriver
QUESTIONS, SUBMISSIONS OR CORRECTIONS
The missing parts of the complete van conversion process are being added regularly to this Build Guide. If you want to suggest a specific build option for this guide, submit a content correction or have a general inquiry, send me an email.
Error: Contact form not found.
Disclaimer: Throughout this guide, all guidance, building techniques and other information are based on my own experiences of converting a cargo van into a Tiny House on wheels. This guide is only for informational purposes; always build according to local and national standards. Be aware that such a project is expensive, requires a substantial amount of broad knowledge of building techniques and involves more work hours than you can imagine. Besides of hitting a finger with a hammer, much more serious harm can be done when you work with 12V/120V electrical systems, propane installations, power tools, etc. Tapping into the vehicle’s own systems can also damage its functionality. Get professional help where needed; never take any risk!
1Recommended: A low-cost item with generally good performance.
2Luxury Option: Worthwhile part, if money is no issue.