
Front Parking Sensor
This page may contain affiliate links that I am compensated for at no cost to you. Please check out my privacy policy for full details, and thank you for supporting the site!
A backup camera is one of the most useful additions you can have on your cargo van and adding a rear parking sensor makes backing up an easy task. Often less frequently used, a front parking sensor adds an extra layer of protection, when you park your big van facing a wall or another vehicle.
A series of beeps gives a good indication of the distance between the object and your vehicle and will help you maximize the use of your parking spot without bumping into another parked car.

Considerations
It is complicated to remove the front bumper, which is attached to the vehicle with dozens of bolts, screws, clasps and plastic clips. I was able to find most of them, but not all. Enough to get sufficient access to the interior of the bumper to install the sensor strip.
Another issue is getting through the firewall for access to the dashboard. Ford Transits with certain configurations may have other options, but the simplest solution is to use one of the two large dash grommets, that are located on each side of the firewall. Other vehicles like the ProMaster and Sprinter have a similar setup.
The parking sensor needs a 12V power source to function and several sources are available, dependent on the configuration of the vehicle. Some Transits come with an alternate fusebox, which is a good solution; the Customer Connection Point under the driver’s seat is another, less likely source. I recently replaced one of the 12V outlets on the center console with a Dual USB outlet, which has easy access to a 12V (fused 10 Amps) source and is located in the general area where the switch is to be installed.
The rear parking sensor is connected to the backup signal and is automatically disconnected when you set the gears in ‘Drive’; the front parking sensor needs a manual switch to limit its operation.
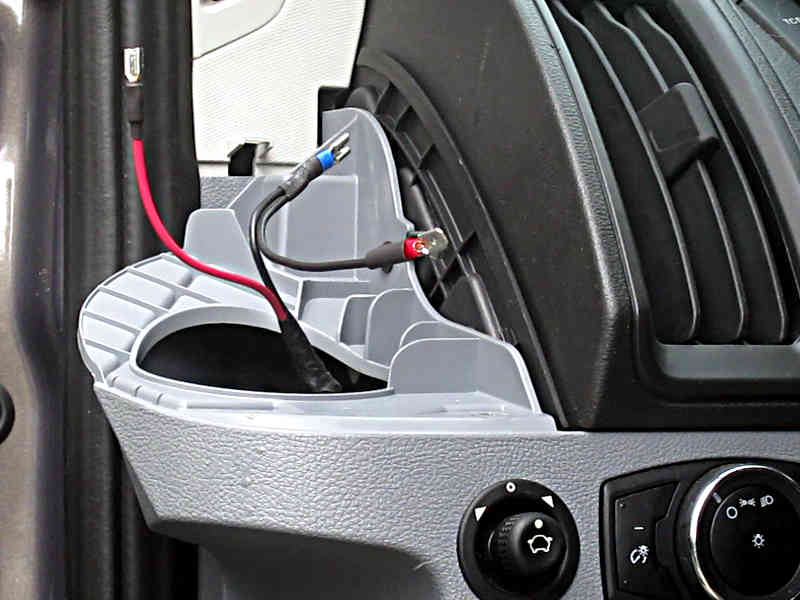
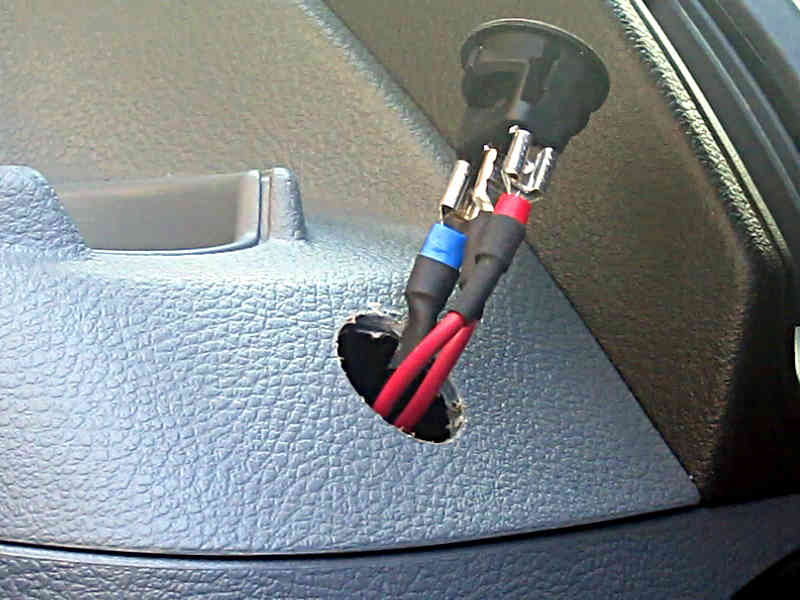
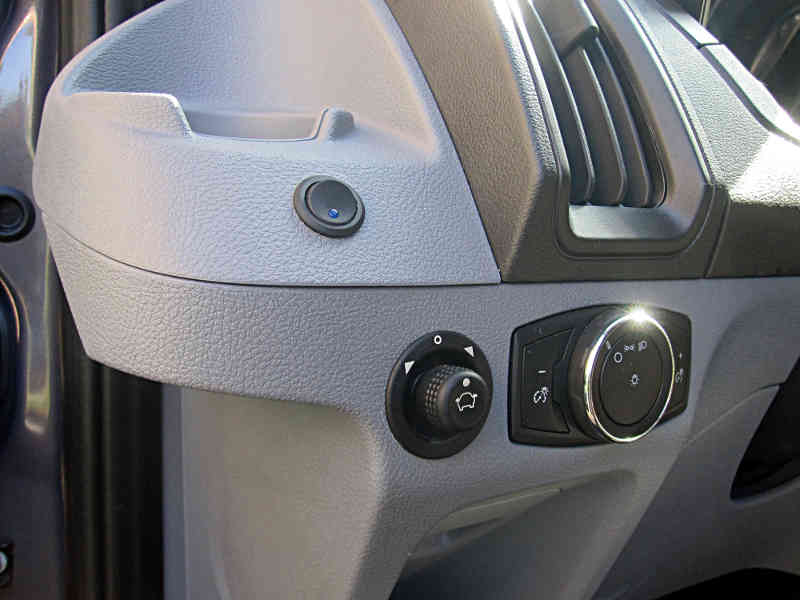
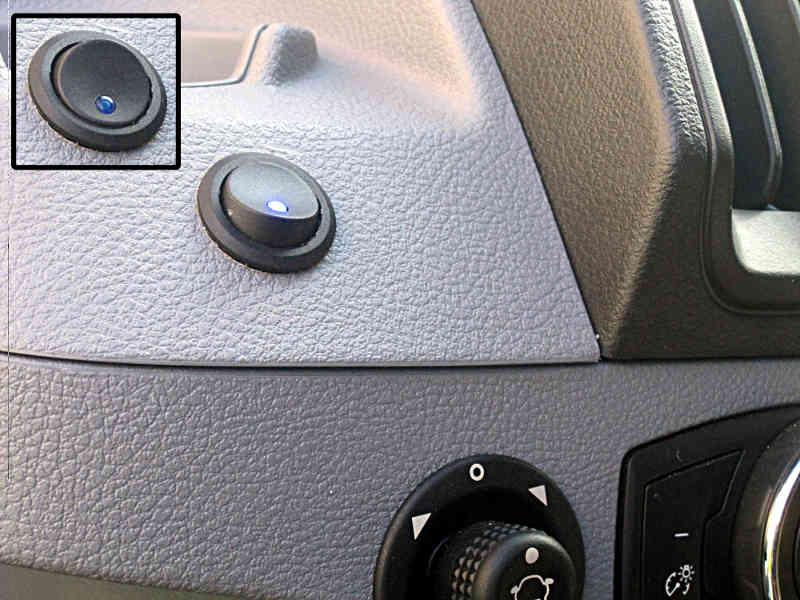
The switch location is a personal choice. I considered the top front of the center console and the speaker input location above that. I finally chose the base of the left cupholder, above the headlight switch. Whatever location you choose, make sure that the spot is deep enough for the switch, its connectors and the wiring.
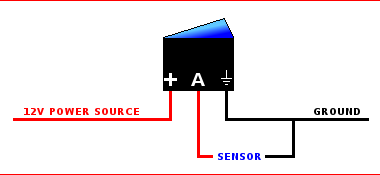
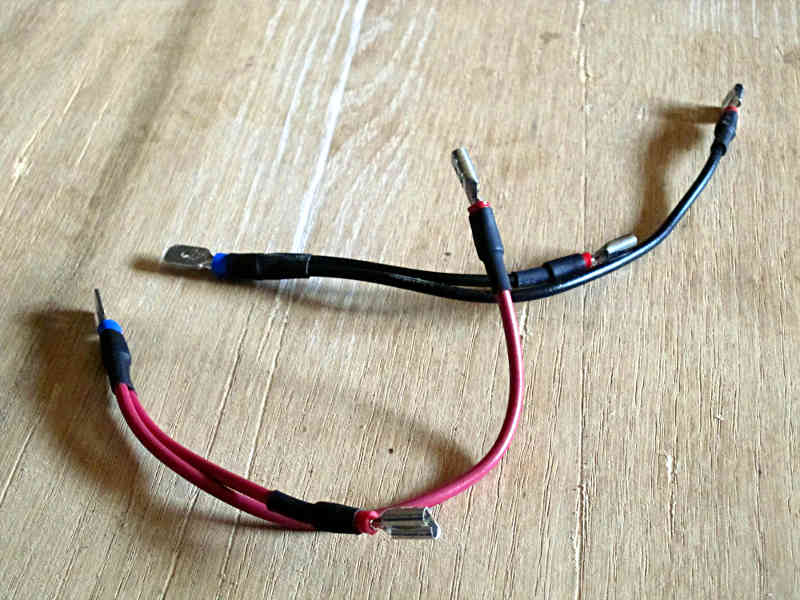
Somewhat confusing is the three pole connection of the switch, but the picture on the right should make it clear enough.
After the installation, you should test the setup by turning on the switch and approaching the vehicle by walking from about 3 feet towards the front bumper. The beeping should increase the closer you get to the bumper.
BUILD GUIDE UPDATE
Be the first to receive an update, when a new Project is added to this Build Guide. I also include a monthly overview of newly posted videos.
Materials
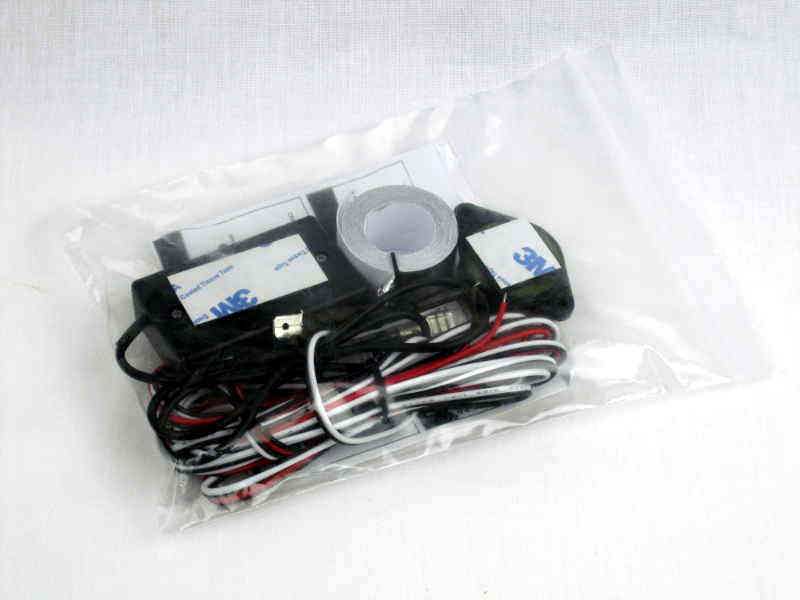
Front Radar Sensor System
No Drill/No Damage
100% Accurate
Audible Alert
Concealed Installation
No Maintenance
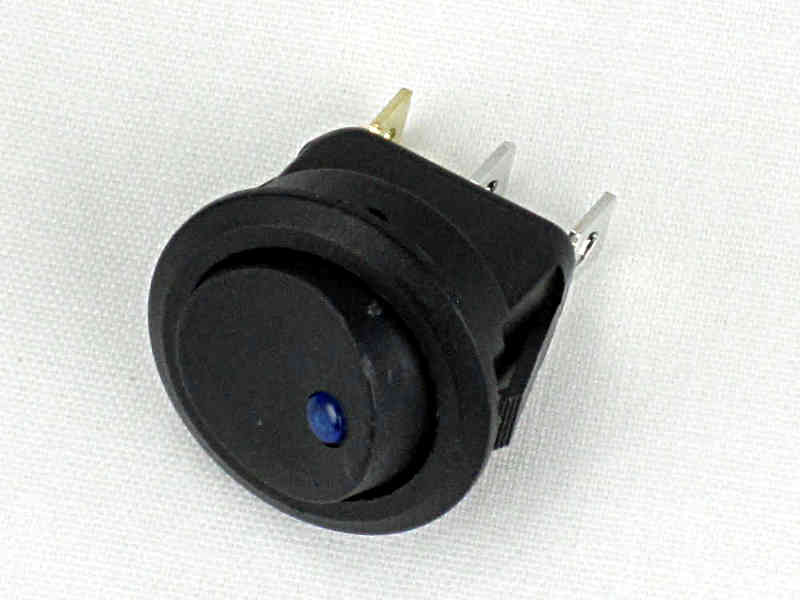
Round Toggle LED Switch
12PCS
12V DC
20A
On/Off SPST
Silicone Wire Cable
16 AWG
Black 33 ft
Red 33 ft
Solder Seal Wire Connectors
200PCS
Waterproof
Insulated
Wire Terminals
Heat Shrink Tubing Kit
500 PCS
3.25″ length
3:1 Adhesive Lined
Marine Grade Wrap
Black
Electrical Tape
0.75 in
60 ft
single roll
black
Braided Wire Sleeving
50 ft
0.25 & 0.5 in
Mesh Wire Loom
Cable Ties
UV resistant
black
8 in
100 pack
Painter’s tape
3pk
1″
60yd
Tools
Micro Cutter
Red
Hakko
Carbon Steel
5.9″ x 3.6″ x 0.8″
Cutting Width 5/16″
Electrical Fish Tape
25 Ft
0.25″ Wide
1 Ft Markings
Klein Tools
Carbide Forstner Bit Filler Set
Carbide
Hex
6.6″ x 13.5″ x 2.7″
Heat Gun Kit
Wagner Spraytech
3 Nozzles
750ᵒF & 1000ᵒF
DeWalt Drill
8.0-Amp
3/8-Inch
Corded
Variable Speed Trigger
Wheel Chock
Camco
Pack of 1
Yellow
Front Parking Sensor Installation
Optional – Read through and understand this entire project first
Gather all the tools and materials before proceeding. Always use wheel chocks and secure your vehicle, when working under the van.
- Place wheel chocks to immobilize the vehicle.
- Remove the fender flare, before getting to the front bumper.
- Start by removing the two bottom plastic plugs on the side of the fender flare.
- Carefully pry, to release two hidden clips.
- The remaining two top clips come off easily.
- Remove two screws at the bottom/side end bumper.
- Remove two screws at the flare location.
- Remove the screw behind the fender flare.
- The sensor strip should be placed at about 20 inches above the ground, on the interior side of the front bumper.
- Remove the two bolts (behind) the front license plate.
- Continue with the bolts at the underside of the bumper.
- And the bolts at the engine compartment.
- Remove five plastic clips at the engine compartment.
- Remove two screws at the top of each headlight.
- Set the headlight apart.
- Release the clasp and two screws under the headlight.
- The front should come off now, but apparently I still missed a few connectors.
- Now, the bumper can be pulled away, far enough from the frame, to access the interior side of the bumper and install the sensor strip.
- Clean the area of the sensor strip with alcohol.
- Remove the backing and press the strip onto the bumper.
- Cut off the excess.
- Connect the module’s wire to the sensor strip and attach it to the bumper with cable ties.
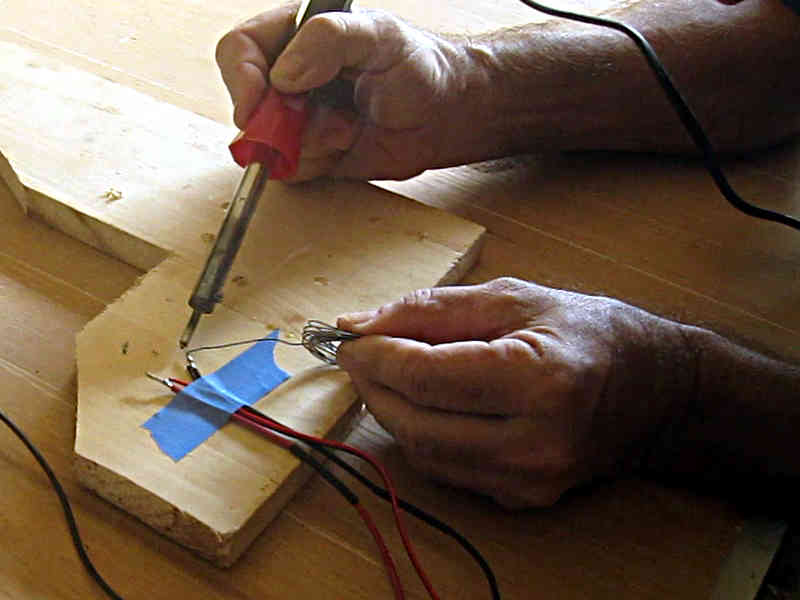
- Solder extension wires to the sensor wires and add heat shrink to protect it.
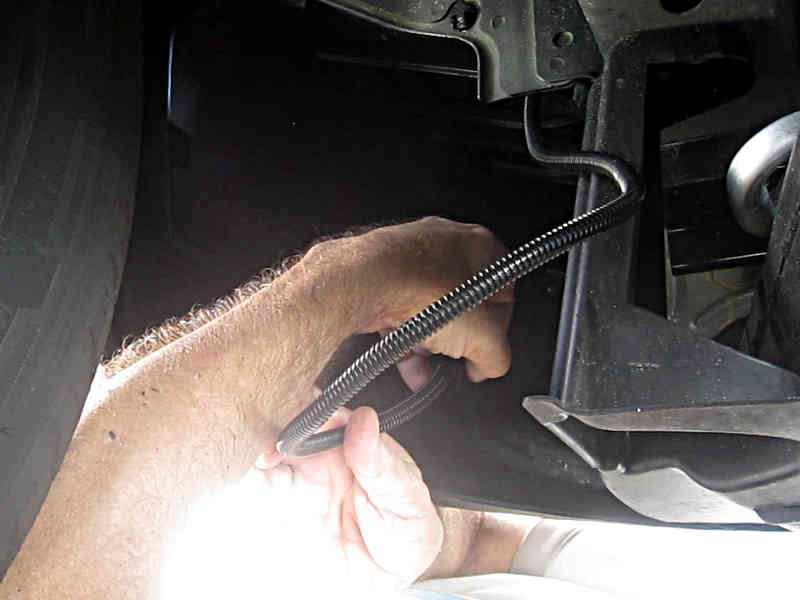
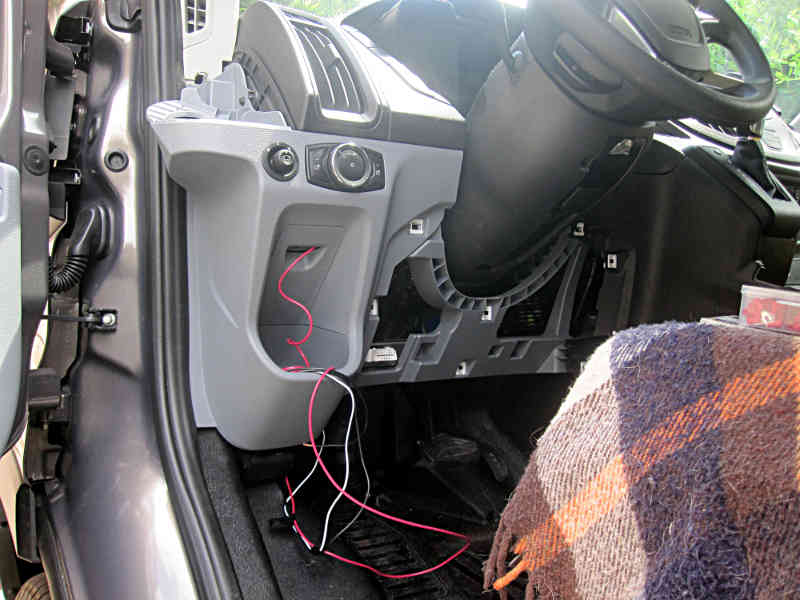
- Make a cut in the right dash grommet and push a fish tape trough it.
- Pull out the dashboard panel under the steering wheel.
- Connect the sensor wiring to the fish tape.
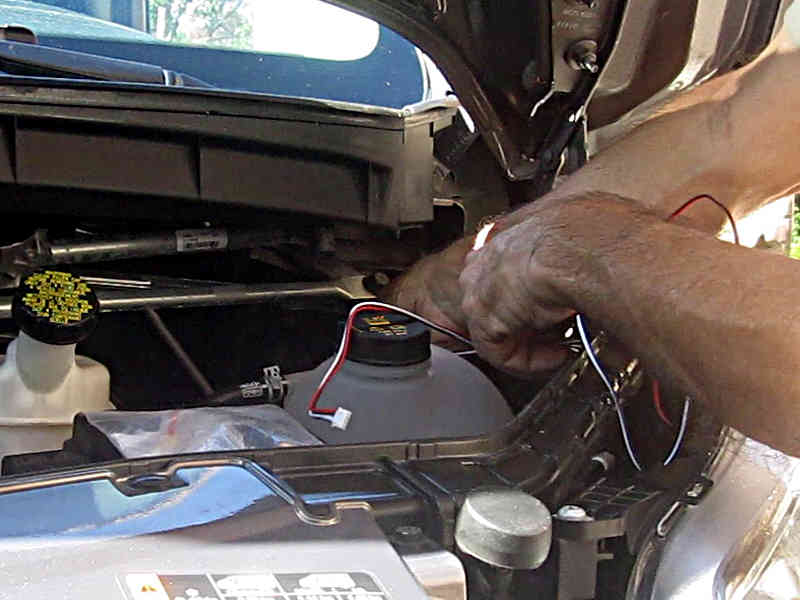
- Pull the wire into the engine compartment.
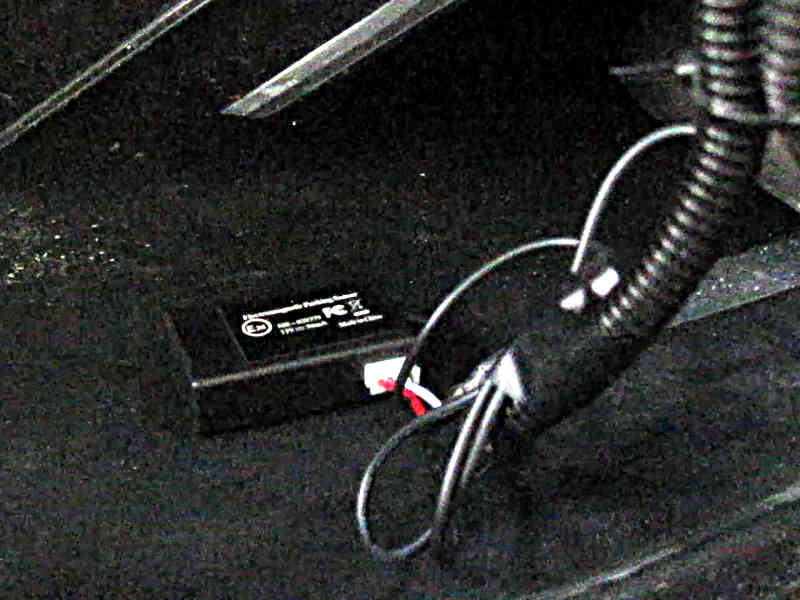
- The wire is guided to the sensor module in the bumper.
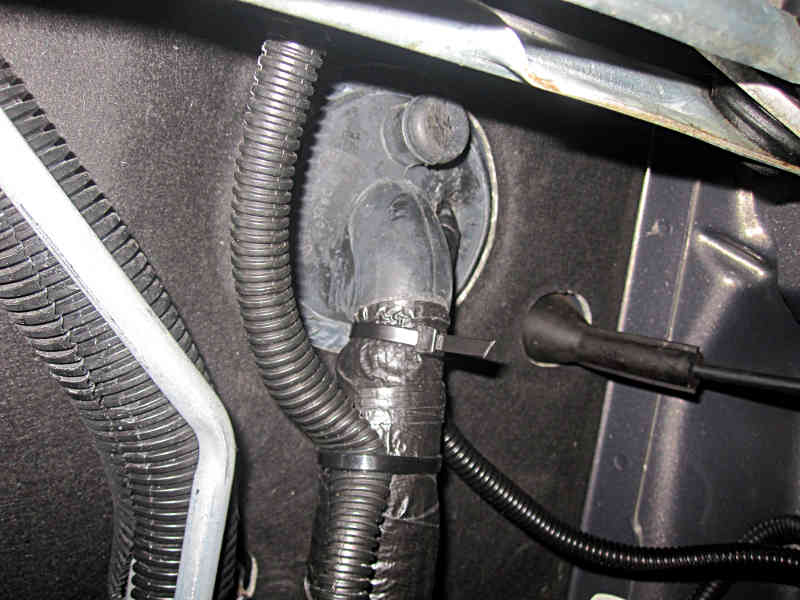
- Wrap it all up in a wire loom.
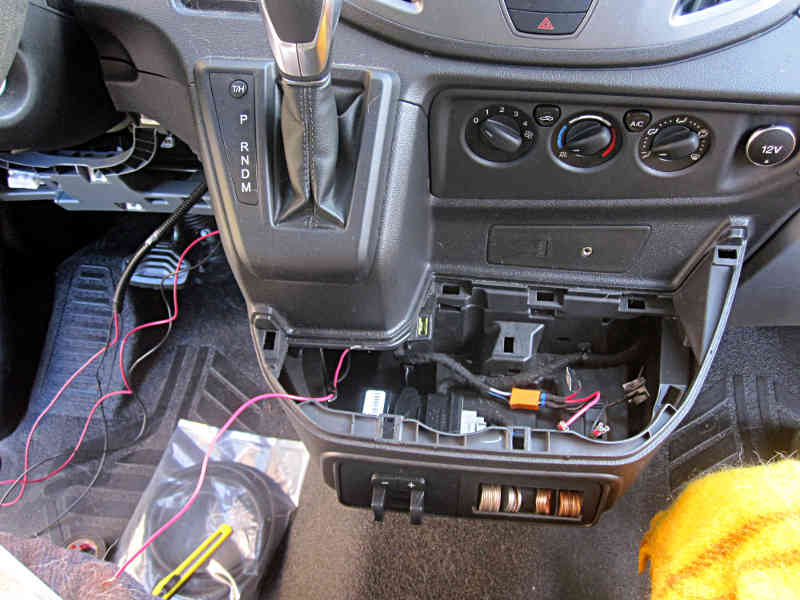
- Open up the center console.
- Create two new extension wires (see Mod: 12V USB).
- Connect to the 12V power source.
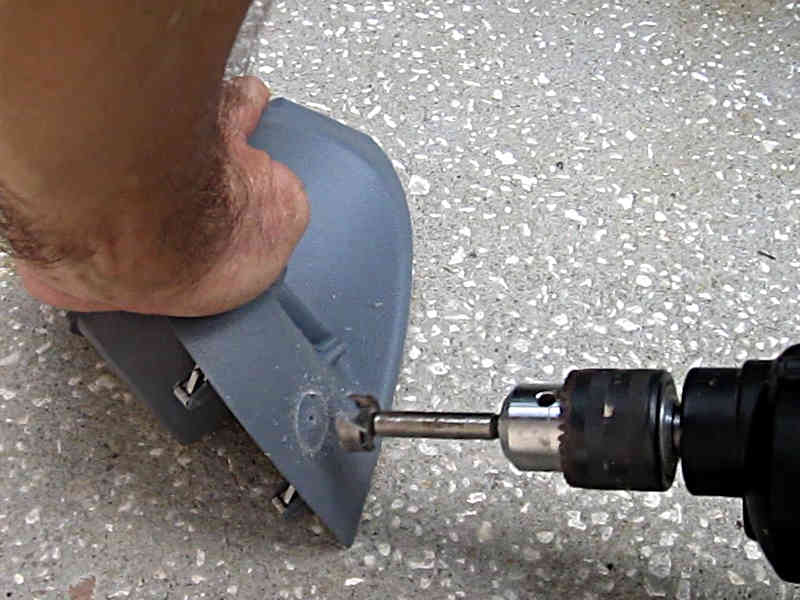
- Remove the cupholder.
- Drill the hole for the switch with the Forstner bit.
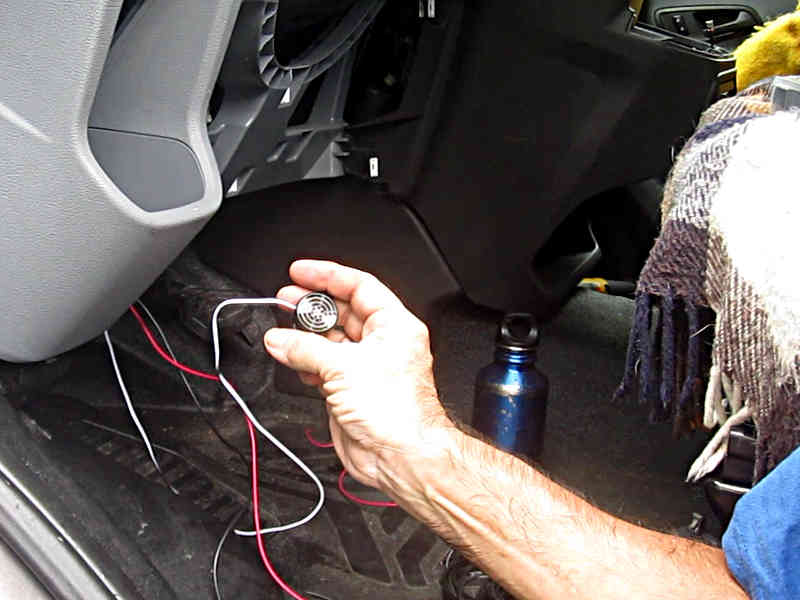
- Install the speaker under the dash.
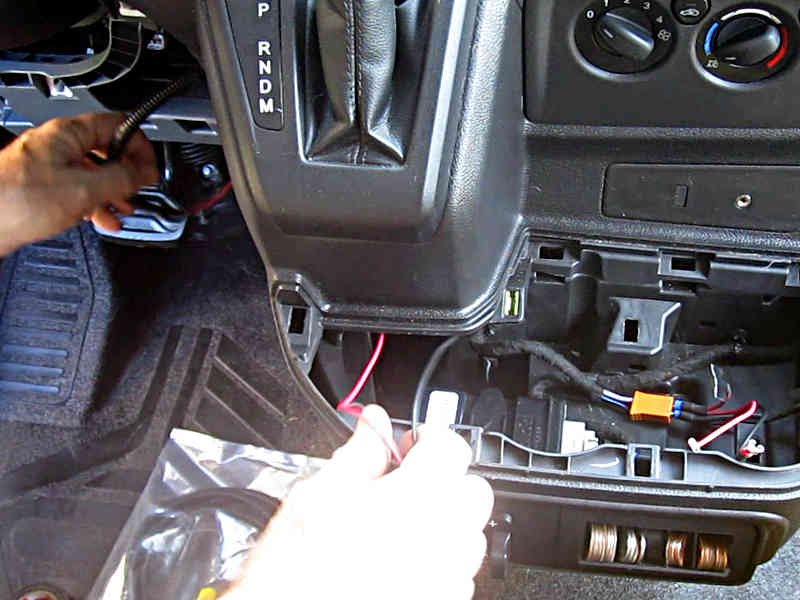
- Pull the wiring into the cupholder and attach some connectors.
- Install the switch.
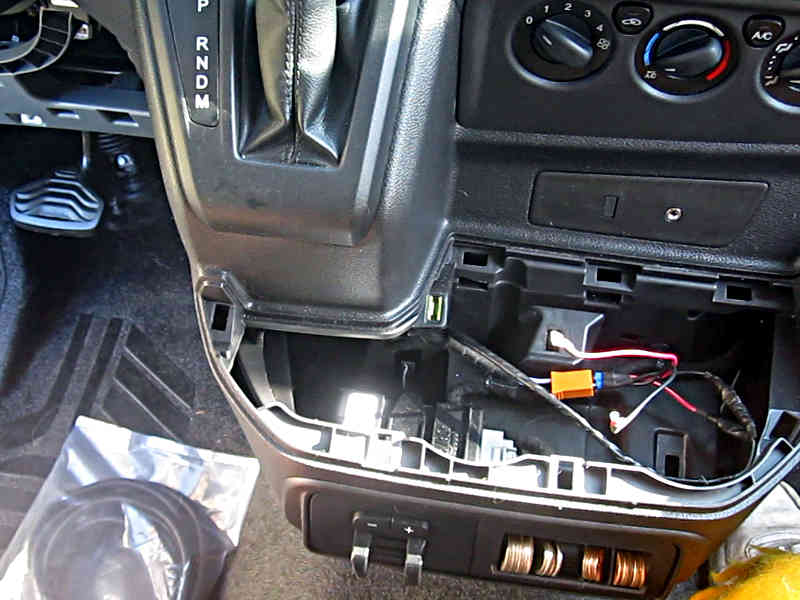
- Pull the wires through to the center console and wrap them up.
- Connect the wires and tape the ends up with electrical tape.
- Test the installation.
materials
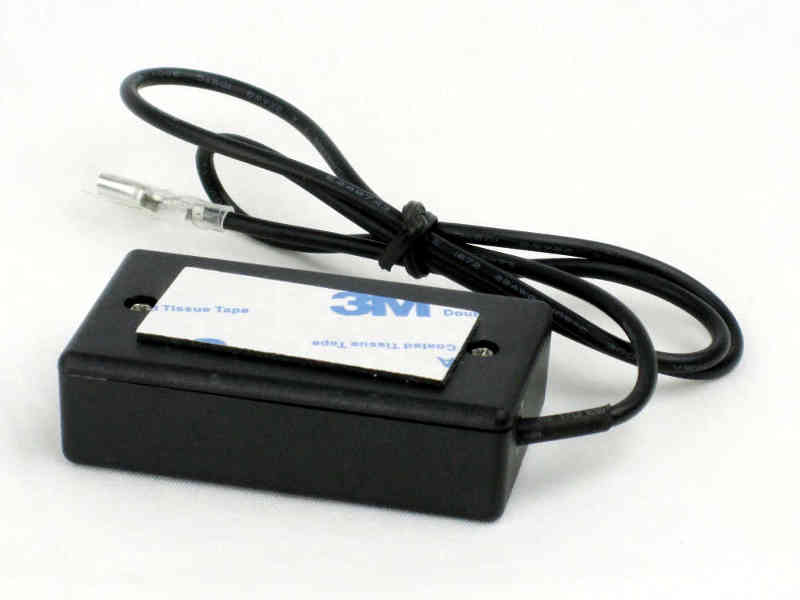
- Sensor Strip and Module
- Switch – 12V – 20 Amp
- 16 AWG Wire
- Wire Wrap
- Wire Connectors
- Heat Shrink
- Electrical Tape
- Cable Ties
- Alcohol Swabs
tools
- Wheel Chocks
- Socket Wrench
- Wire Cutter
- Heat Gun
- Drill
- Forstner Drill Bit
- Fish Tape
- Utility Knife
- Tape Measure
- Painter’s Tape
- Sandpaper
Conclusion
Only a few cheap materials are needed and most of you can do this work. A second pair of hands will make this mod easier and a lot faster. A little 12V knowledge is required for the switch and the power source. Only proceed if you know what you’re doing.
The wire, wire wrap and electrical tape used during this part of the project, were acquired locally as part of a previous project in this van conversion.
- Download This Guide
 [ .pdf Download ] – Size: 1.5 Mb


QUESTIONS, SUBMISSIONS OR CORRECTIONS
The missing parts of the complete van conversion process are being added regularly to this Build Guide. If you want to suggest a specific build option for this guide, submit a content correction or have a general inquiry, send me an email.
Error: Contact form not found.
Disclaimer: Throughout this guide, all guidance, building techniques and other information are based on my own experiences of converting a cargo van into a Tiny House on wheels. This guide is only for informational purposes; always build according to local and national standards. Be aware that such a project is expensive, requires a substantial amount of broad knowledge of building techniques and involves more work hours than you can imagine. Besides of hitting a finger with a hammer, much more serious harm can be done when you work with 12V/120V electrical systems, propane installations, power tools, etc. Tapping into the vehicle’s own systems can also damage its functionality. Get professional help where needed; never take any risk!