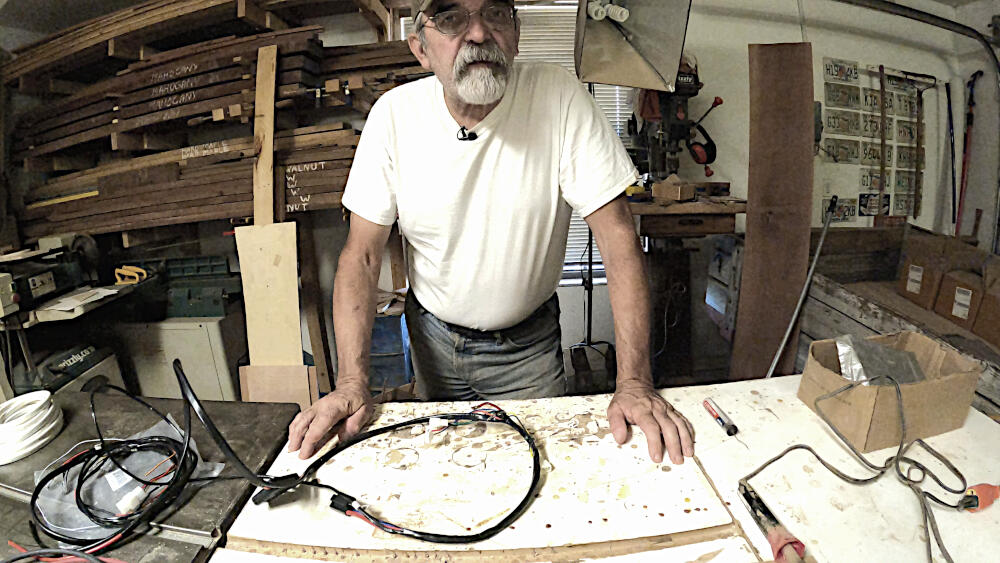
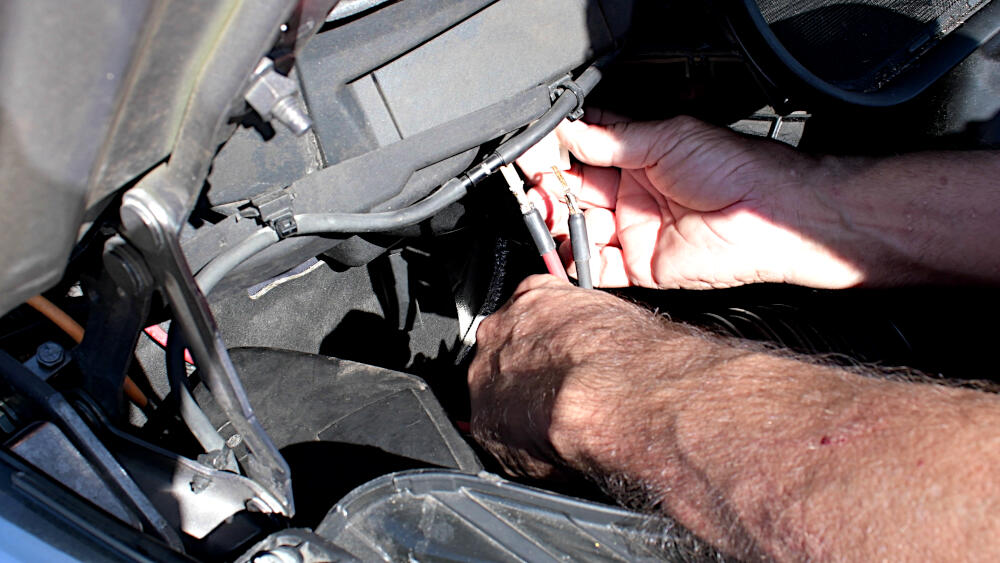
In this second part of the Onboard Compressor installation, I show you how I extend some of the wires in the wiring harness of the compressor.
The lengthening of the wiring harness is necessary to comply with Ford’s requirements to directly connect the harness to the vehicle battery (through the CCP – Customer Connection Point), which is located under the driver’s seat.
[videojs_hls url=”https://d3as8i8c4awtvd.cloudfront.net/5dc0f9a4-b22e-4b3f-843c-edfe4eeb4df0/AppleHLS1/compressor-2-AWS.m3u8″ mp4=”https://d3as8i8c4awtvd.cloudfront.net/5dc0f9a4-b22e-4b3f-843c-edfe4eeb4df0/FileGroup1/compressor-2-AWS_Mp4_Avc_Aac_16x9_1920x1080p_24Hz_8.5Mbps_qvbr.mp4″ poster=”https://cargovanconversion.com/wp-content/uploads/2022/01/featured.jpg” width=”1280″ preload=”none”]
The compressor wire harness includes all that is needed for a successful installation and is usually guided from the compressor to the car battery without leaving the engine bay. And from there, through the firewall on the driver’s side to the on/off switch location.
I found it difficult to guide the harness to the usual battery location, as there is no other harness, to piggy ride on (and not complying with Ford’s requirements). Also a switch location close to the steering wheel is not readily available.
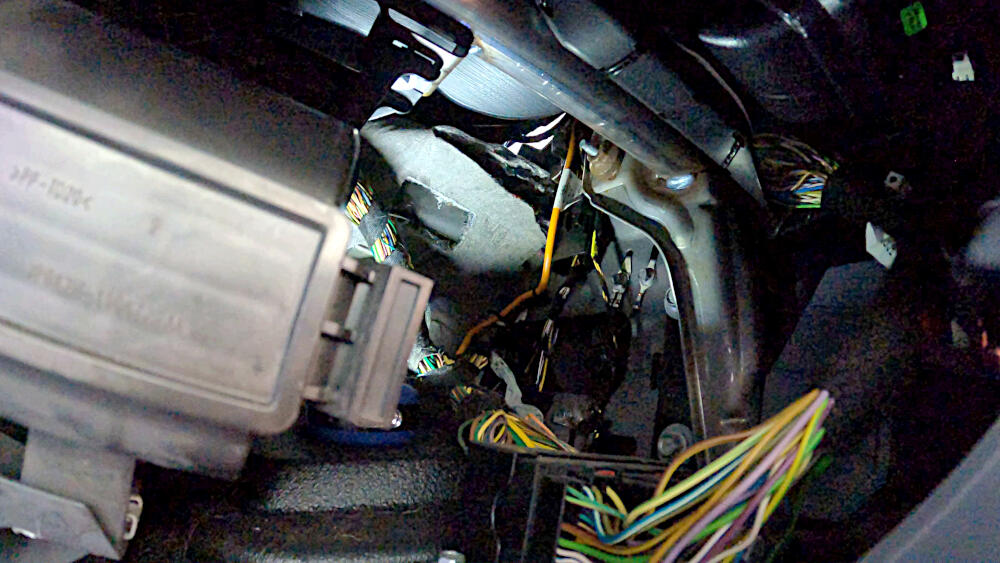
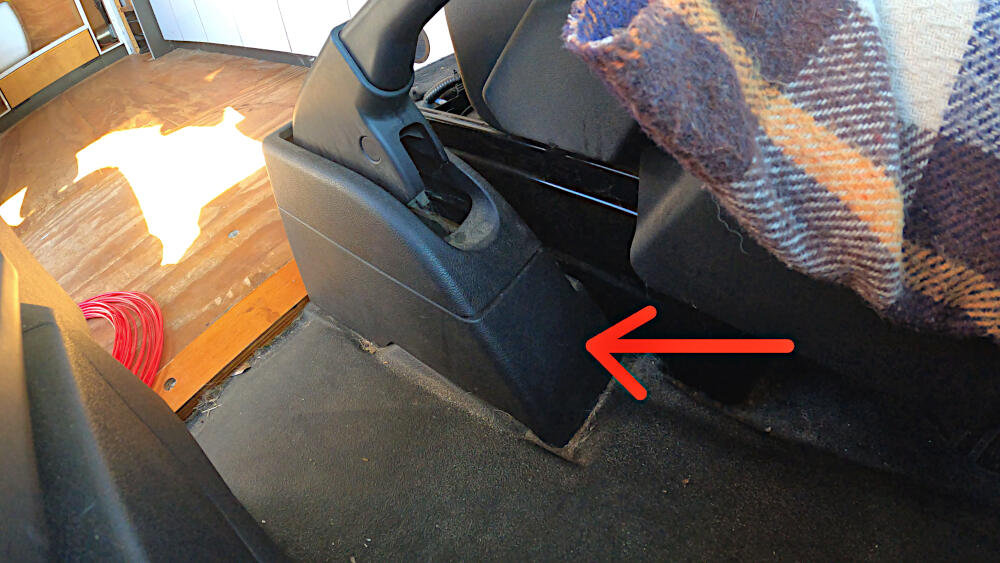
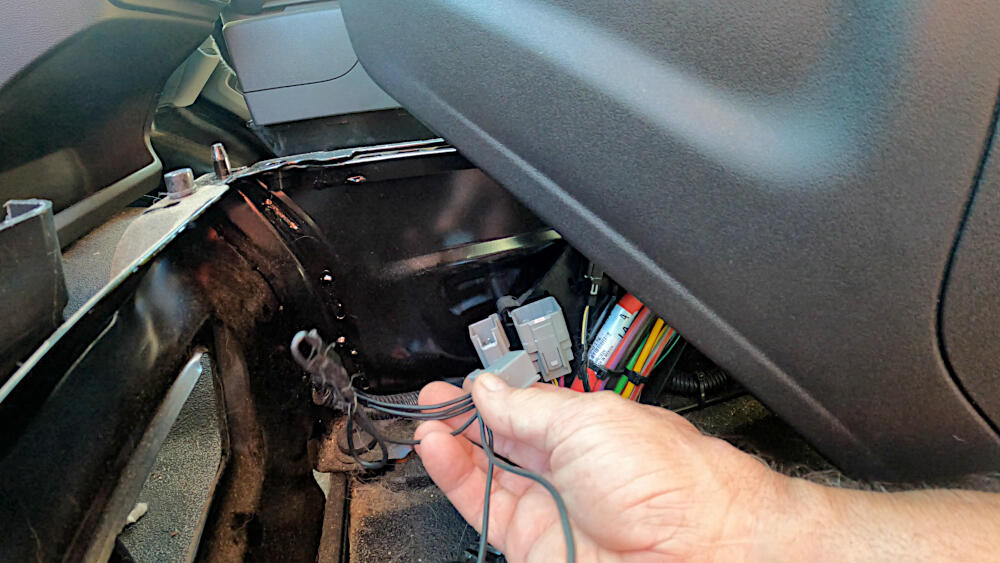
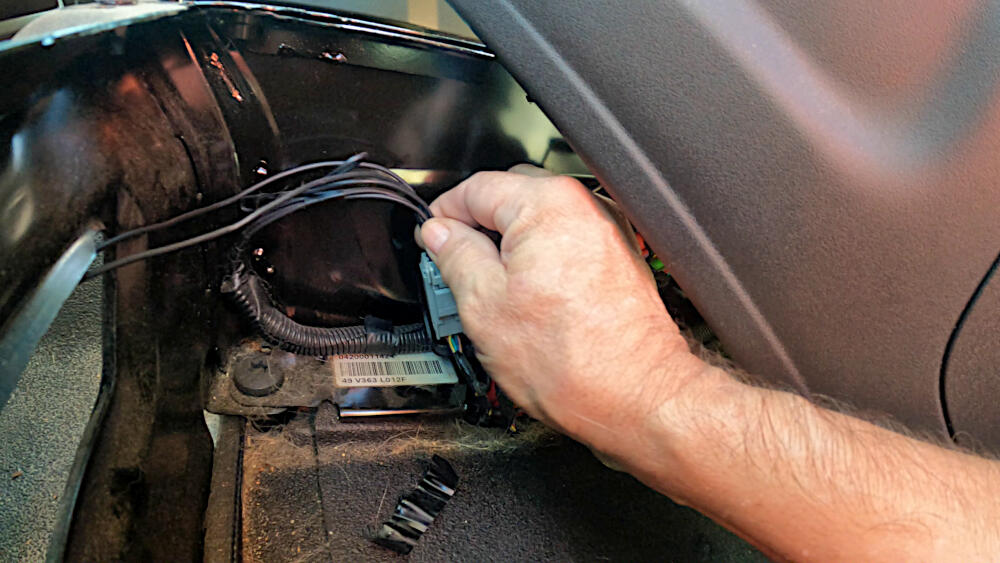
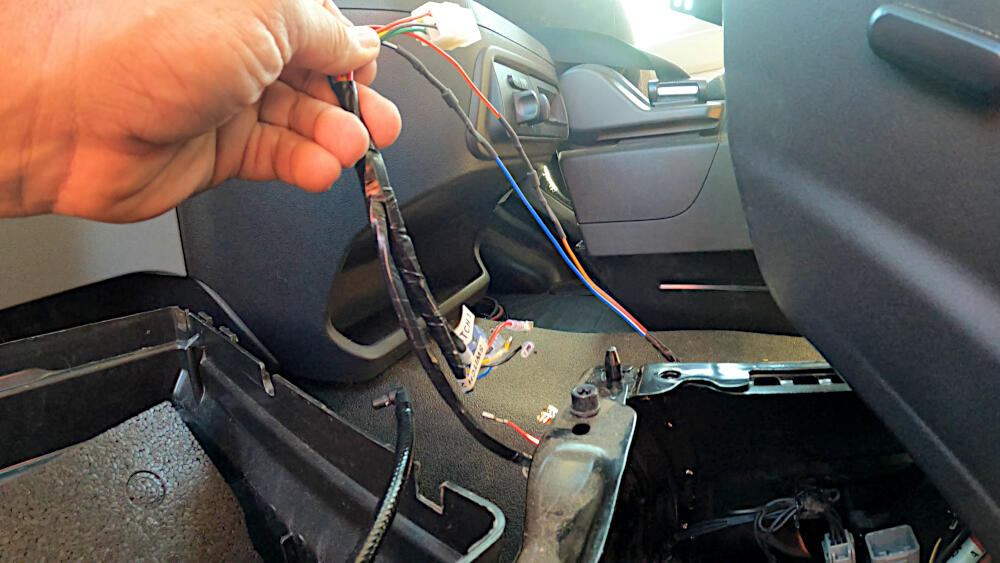
I decided to guide the harness from the compressor, which is located at the passenger side of the engine bay, directly through the firewall into the area behind the glove box. From there the harness is guided down behind the console and between both seats, to the rear of the driver’s seat.
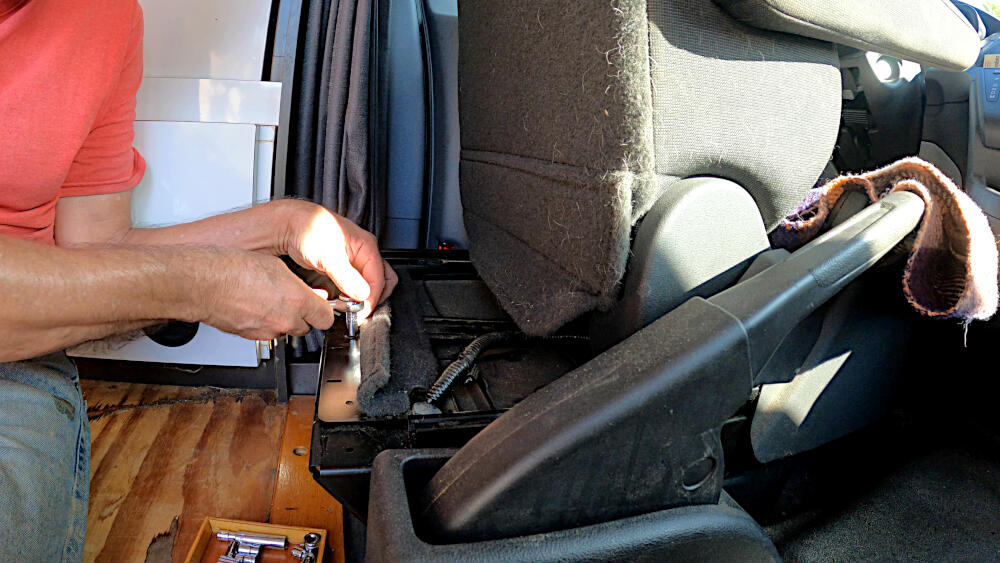
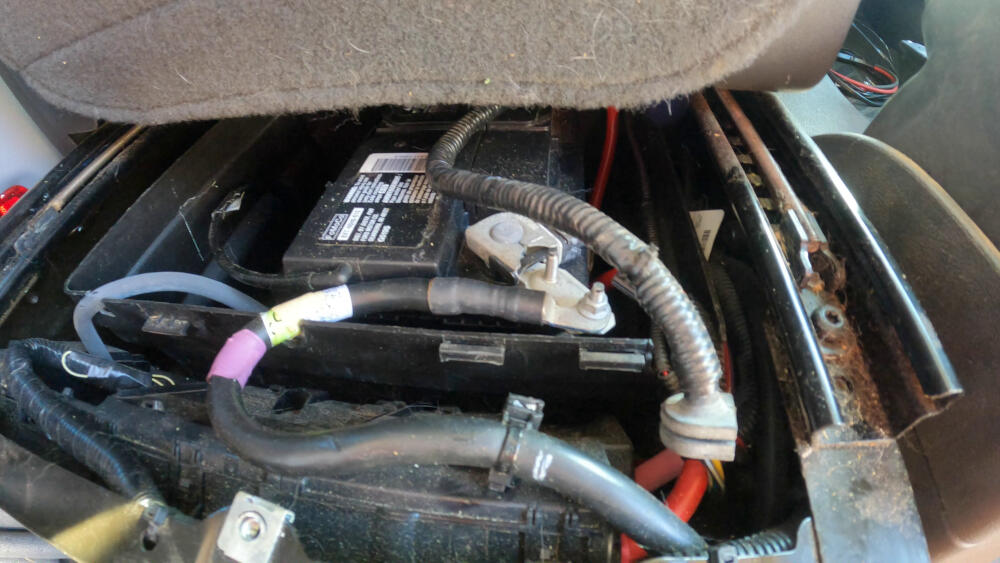
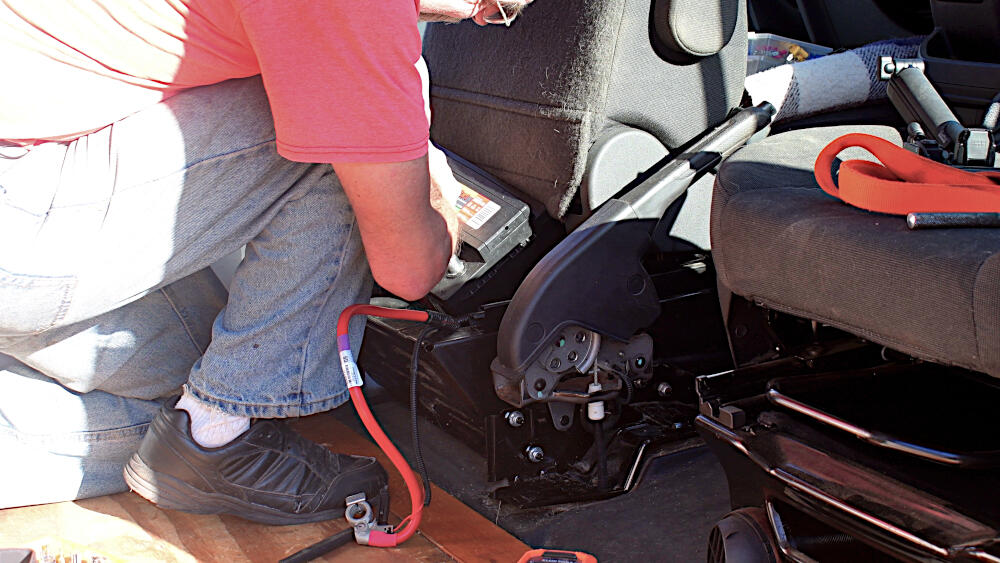
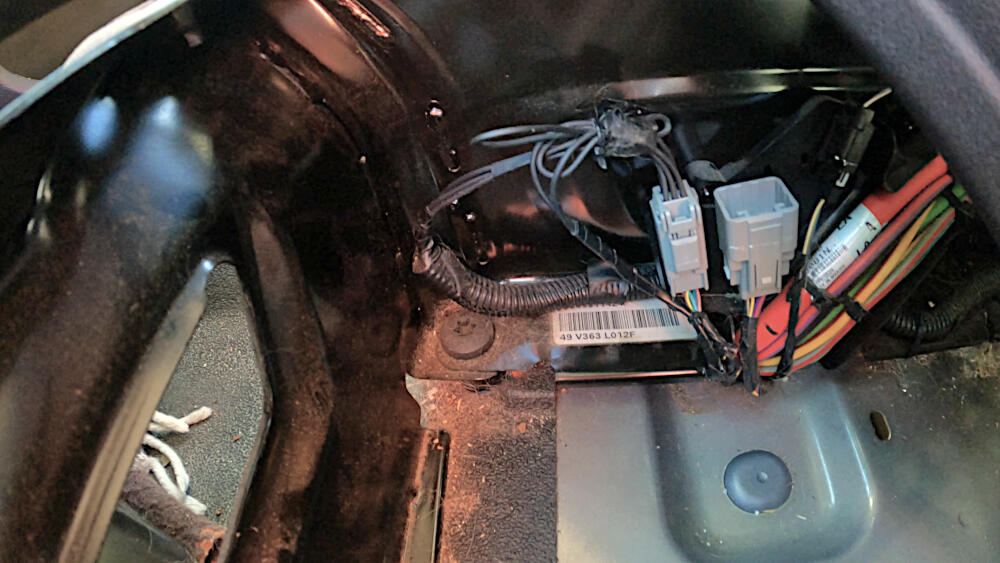
The positive wire is connected to the CCP and the negative to a grounding point between both seats. The switch wiring is guided to the front of the hand brake, where I will locate the actual On/Of switch.
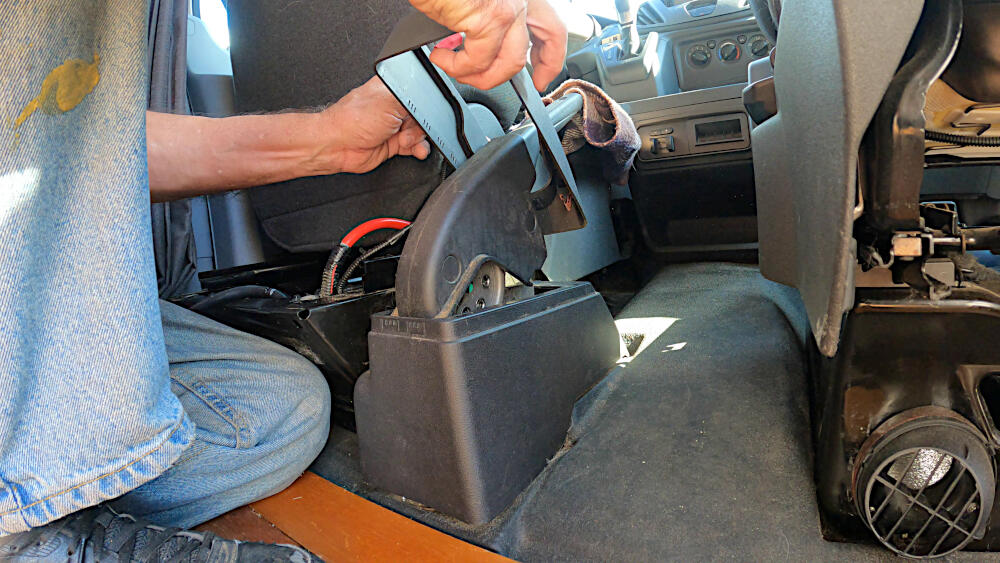
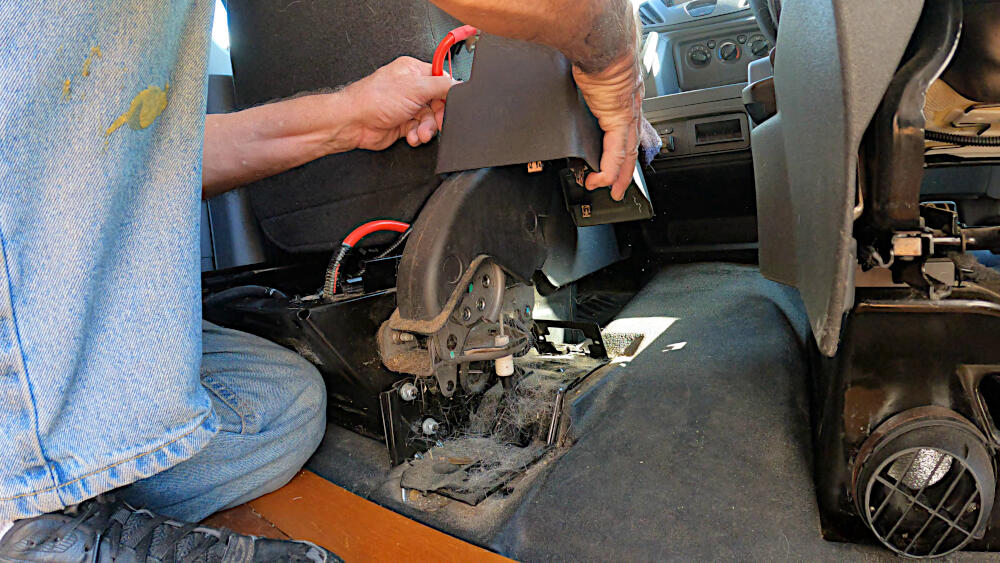
Signal Wires
Two remaining witch signal wires continue into the driver seat’s pedestal, where one is connected to the Illumination signal and the other to the Engine Run signal. That is done with Ford’s additional pigtail harness.
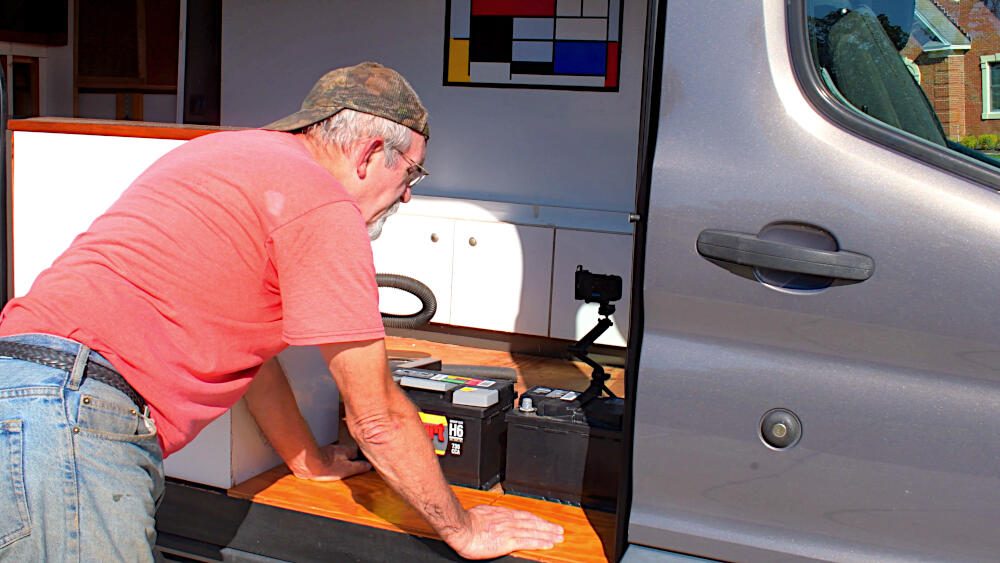
When this pigtail harness is installed, I take the opportunity to also replace my battery after six years of use.
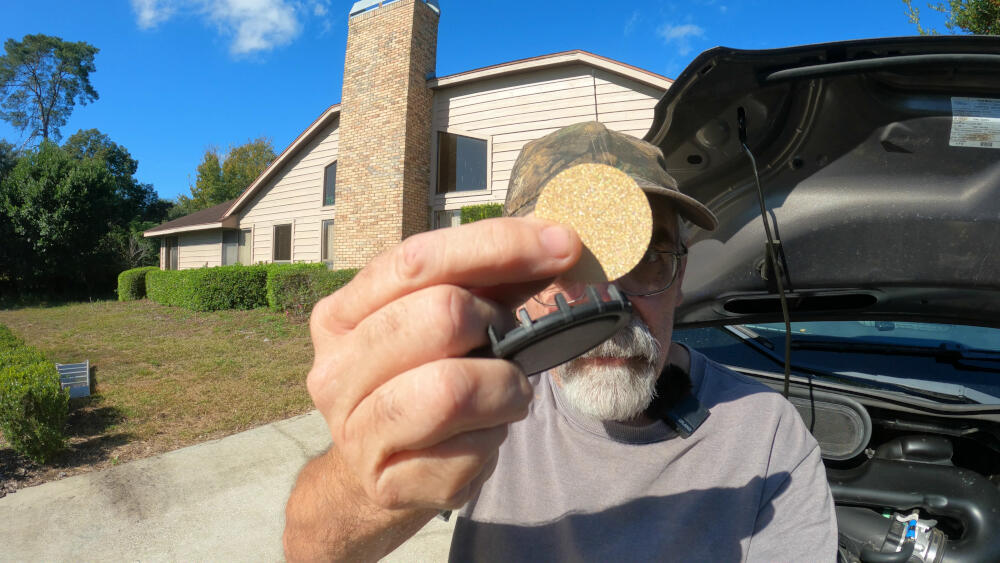
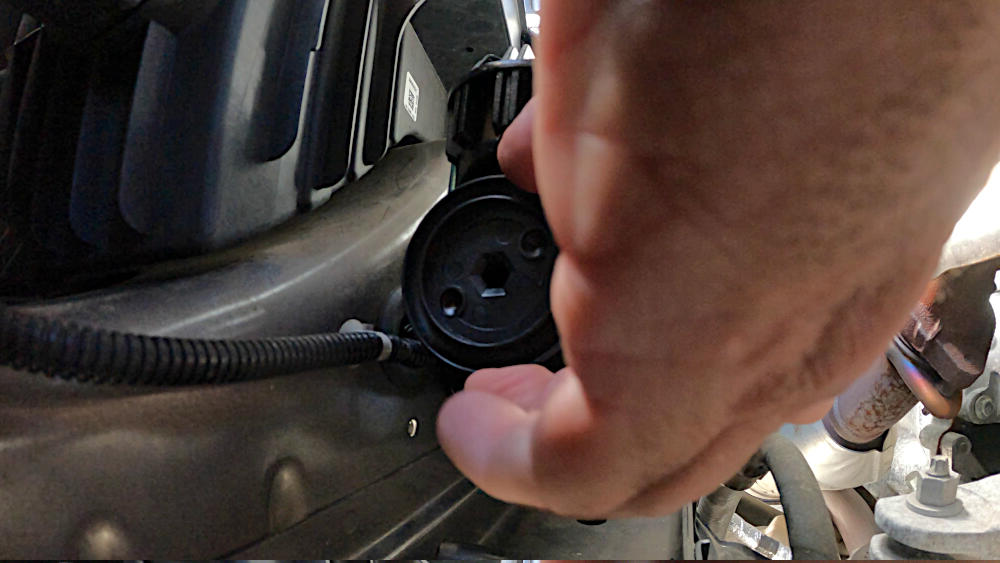
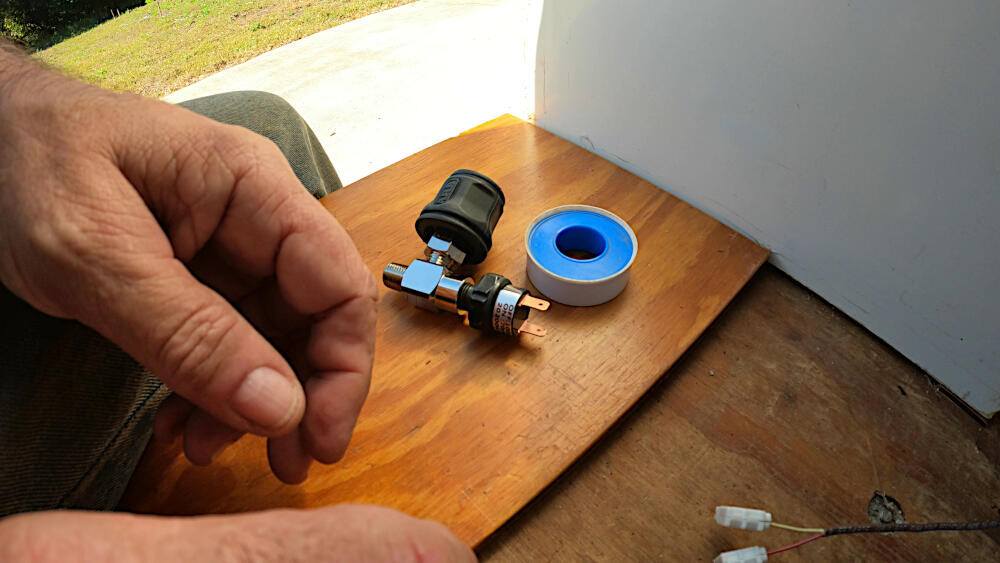
Meanwhile, I install the ceramic filter on the compressor and assemble and install the hose connector and pressure switch.
The remainder of the install will follow in part 3 of this video series.
TOOLS & MATERIALS*
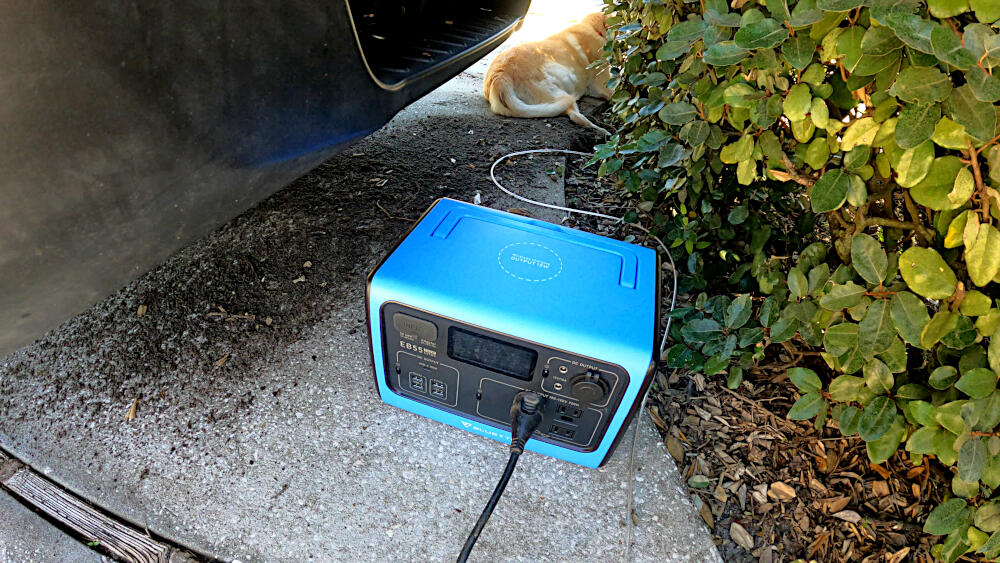
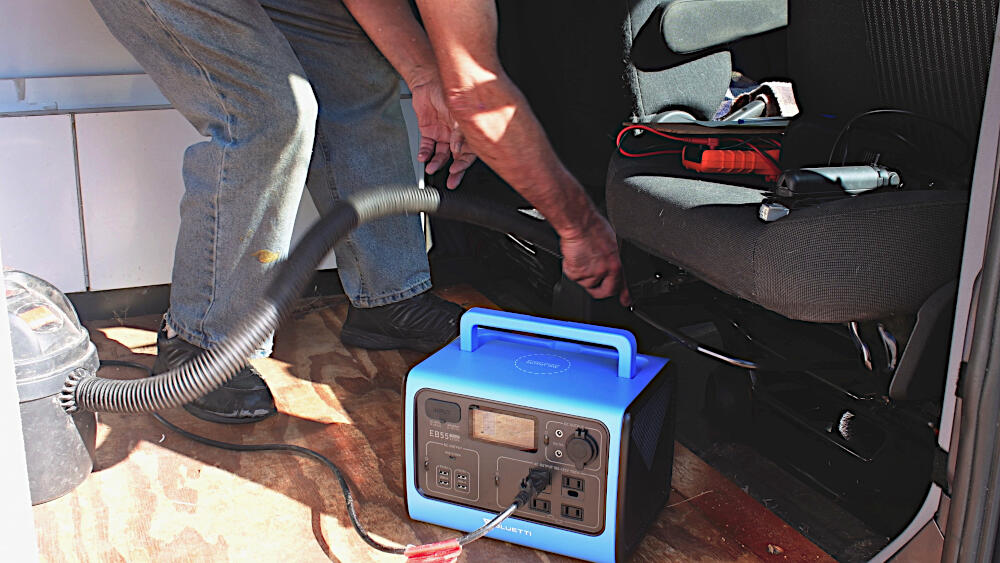
Bluetti EB55 Power Station
ARB Compressor
ARB Hose Kit
12V Air Compressor
Wiring Pigtail Kit 3U2Z-14S411-JBA
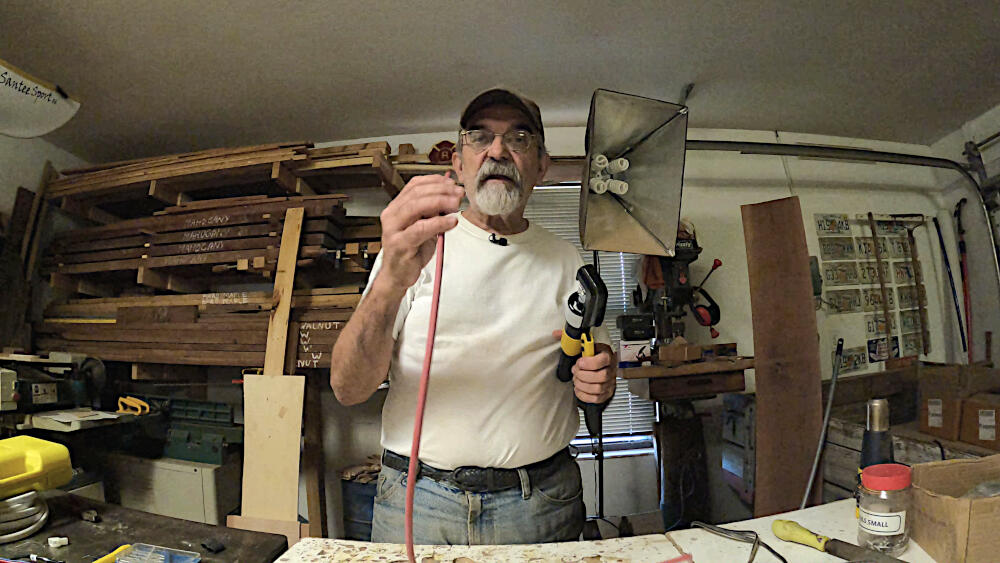
Heavy-Duty Lug Crimper
8AWG Welding Wire
8AWG Lug
Zip Ties
Heat Gun
Vehicle Battery
Wrench
Drill
*Some of the links above and in the video, are affiliate links, meaning at no additional cost to you, I will earn a small commission if you click through and make a purchase.