With the water pump and faucet in place, the remaining Pex pipes are being installed between the water heater, faucet, pump and water tank. Followed by the sink and the drain lines. Small additions like a special mirror, towel rack and hardwood drawers make the van more complete.
[videojs_hls url=”https://d3as8i8c4awtvd.cloudfront.net/3096a92e-e36c-4483-90dc-583a30084fd6/AppleHLS1/221120-cargovanonversion-AWS.m3u8″ mp4=”https://d3as8i8c4awtvd.cloudfront.net/3096a92e-e36c-4483-90dc-583a30084fd6/FileGroup1/221120-cargovanonversion-AWS_Mp4_Avc_Aac_16x9_1920x1080p_24Hz_8.5Mbps_qvbr.mp4″ poster=”https://cargovanconversion.com/wp-content/uploads/2022/11/yt-thumbnail-1280-1.jpg” width=”1280″ preload=”none”]
Plumbing
The water supply and drain system in my van is relatively simple, yet I struggled to get all the different parts, needed for this small installation.
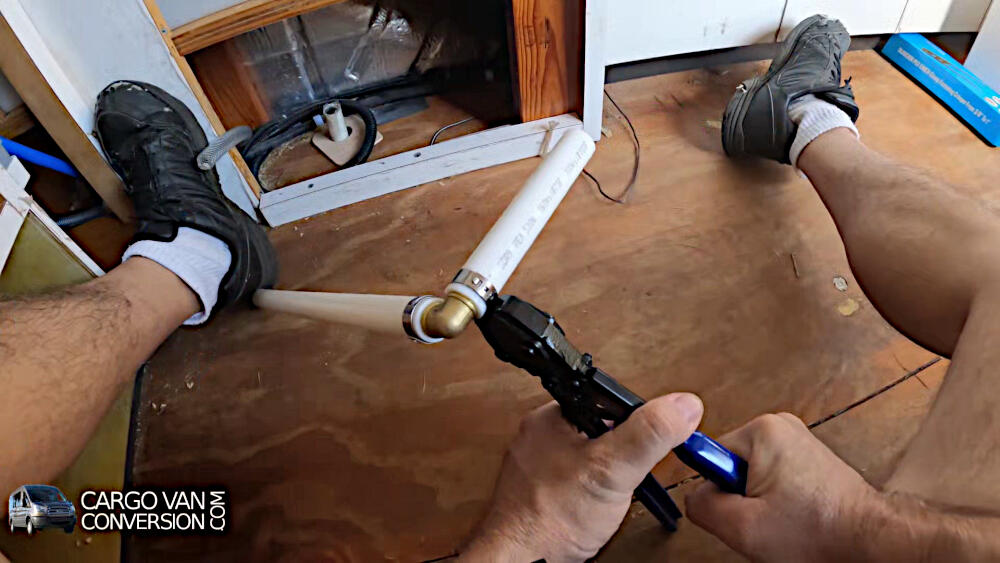
I decided to go with Pex pipes, which ultimately made it a straightforward process. That meant however, another barely used tool in my tool chest.
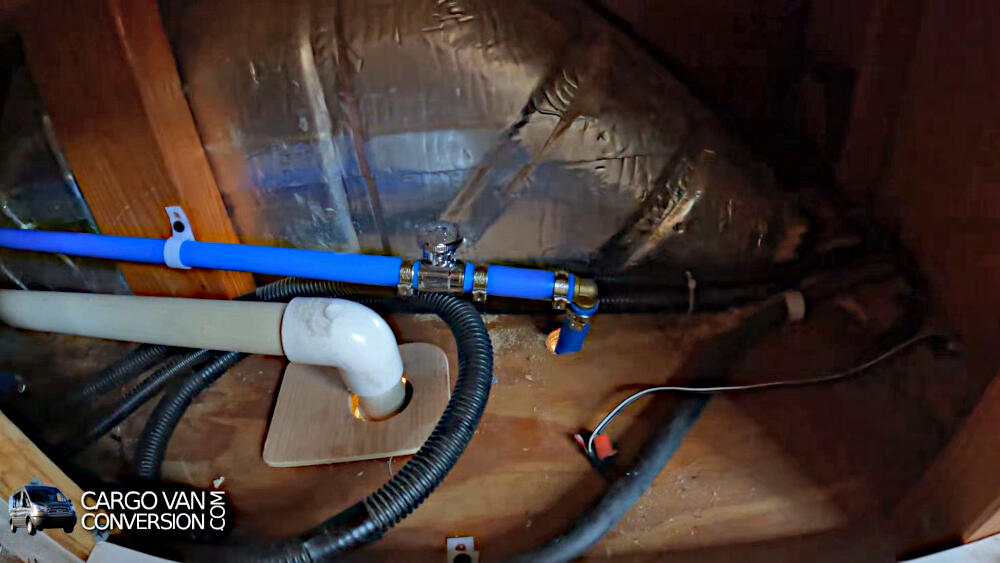
Because of the limited amount of water use, I decided to go with 1/2″ Pex pipes and 3/4″ Pex for the water heater overflow.
This created a compromise in so far as that the overflow pipe could not exit at the bottom of the vehicle, below the water heater itself, as the spare tire blocks the way.

I chose to drain it into the sliding shower tray, located underneath the water heater. Chances are, there is never a serious overflow issue and if there is, the tray will hold most if not all the water.
I could make most of the Pex connections before they were inserted between the various appliances and after everything was hooked up, the lines were secured along the walls of the cabinets.
With the Pex finished, I finally installed the black sink into the countertop, by using silicone caulk/adhesive. A special flexible drain line connects to the drain pipe, which flows to the gray water tank, under the vehicle.

That sink drain line and a Pex drain line, both exit the vehicle near the left rear wheel.
A lighted push button switch, just beneath the countertop, is connected through a relay to the water pump and allows the pump to be switched on and off.
Woodworking Bench & Router Table
Unrelated to the plumbing is the portable, folding router table, which just fits in the space next to the water heater. I can use that router in combination with the folding woodworking bench which is hidden under the desk seat.
Safety Mirror
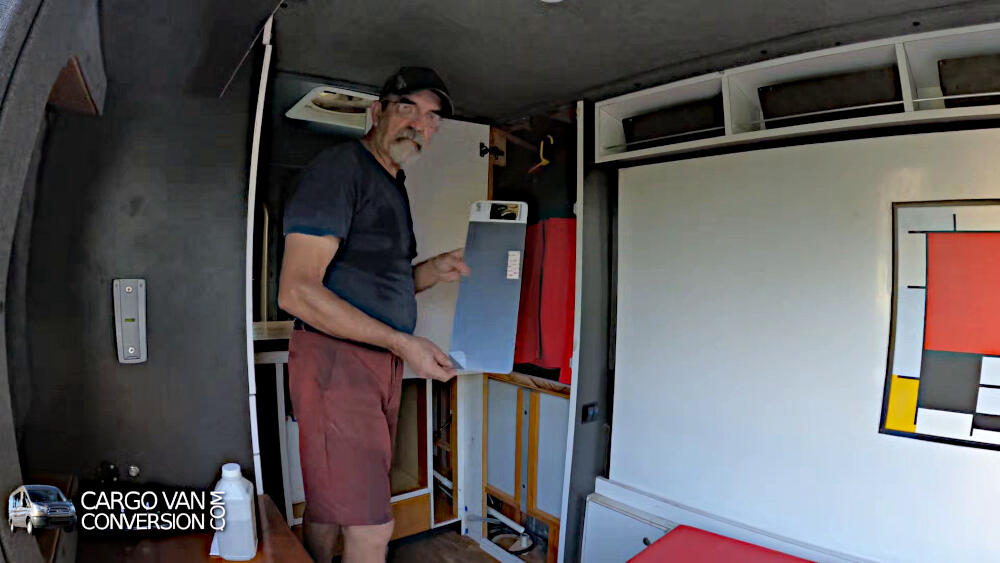
Avoiding any breakable glass, I acquired a small “plastic” mirror from IKEA. It came with some strong double-sided tape and found an appropriate place on the inside of my wardrobe door.

Paper Towel Rack
Another useful addition placed against the underside of the kitchen cabinet. No screws needed.
Hardwood Drawers
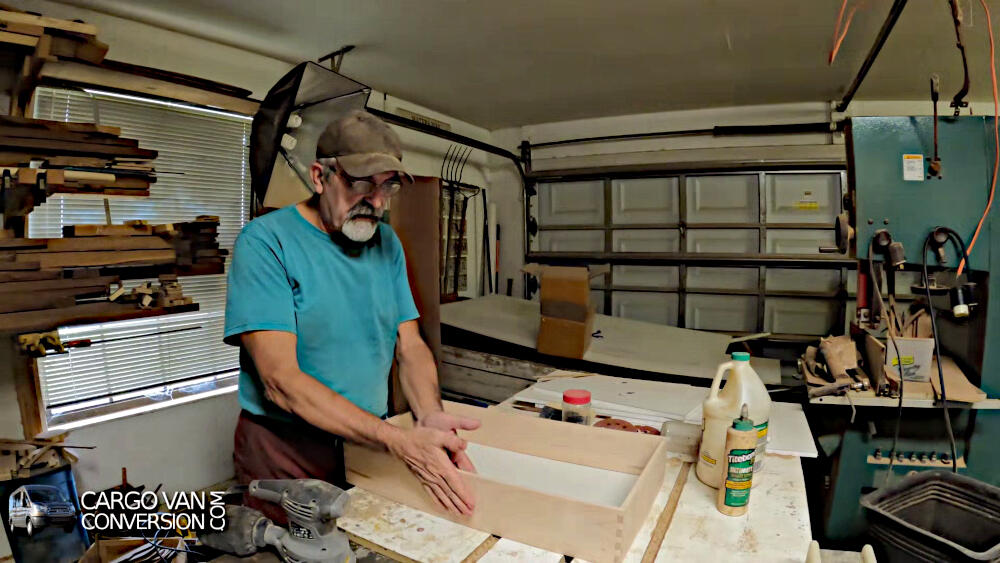
I continue to work on the last batch of hardwood drawers. With 3/8″ sides, I save bit on weight, while the Hard Maple boards, connected to each other with dovetails and finished with a couple of coats of poly-urethane, will give me many years heavy use.

Tools & Materials
- Pex Clamp Tool
- Pex Shutoff Valve
- Flexible Drain Pipe
- Black Sink
- Touch Faucet
- Silicone Glue
- Water Pump
- Push Button Switch
- Relay
- Drommare Mirror
- Towel Rack
- Bluetti Powerstation
- 1/2″ + 3/4″ Pex Pipe
- Jig Saw
*Some of the links above and in the video, are affiliate links, meaning at no additional cost to you, I will earn a small commission if you click through and make a purchase.


