I bought this water treatment system myself as a hopefully better replacement of my Berkey water filter.
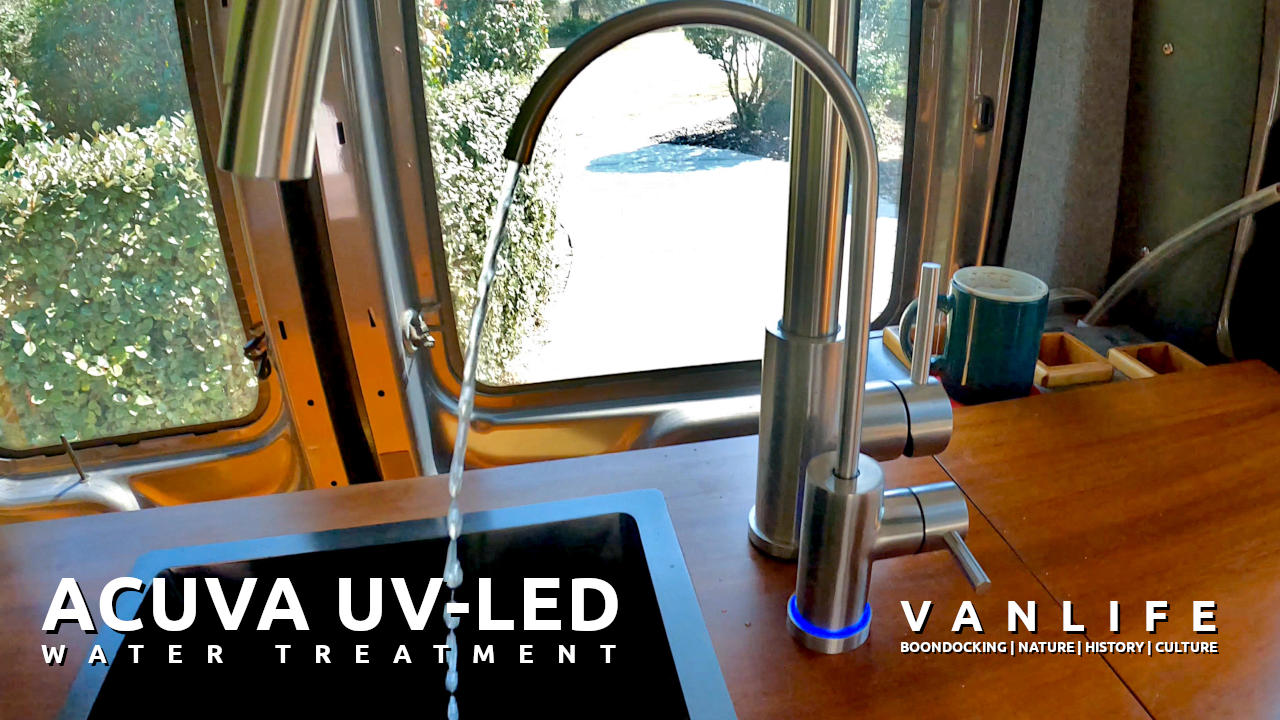
Acuva ArrowMAX 2.0 UV-LED
The Acuva system works with a pre-filter and an UV-Led to clean the drinking water in my van, during my travels through the US.
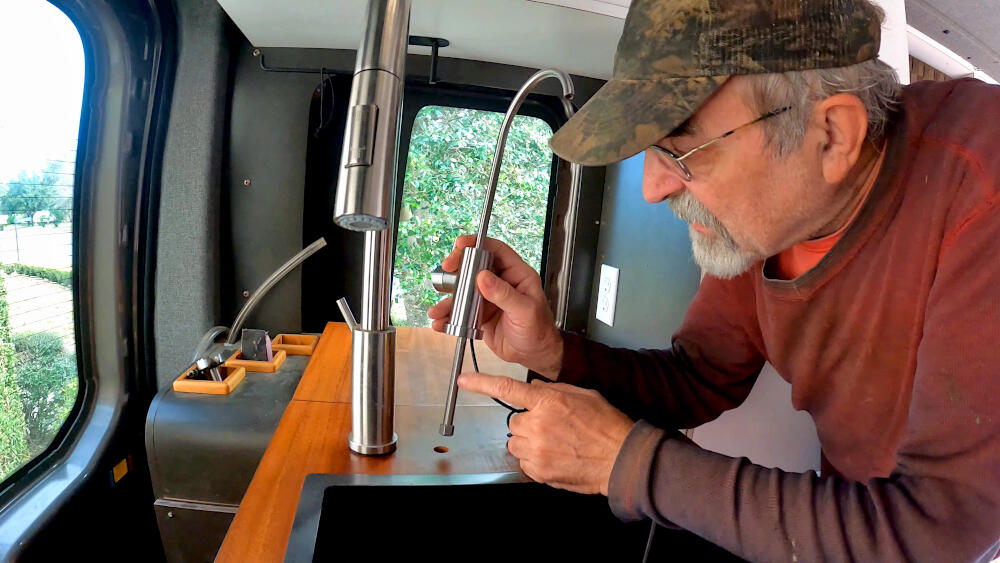
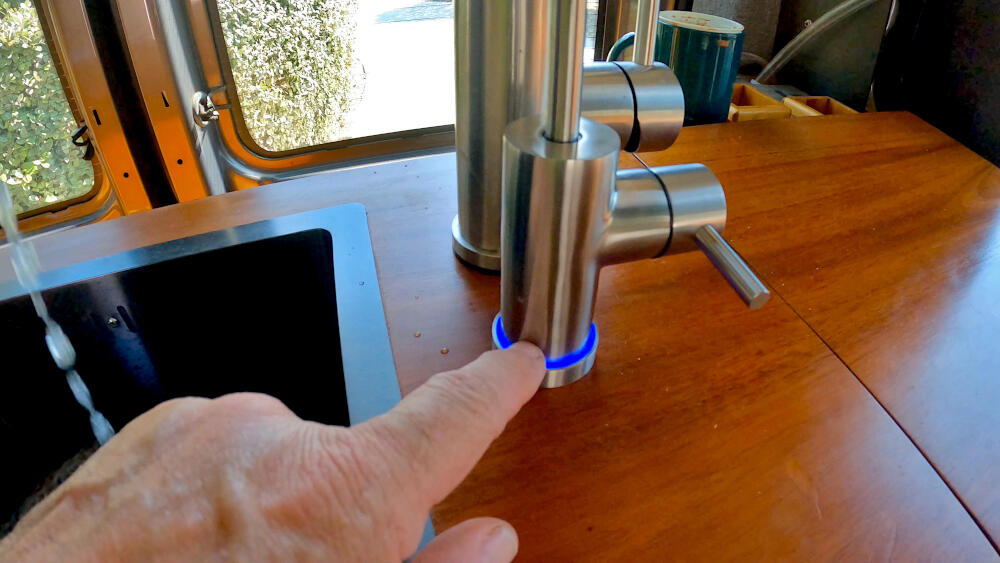
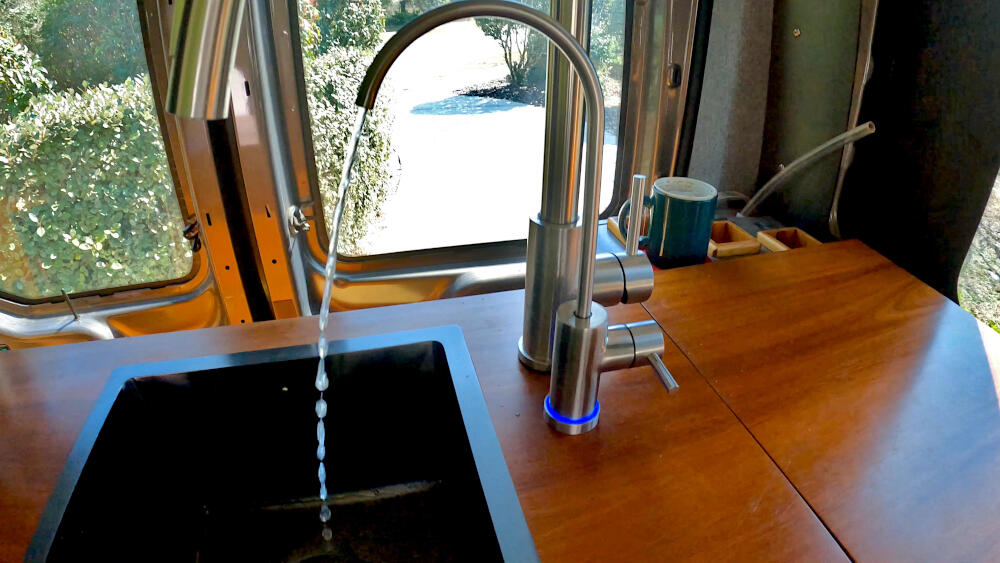
It comes with an optional faucet that is equipped with a blue lamp, showing when the UV-Led is working.
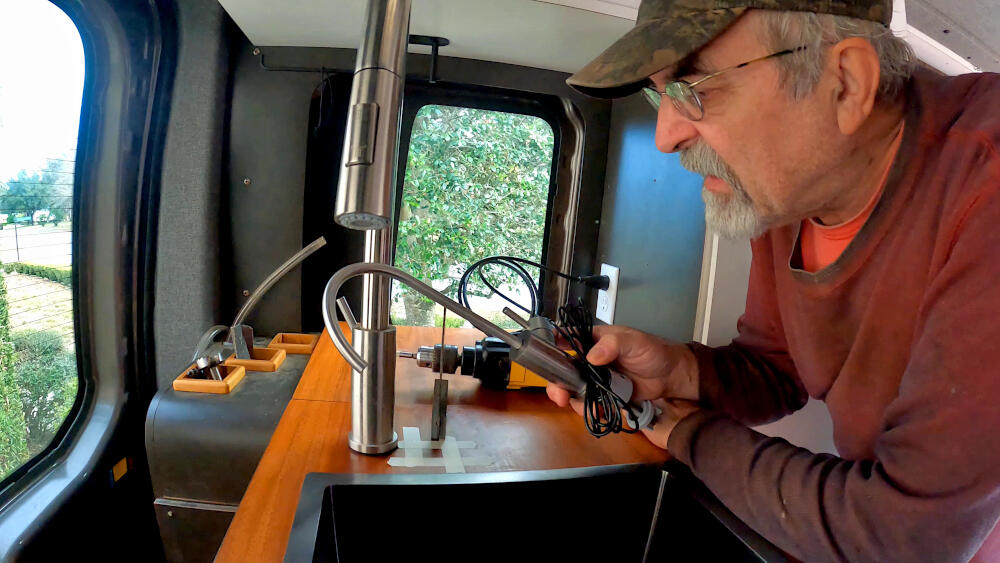
To install the faucet, I have to drill a hole in the kitchen countertop near the main faucet. That faucet will still be used to clean the dishes and wash my face in the morning, and the new smaller faucet will provide the drinking water.
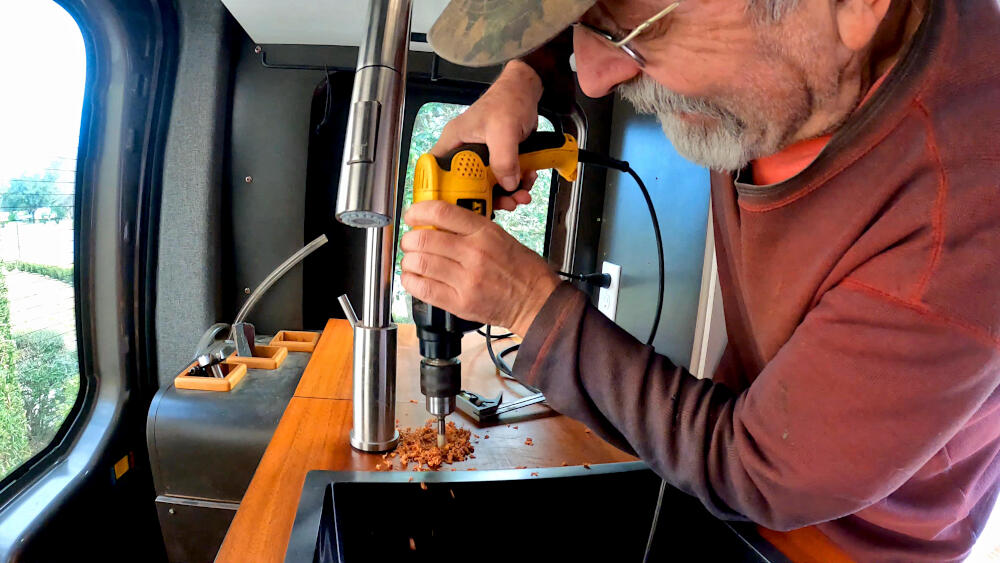
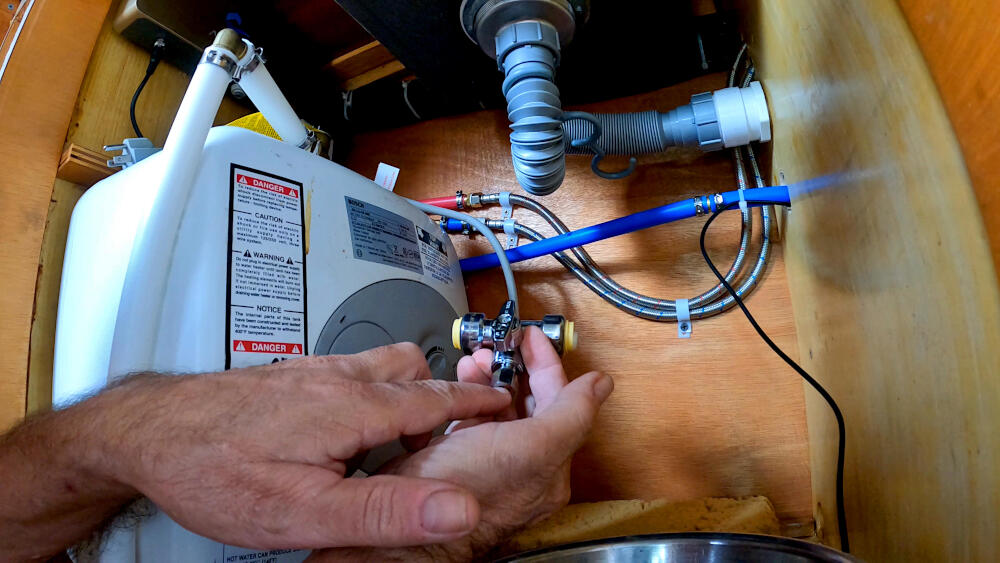
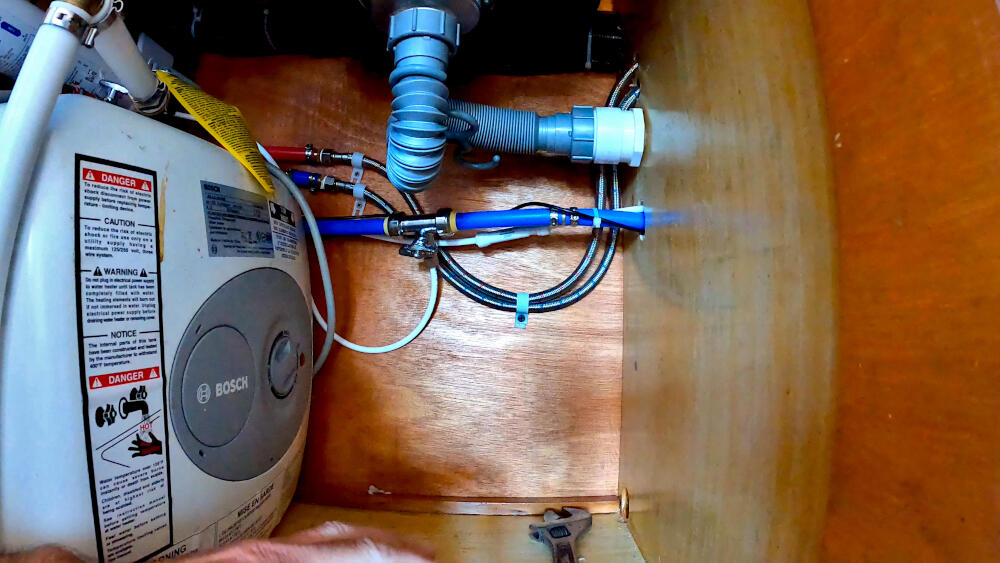
I use a Forstner bit to drill a wider hole through the Mahogany top. As the top is now ready to receive the faucet, I proceed under the counter to extend the water supply, by adding a T-pex push connector to the cold water line that originates at the fresh water tank.
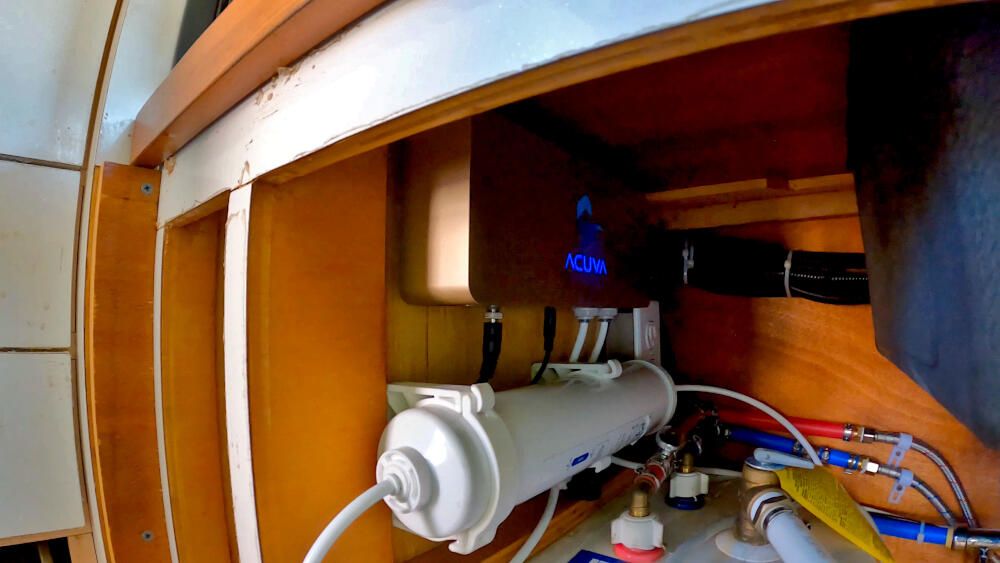
Next in line are the two supports for the filter cartridge. I had a small issue with them, where one of the supports doesn’t correctly fit around the cartridge. The company support line explained, they were using a new cartridge type, that is slightly tapered, which resulted in this issue. Unfortunately they did not offer a solution.
In the end I installed the filter on the wall with only one side locked-in into the support and the other just pushed-in. Don’t expect any issues on the road, but was slightly unsatisfied with the company.
When the pre-filter was done, I continued with the main unit, that contained the actual UV light; the included DIN rail was used to install the unit and allowed for easy removal later on. The 12V power supply wire was fused at the main fuse box and now connected to the main unit.
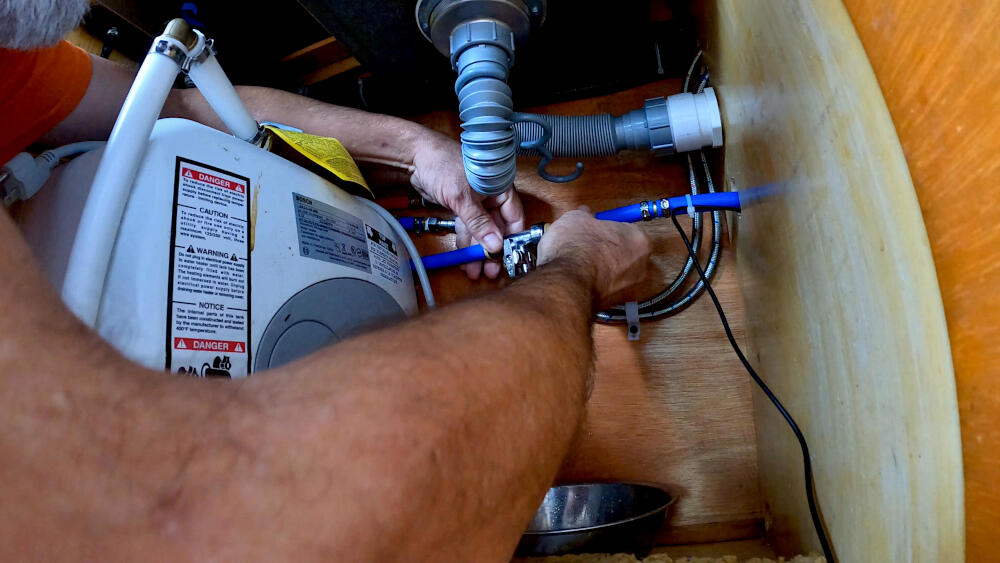
The earlier placed main water line connector, is now connected to the filter with the included drinkwater line. This is just a matter of pushing the ends into the main unit and at the T-connecter by tightening a nut.
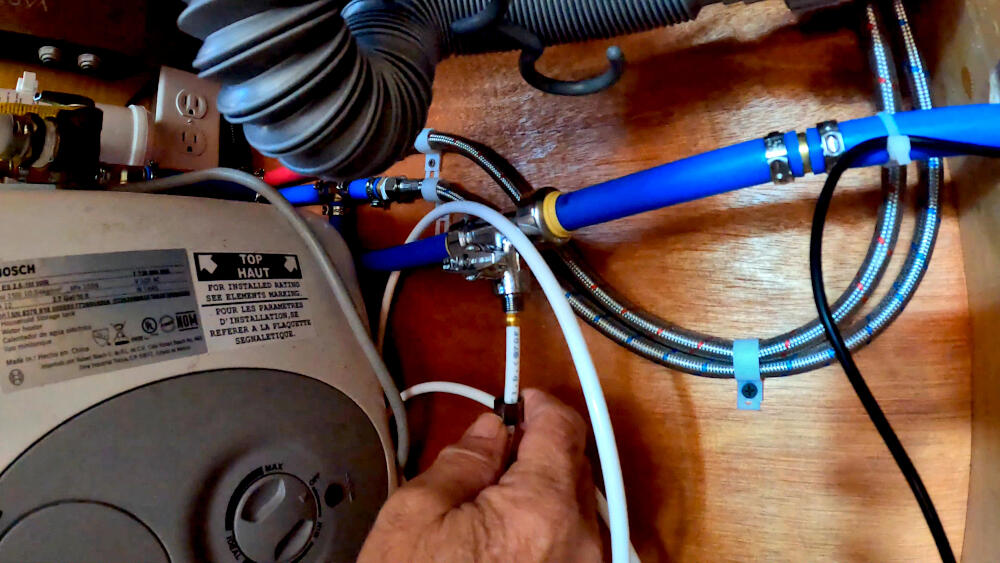
From the other side of the filter a similar water line is installed between it and the main unit. While at the main unit, I also attach a similar line, that will end up connected to the water faucet.
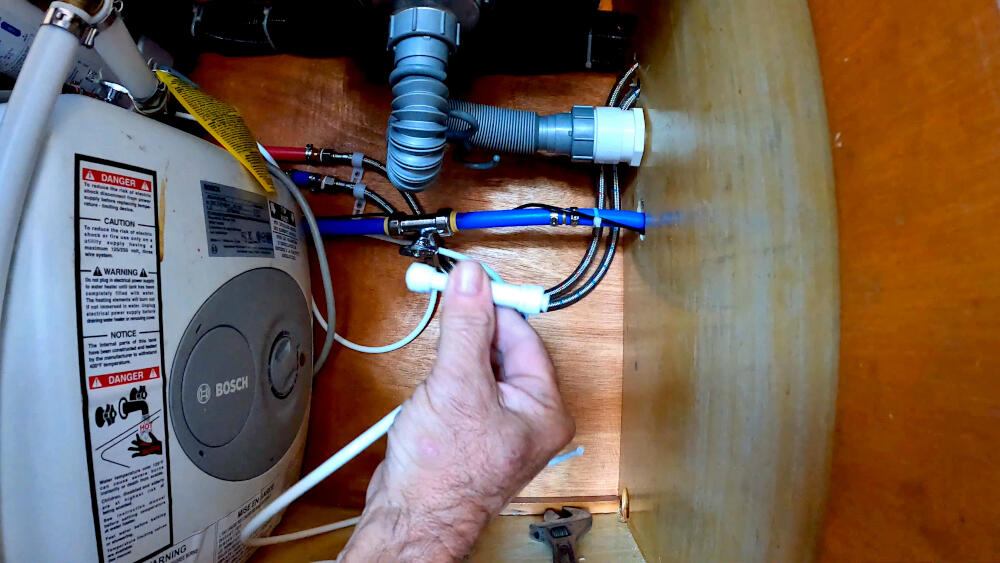
To bring down the water flow, a flow reducer is inserted into the water line that leads to the special faucet. For the blue indicator light, that is built-in into the faucet, another 12V line is also attached to the Acuva main unit.
Finally, all wiring and water lines are cleaned up and tied to the existent lines along the wall.
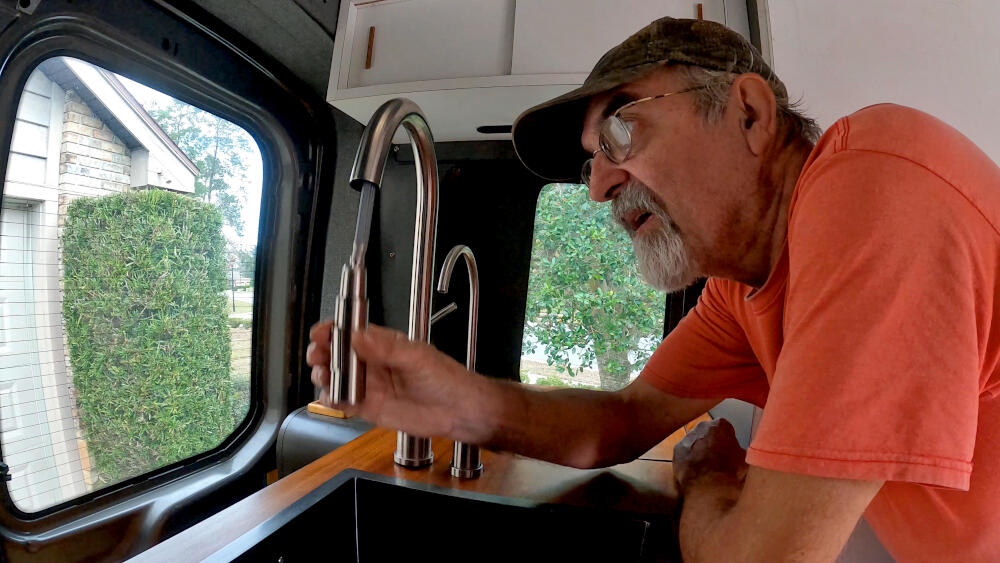
All supplies to install this system are included in the kit, the special faucet is optional, but I my opinion a welcome addition.
I will review this water system later, when I have had the enough opportunities to use it while living in the van. While I am convinced abut the need to filter the drinking water while in the van, I am still not sure how effective these kinds of systems are. Yet I am convinced about the advantages of the Acuva water treatment system over the Berkey, which I used before.
No opinion about their effectiveness, but the bulky Berkey system and its constant filling, emptying and storing of the unit will not be missed anytime soon!
Materials
*Some of the links above and in the video, are affiliate links, meaning at no additional cost to you, I will earn a small commission if you click through and make a purchase.