
Continuing with the wiring of the van, gives me the opportunity to search for and order some of the materials, needed in the coming weeks. My list currently consists of wire connectors, heat shrink, 12V outlets and power inlet. I still haven’t found decent and affordable 12V LED light fixtures either.
LED Lights
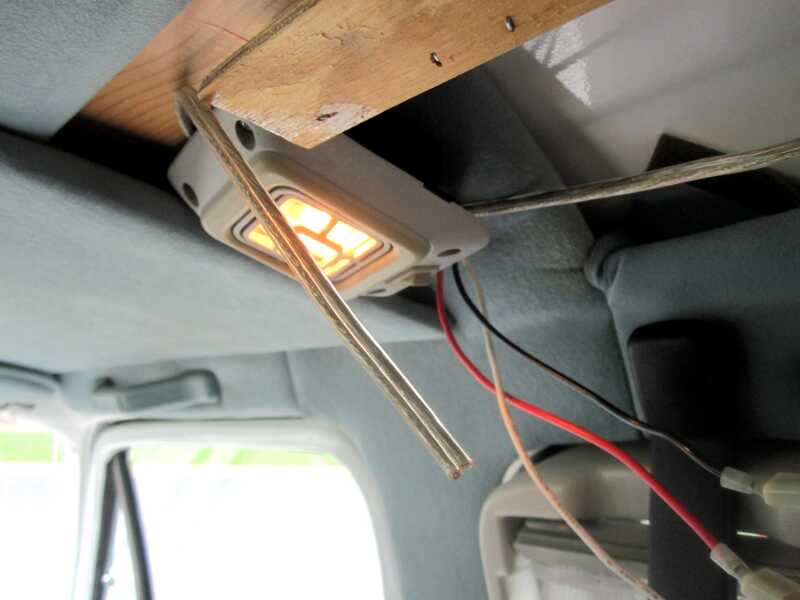
Several 12V LED spotlights will be positioned throughout the van in addition to a larger LED fixture on the ceiling, in the center of the vehicle. Quality and choice has improved and their combined load is negligible in comparison to the old bulbs.
 For that purpose, I use some spare 16AWG lamp wire.
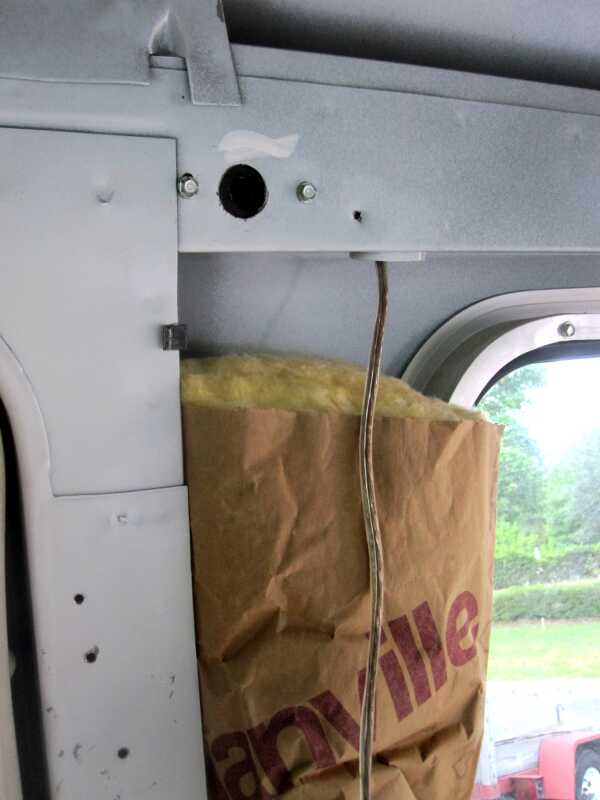
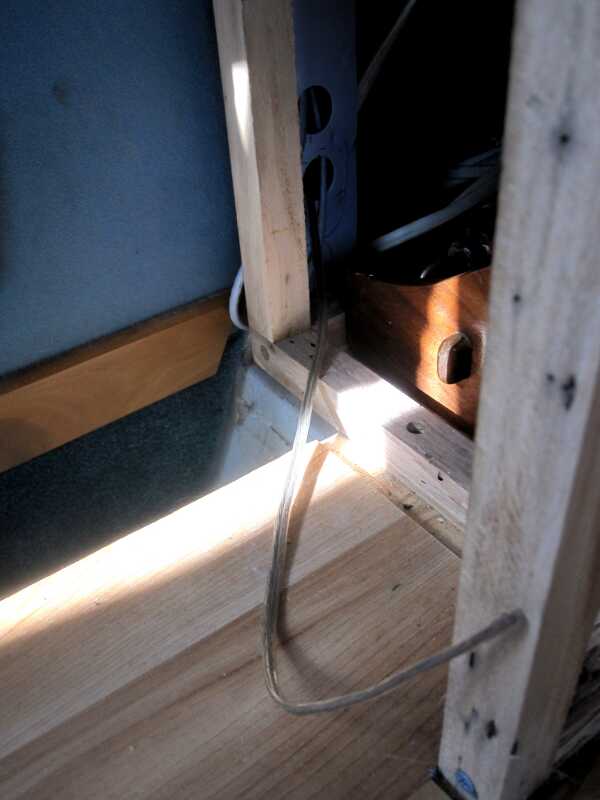 The wire for the rear bed light starts again at the battery compartment and is guided between the bed and the outside wall to the back of the van.

 The LED will be high up on the rear wall, next to the rear doors. The wire is temporarily fastened to the top railing until the light is acquired.
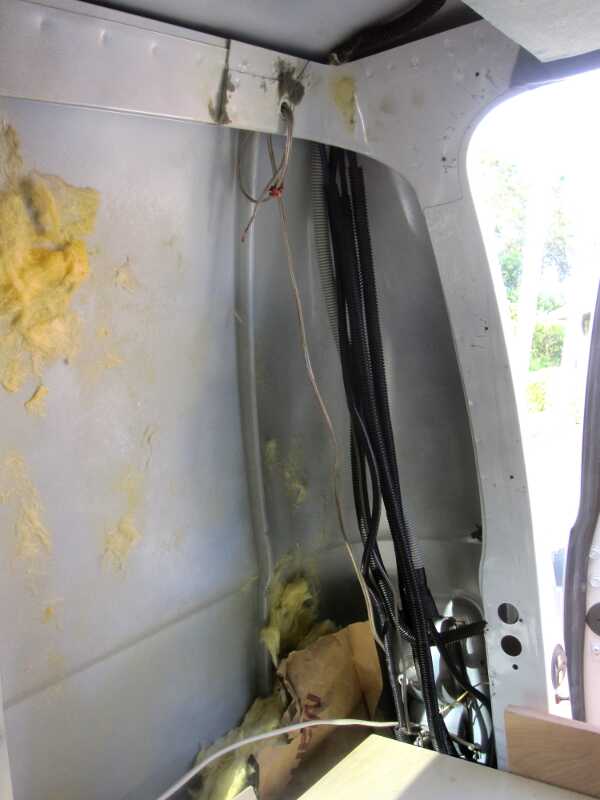
 From the batteries another wire is pulled up through the channel next to the side doors, to a light at the battery monitor, where it is split into two.
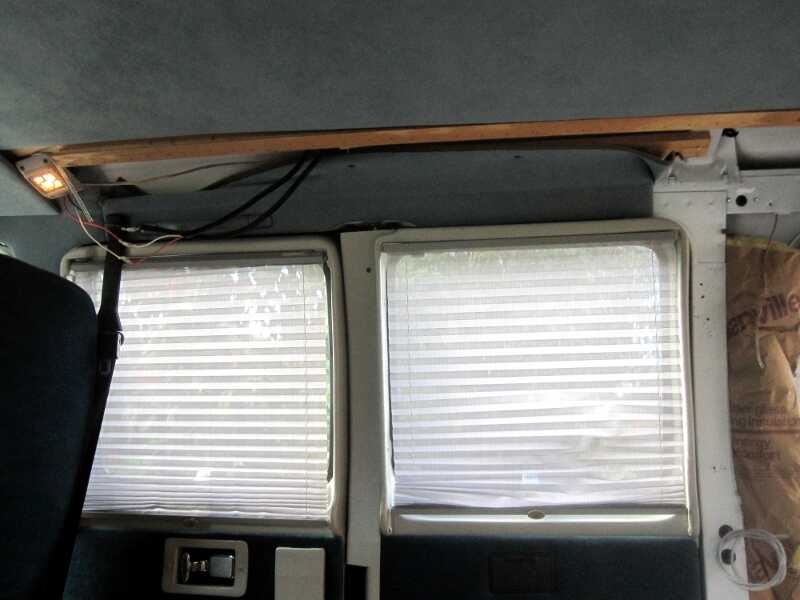
 One is led over the side doors to a location above the passenger seat.
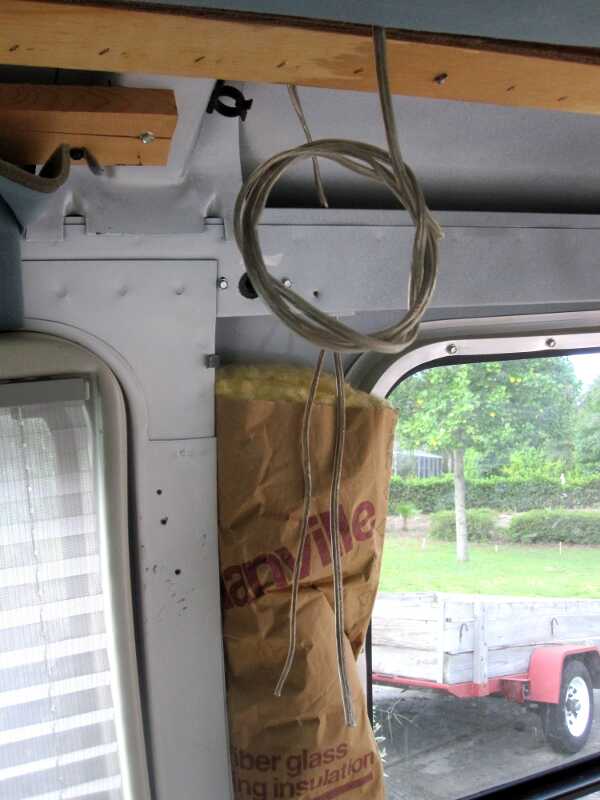 Another a short distance along the ceiling.
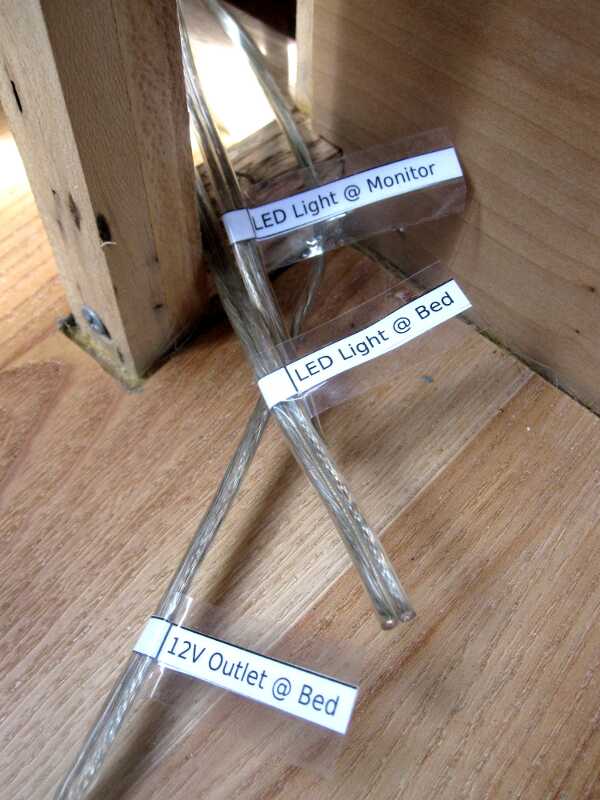 Finally everything needs some labeling.

After all the cables are tied down, the wall panels are to be refitted, and nothing will be visible.
*Always use wire that conforms with the wiring requirements of your specific application.