
Between the window and the side doors is a narrow strip of wall available to house a small console. It is the future location of the battery monitor and a reading light.

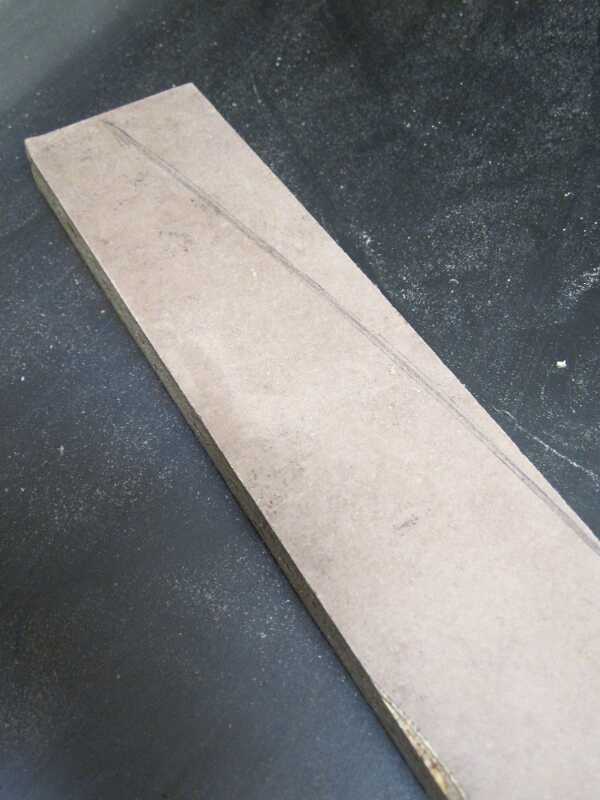
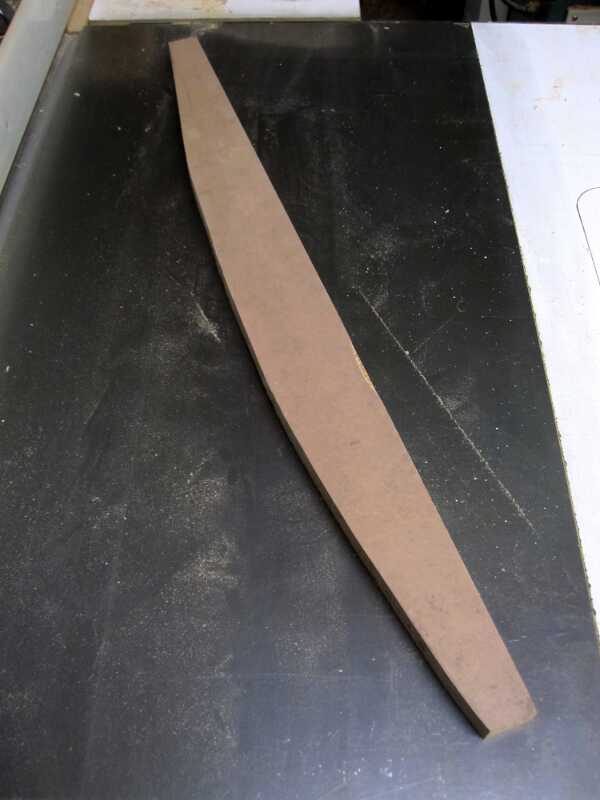
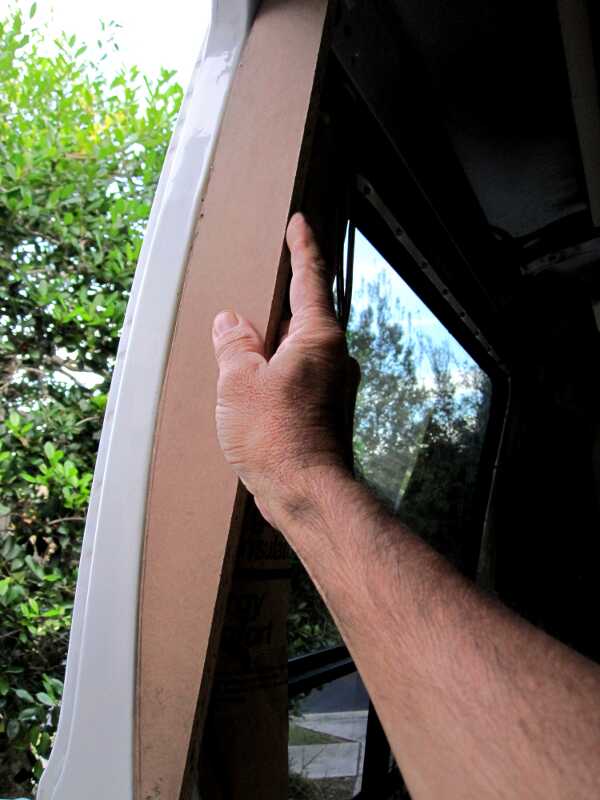
With a narrow piece of wood, the length of the console, placed against the inside wall, the curve of the wall is transferred to the wood. Back in the workshop the form is cut and adjusted to get a perfect fit.
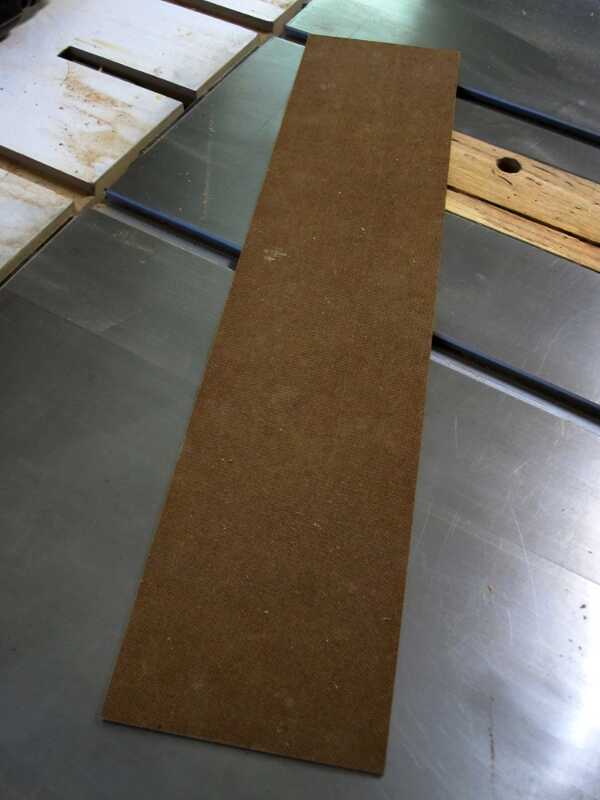
 In the meantime, some wood is planed to a 1/2” thickness and the form is temporarily attached to it. With a straight-edge bit, the form is exactly copied to the wood. This and another copy are the two sides of the console.
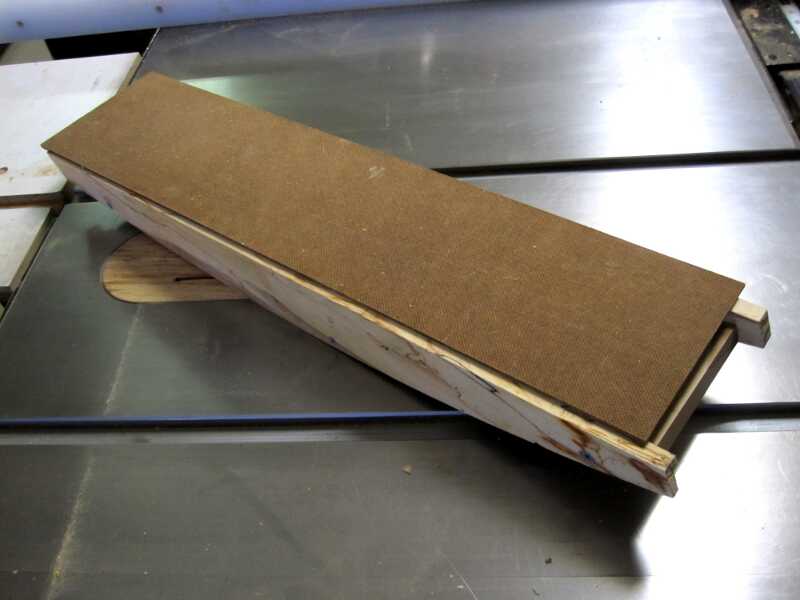
 The front of the console is a piece of hardboard.
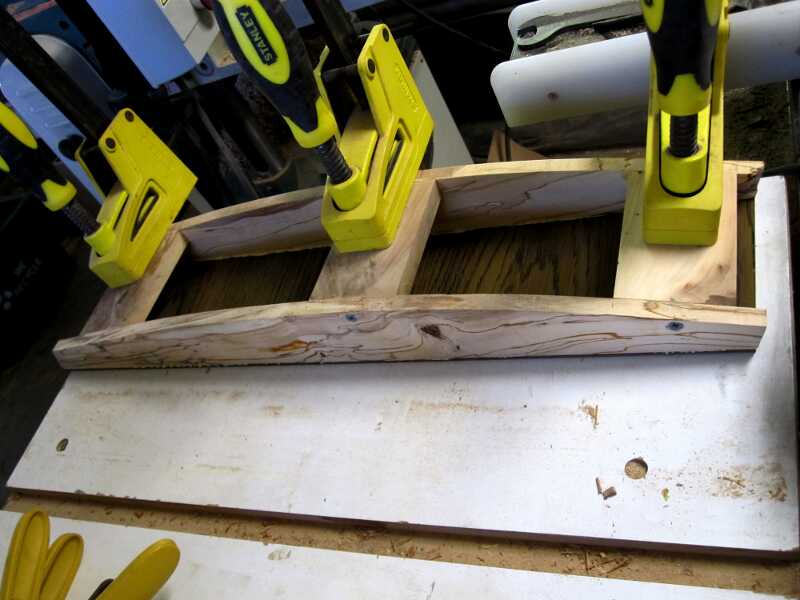
 Three blocks are sandwiched between the two sides, glued and screwed together.
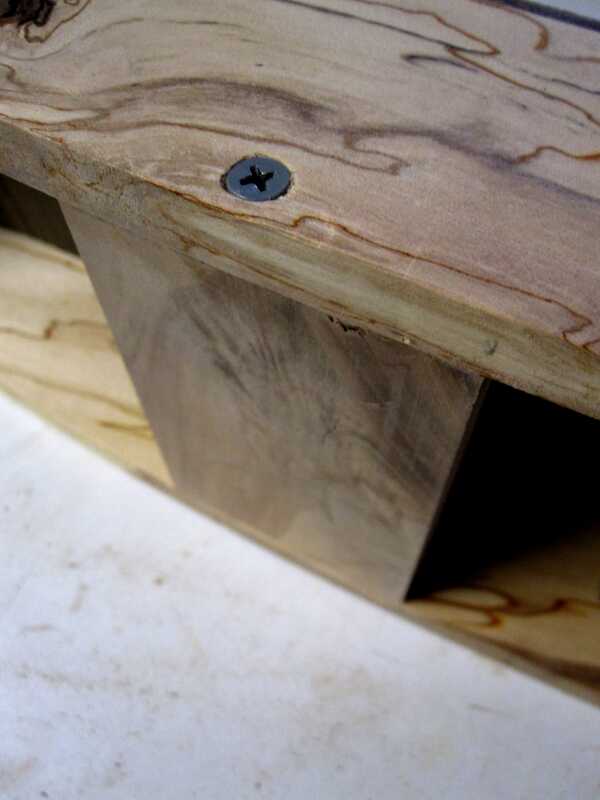
 For a good hold, these blocks will be attached to the metal frame with screws.
 Next the front of the console. This is primarily glued, while further strengthened with a few additional brads.
 Time for some drying.
 The back consists of 3 blocks, equally separated along the back of the console, glued and screwed to the side panels.
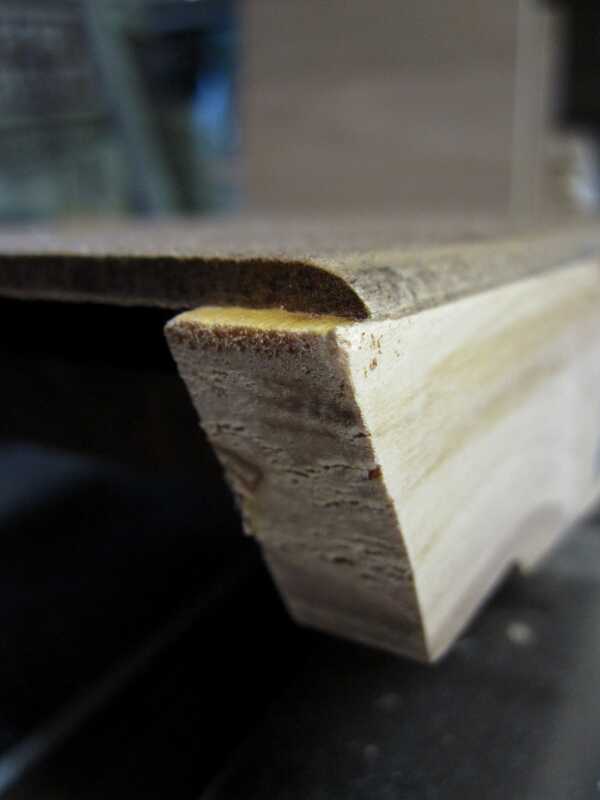 Finally, a soft curve is routed to both corners of the console.

The console will be covered with a fabric material and placed on top of the plywood wall board.