I finish my computer setup in the van with an additional TV/Monitor mount, install a sewer extension from the gray water tank into the van’s interior and add clasps to the storage box lid in the rear of the vehicle.
Second TV Mount
I’m installing a second TV/Monitor mount, widening the number of choices, where I can use the computer monitor. The main location on the side of the storage cabinet, functions as the primary location of the mount and even though I won’t store the monitor there, while I am driving, the monitor will stay there while camping at one location.
Today a second mount is installed close to the sliding door and the passenger seat. This location serves two usage scenarios.

By extending the mount forward, the attached 17″ monitor get close to the passenger seat, from where I can work using a remote keyboard and mouse.
With the sliding door open and the mount turned outside, the monitor functions as an outdoor display, either as a computer terminal or just to watch the news or a movie.
The mount is attached to the side of the toilet cabinet with two bolts, washers and lock nuts.
Kitchen Sewer Line
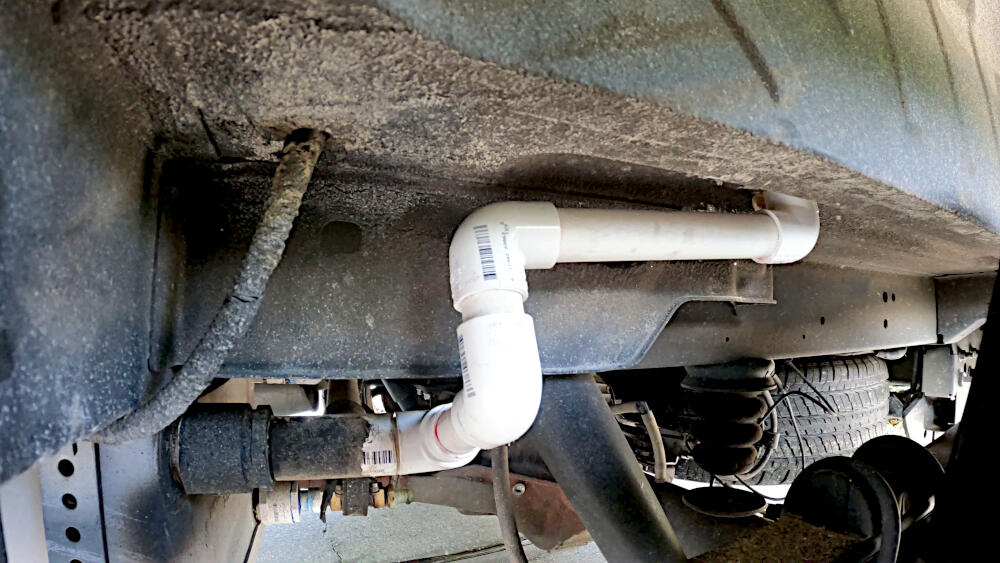
Previously, I had connected the separating toilet to the gray water tank and now I’m extending a gray water line to the kitchen area.
The main issue was finding an entry point to the interior of the van. After locating that point, I drilled a pilot hole first, to verify its position.
It ended up close to the rear wheel well, under the fresh water tank, with easy access to the kitchen area. After checking it twice, I used a 1-5/8″ hole saw to gain access.

The PVC pipe fittings were glued together and attached to the gray water tank entry. The other end extended into the drilled floor hole. I finished the outside parts with some undercoating, both for protection as visual appeal.
From inside the van, I added a piece of window seal around the pipe inside the entry hole and a cover piece, to prevent dirt and alike from entering the interior.
Safety Clasps
During my recent trips, I noticed several potential issues, that I needed to address. One simple example was the top lid of the storage boxes. This lid is easy to remove and has three possible uses. First as a top lid, second as a kitchen counter extension and lastly as a clean, flat surface for an exterior picnic table to eat food on or clean workspace for the computer accessories.

While I always drive very cautiously and try to minimize use of the vehicle brakes, I realized that in case of an accident, there is a chance that this storage lid could fly forward through the interior, causing additional damage or injury.
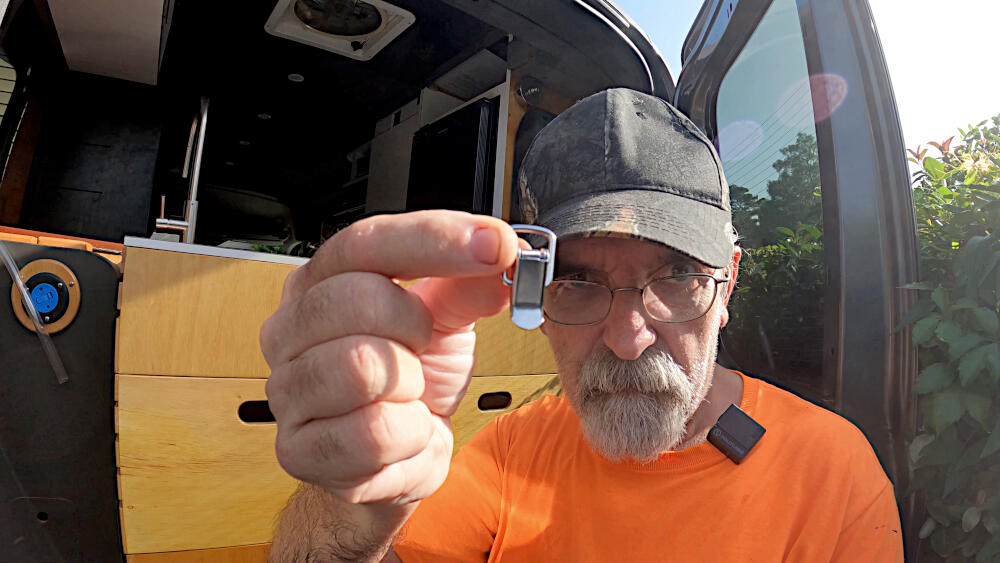
A couple of clasps could prevent much of that risk and were easy to install.
TOOLS & MATERIALS
- TV Mount
- Window Seal
- Undercoating
- Bolts, washers & lock nuts
- Clasps
- PVC pipe and connectors
- PVC Glue
- Bluetti EB55 Powerstation
- 1-5/8″ Hole Saw
- Drill


