
Latest Articles & Videos

Lower cost alternative to a Van Conversion
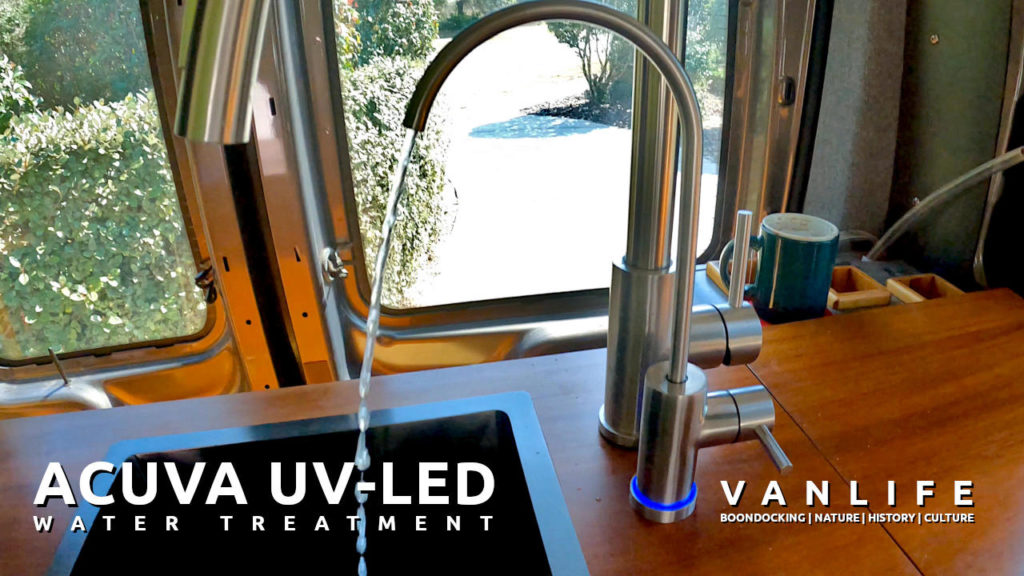
Acuva ArrowMAX 2.0 UV-LED Water Treatment System

Above the Clouds

Hiking to Wesser Bald Fire Tower

Victron Multiplus 3000 Van Conversion Installation

Creek Crossings and Spectacular Views

Fall at the Falls

I am in LOVE!

One Day, Four Hikes

Hiking Grassy Mountain and Toccoa Bridge
Complete DIY Solar Kits & Schematics


Now that the Vanbuild is over…
Let’s see what we’ve been doing.

Blog Articles & Videos

DIY Separating Toilet – Part 7
This time, I install the toilet cabinet and connect the drain to the waste water system. Before the toilet cabinet…

Mahogany Countertop – Part 2
The rough countertop is now scribed against the sides and back edge. After cutting it to size and sanding the…

Mahogany Countertop
This Mahogany countertop is meant for the two lower cabinets closest to the sliding door. Made out of 8ft long,…

DIY Separating Toilet – Part 6
I finish all the preparations, before the toilet is installed in the van. The toilet has a mechanism, that allows…
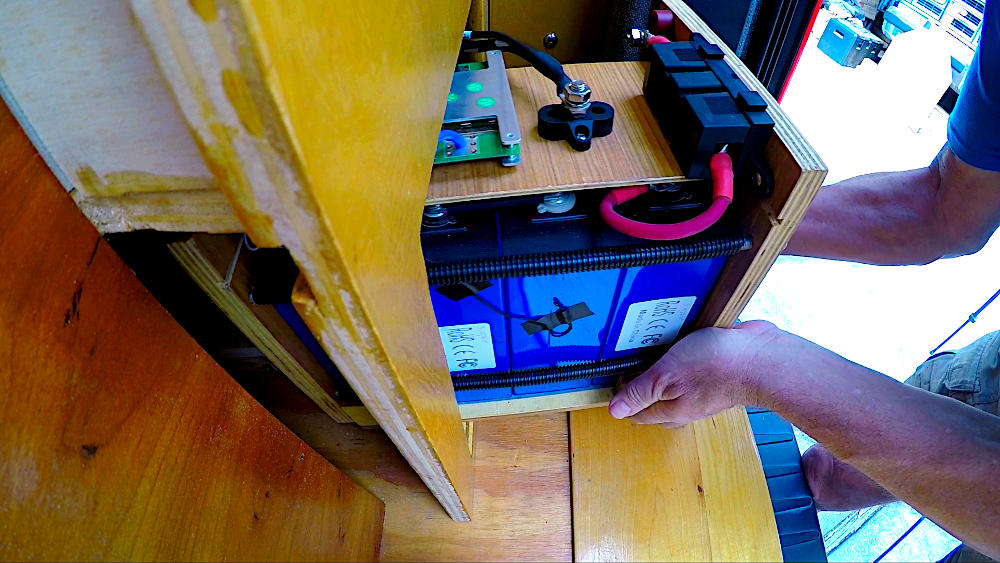
DIY Lithium Battery – 4
It’s time to install the new Lithium batteries into the van but first, I need to clean up and streamline…
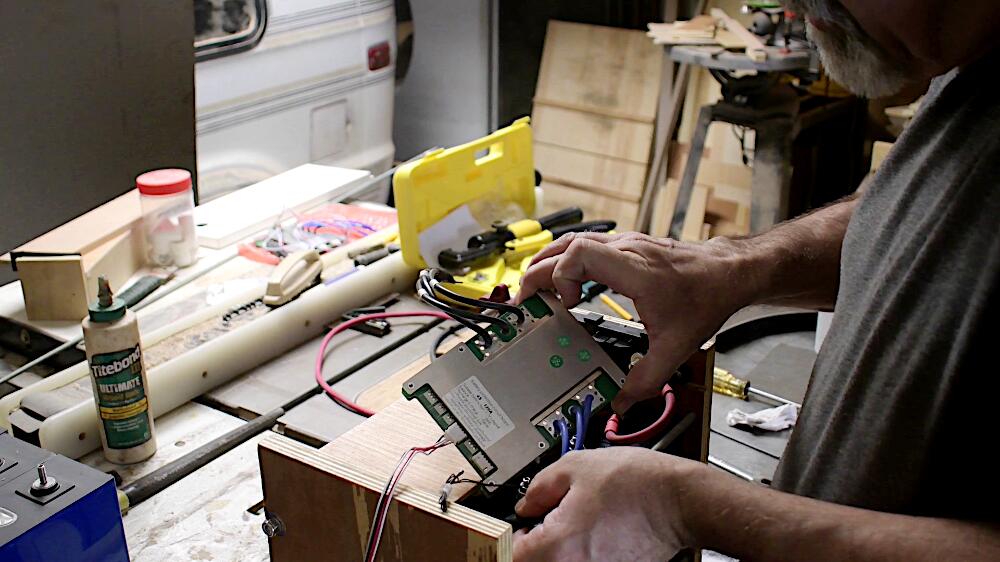
DIY Lithium Battery – 3
I continue with the assembly of the two LiFePo4 Lithium batteries by adding all the components, that connect and control…
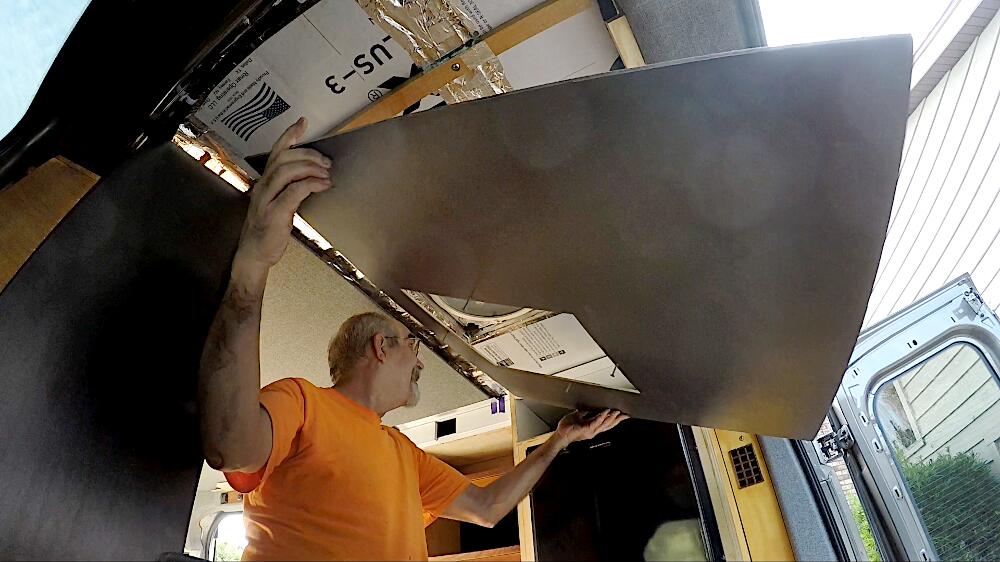
Van Ceiling Panel – Part IV
In the previous video I was unsuccessful in attaching the ceiling panel with the 3M Dual Lock, velcro-type fastener. Today…

DIY Lithium Battery – 2b
This is one of a series of articles, describing my journey of assembling and installing Lithium battery cells, as part…

Van Ceiling Panel – Part III
I continue where I left off in the previous article Van Ceiling Panel Part II. As a reminder, I use…

DIY Lithium Battery – 2
This is one of a series of articles, describing my journey of assembling and installing Lithium battery cells, as part…
Follow Me
Get an email in your inbox. Be the first to know, when I post a new YouTube video!