
Latest Articles & Videos

Lower cost alternative to a Van Conversion
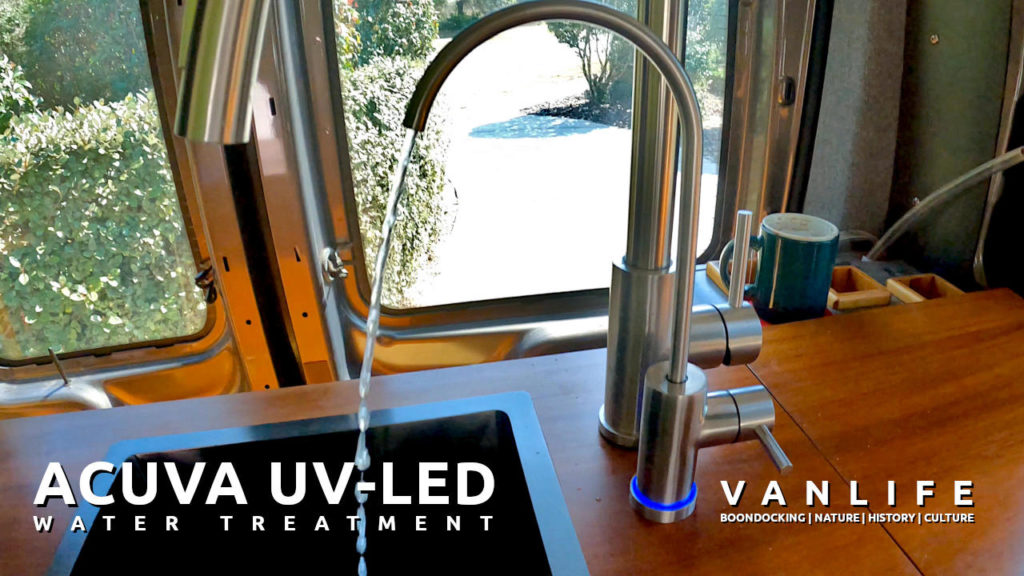
Acuva ArrowMAX 2.0 UV-LED Water Treatment System

Above the Clouds

Hiking to Wesser Bald Fire Tower

Victron Multiplus 3000 Van Conversion Installation

Creek Crossings and Spectacular Views

Fall at the Falls

I am in LOVE!

One Day, Four Hikes

Hiking Grassy Mountain and Toccoa Bridge
Complete DIY Solar Kits & Schematics


Now that the Vanbuild is over…
Let’s see what we’ve been doing.

Blog Articles & Videos

Vanlife: Architecture, History, Pottery, Beach Walk & Hiking
Permanent Vanlife is still about one year away, so I decided to get a feel for it, by planning multiple…

Hardwired Computer
Many Vanlifers choose a laptop as their companion. My dislike of these mobile devices led me to install a small…

Florida Vanlife – Trip 01d06
Permanent Vanlife is still about one year away, so I decided to get a feel for it, by planning multiple…

Florida Vanlife – Trip 01d05
Permanent Vanlife is still about one year away, so I decided to get a feel for it, by planning multiple…

Florida Vanlife – Trip 01d04
Permanent Vanlife is still about one year away, so I decided to get a feel for it, by planning multiple…

Believe it or Not
Permanent Vanlife is still about one year away, so I decided to get a feel for it, by planning multiple…

Water, Water, Water
Permanent Vanlife is still about one year away, so I decided to get a feel for it, by planning multiple…

Vanlife Starts
Permanent Vanlife is still about one year away, so I decided to get a feel for it, by planning multiple…

Sun Shade & Drawers
I continue my work on the cabinet doors and drawers, but first, I got myself a very compact sun shade…

Victron Smart Devices
The installation of a Victron Smart Solar Controller and a Victron Orion Smart DC-DC Converter as part of my vanconversion….
Follow Me
Get an email in your inbox. Be the first to know, when I post a new YouTube video!