
Latest Articles & Videos

Lower cost alternative to a Van Conversion
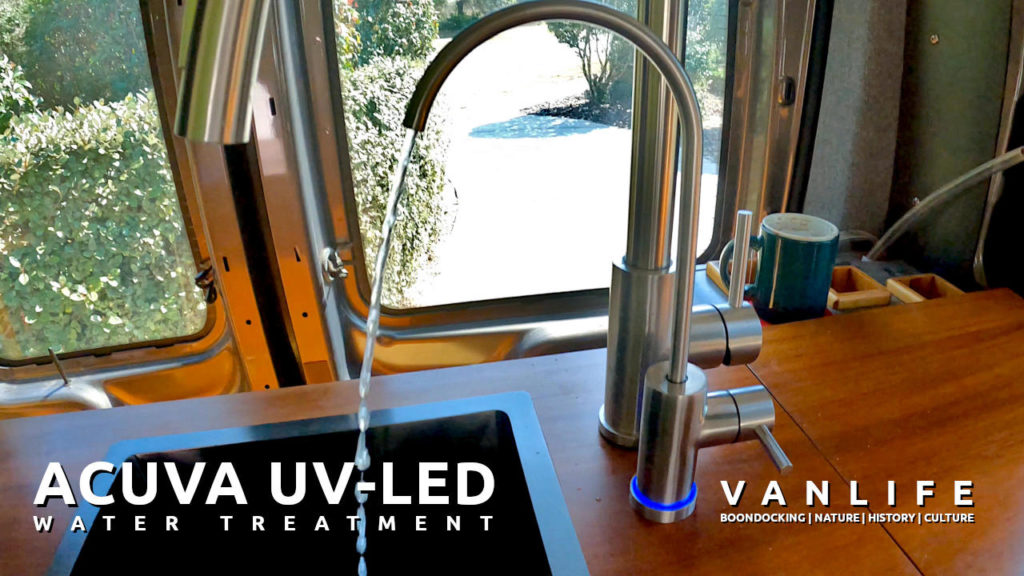
Acuva ArrowMAX 2.0 UV-LED Water Treatment System

Above the Clouds

Hiking to Wesser Bald Fire Tower

Victron Multiplus 3000 Van Conversion Installation

Creek Crossings and Spectacular Views

Fall at the Falls

I am in LOVE!

One Day, Four Hikes

Hiking Grassy Mountain and Toccoa Bridge
Complete DIY Solar Kits & Schematics


Now that the Vanbuild is over…
Let’s see what we’ve been doing.

Blog Articles & Videos
Multi-Use Cabinet (3)
Fitting the cabinet in the van

Multi-Use Cabinet (2)
Now we have finished the decorative strips, the plywood core will be next. It will hold the drawers and sliding…
Multi-Use Cabinet (1)

Bandsaw Circle Jig
The Multi-Use Cabinet needed some decorative strips finished with a round cherry ‘button’. This is how I made the perfect…
Multi-Use Cabinet Drawings
Decisions, decisions…
Having just finished the rear door cabinetry for the van conversion, I now have to decide which woodworking project to…
Cabinetry Installation
Previous posts in this series are Rear Door Cabinetry and Addtional Rear Door Cabinet. Both cabinets are installed by re-using…
Additional Rear Door Cabinet
Additional storage space is highly appreciated in my camper, even as small as this little door cabinet. A RV has…
Rear Door Cabinetry
Creating the rear door cabinets is the next step in my van conversion. They will add extra storage space, of…
Progress update
Just one picture this time as an appetizer. After finishing the pull-out shelf under the bed, I’ve been quite busy…
Follow Me
Get an email in your inbox. Be the first to know, when I post a new YouTube video!